Laminate kitchen cabinets are a common feature of older homes. They are often not very trendy and out of fashion, which is made even worse by the fact that they are not maintained correctly. However, there are options to bring a laminate kitchen cabinet right up to date.
With minimal money and time investment, you can get them to look as good as new. The best way to do that is to buy some paint and paint them kitchen cabinets. But for that, you have to know how to paint laminate kitchen cabinets.
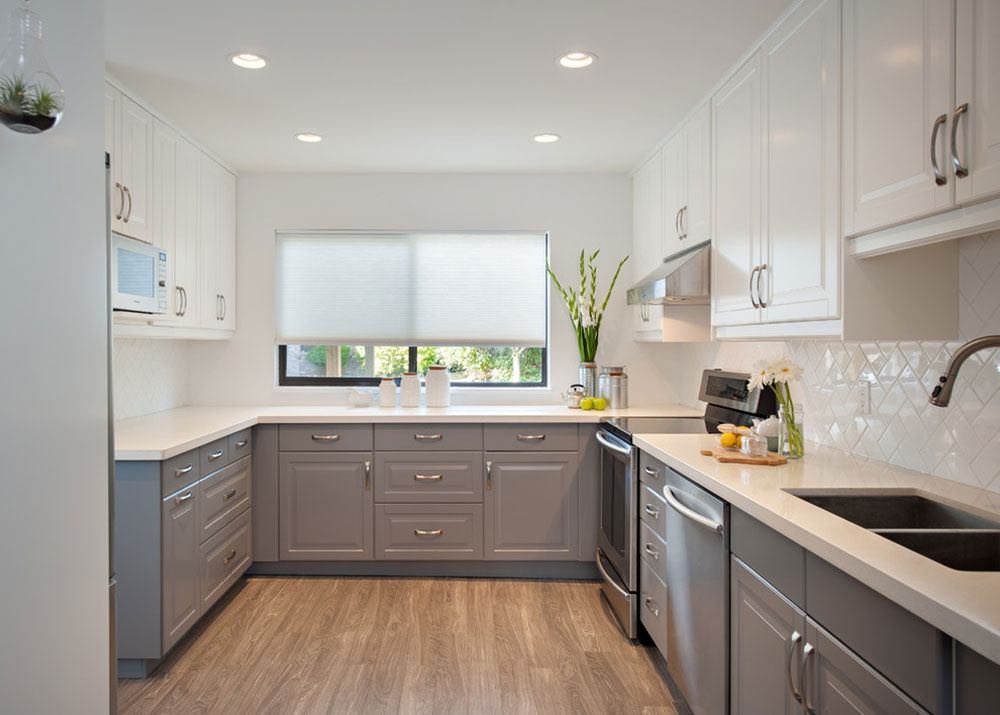
Image source: The Spotted Frog Designs
But laminate is not really the perfect surface to pain, but you can still do it. This can be a great temporary solution if you are not yet ready to spend on a new laminate kitchen cabinet. With a quick repaint, you can still squeeze a lot of value from your old cabinets.
In this article, we’ll take a look at how to paint laminate kitchen cabinets and make them look great again.
Step 1: Preparation
The first and most important step is the preparation.
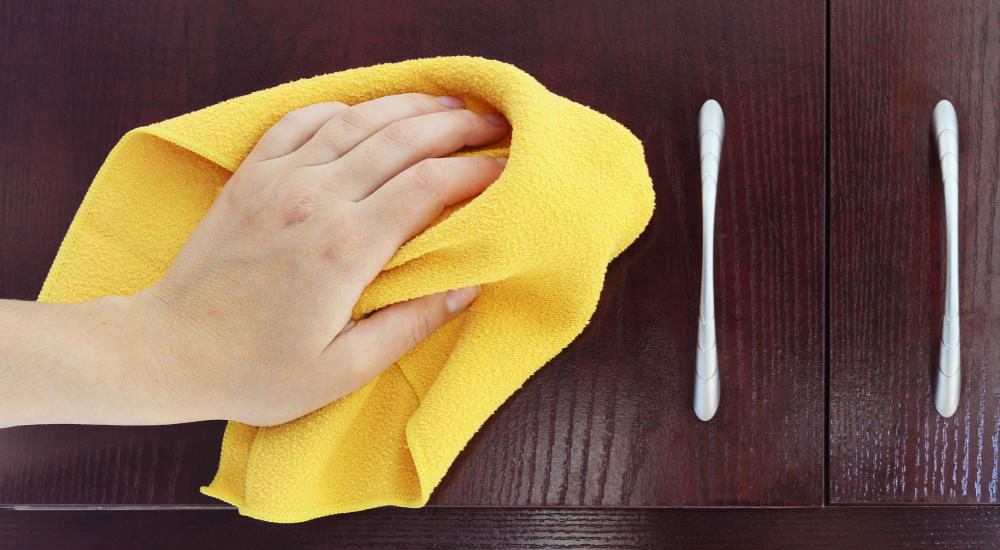
First, you’ll want to make sure all the surfaces are clean and dust-free. Give them a good wipe down with a cloth and a laminate cleaner of your choice.
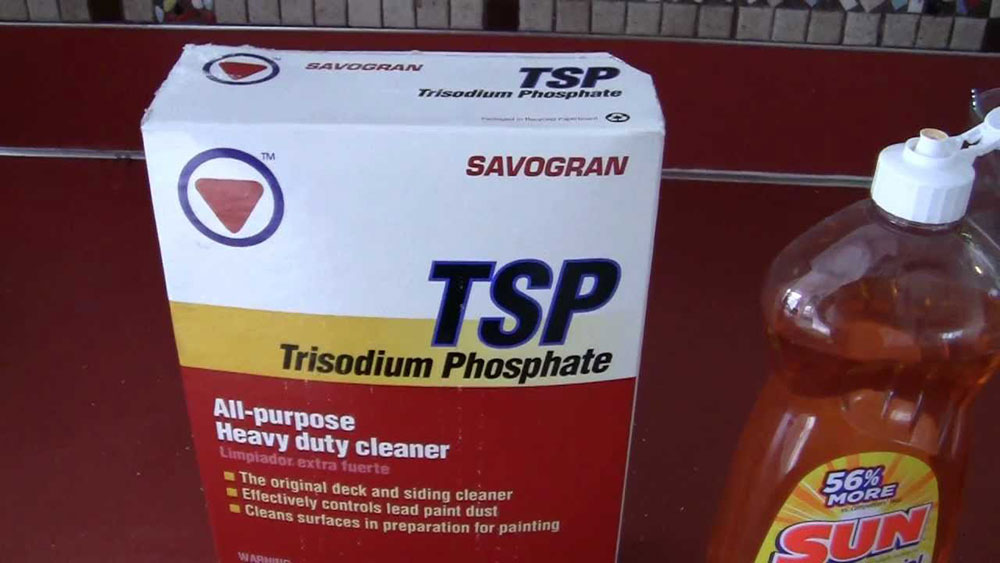
It’s crucial that you use the right laminate cleaner, though. Trisodium phosphate cleaners (TSP) are very effective. They can easily remove grease, as well as the glossy finish that’s usually painted on the laminate. This will give you just the raw surface to work with, allowing you to rub the new paint in well.
Make Sure the Area is Protected
You’ll want to cover the surrounding area with a cloth or tarps in order to protect it. You don’t want the color or the paint to spill and drop onto nearby surfaces, especially if it’s carpets or valuable appliances that you might have near the cabinets.
For example, you can put old bed sheets to use and cover them over the vulnerable parts of your kitchen. You can even use multiple layers to make sure that no paint gets through.
You’ll also want to cover the counters with large sheets. Make sure you cover the corners and go all the way to the walls. And the walls should also be protected – use some painter’s tape to cover the walls.
Inspect the Laminate for Damages
You don’t want to start painting over the laminate that has been previously damaged, or if you find some imperfections in it. First, you’ll want to inspect it to make sure everything is as it should be.
If you do find some damage on the laminate, re-face the laminate and iron out the impurities. That way, you’ll be able to make it as good as new. It might take time, but be patient, and take it slow.
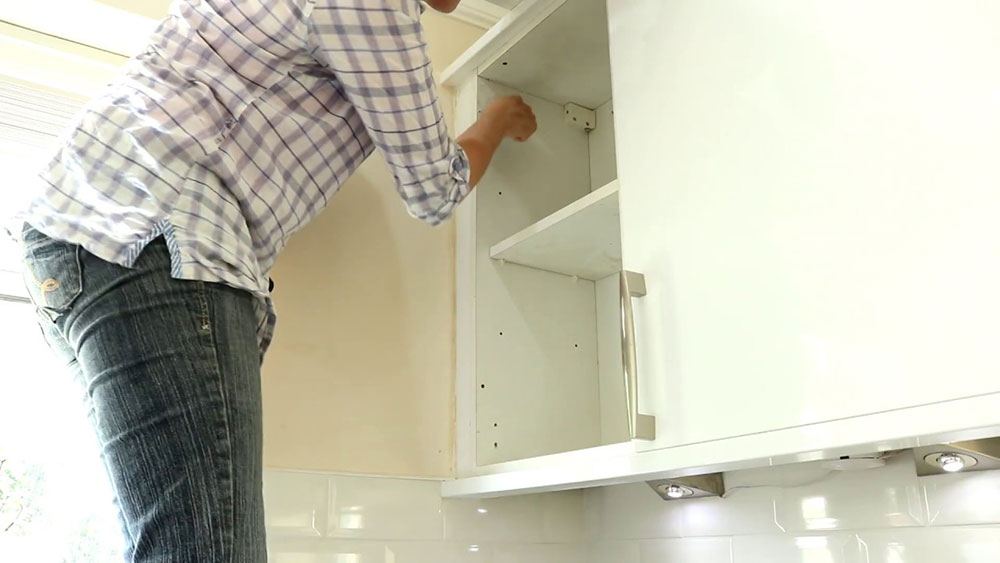
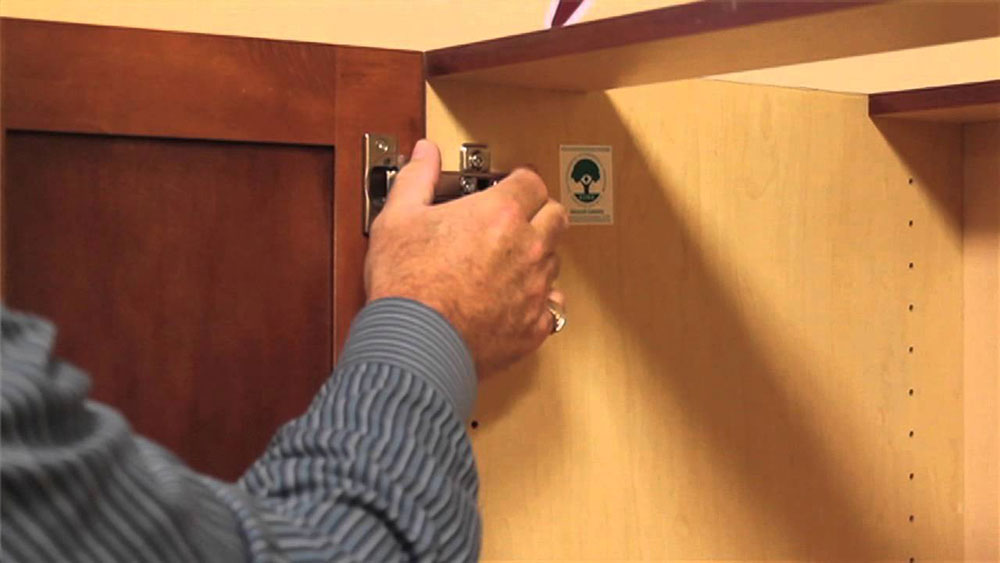
Take Out the Doors
To make the painting process easier, take out the doors. This can be done by removing them from the hinges, although some cabinets will not allow you to do that.
If you can do that, you should. It will make them easier to paint, but you’ll also protect the nearby areas from potential spilling. Set the doors onto a working surface and paint them separately.
Be sure to put a cloth onto the doors to catch any drips.
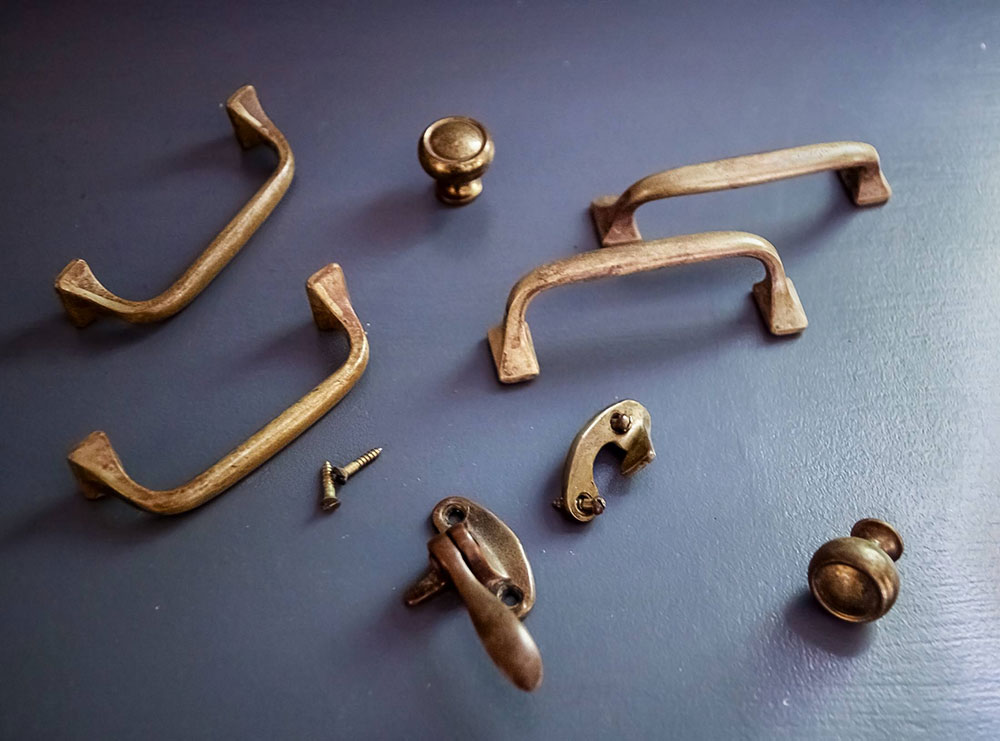
Remove the Hardware from the Cabinets
Next, you’ll want to remove all the hardware from cabinets to prevent them getting painted over. This includes knobs, pulls, and other metallic or other objects that hold the cabinet together or make it functional.
It’s definitely a good idea to remove them before you start painting. It will make the sanding process easier, and you’ll be able to paint better. Also, it gives you a chance to do some maintenance on the hardware if it needs that, or you can also replace them with new pieces to make them shine through.
Sand the Cabinet
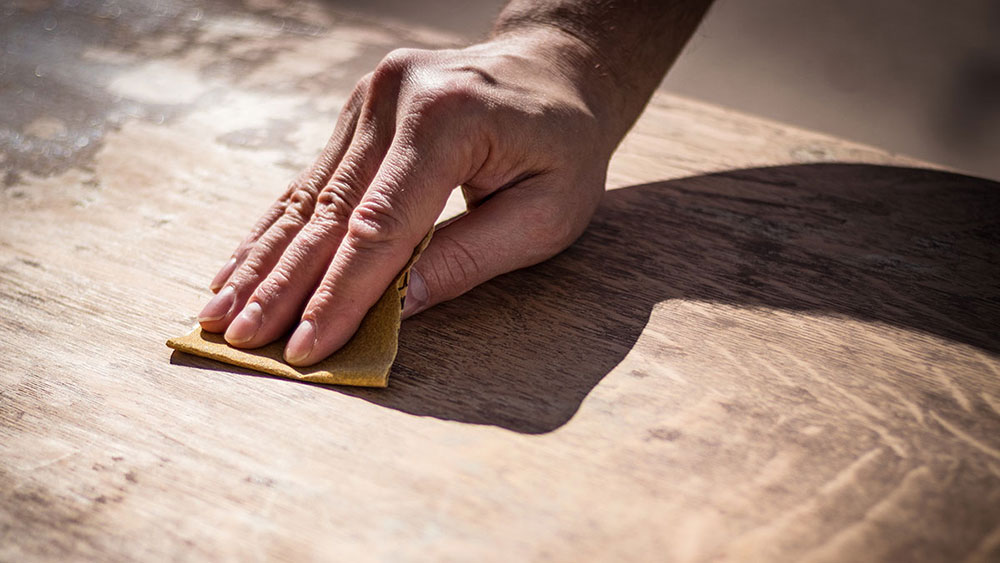
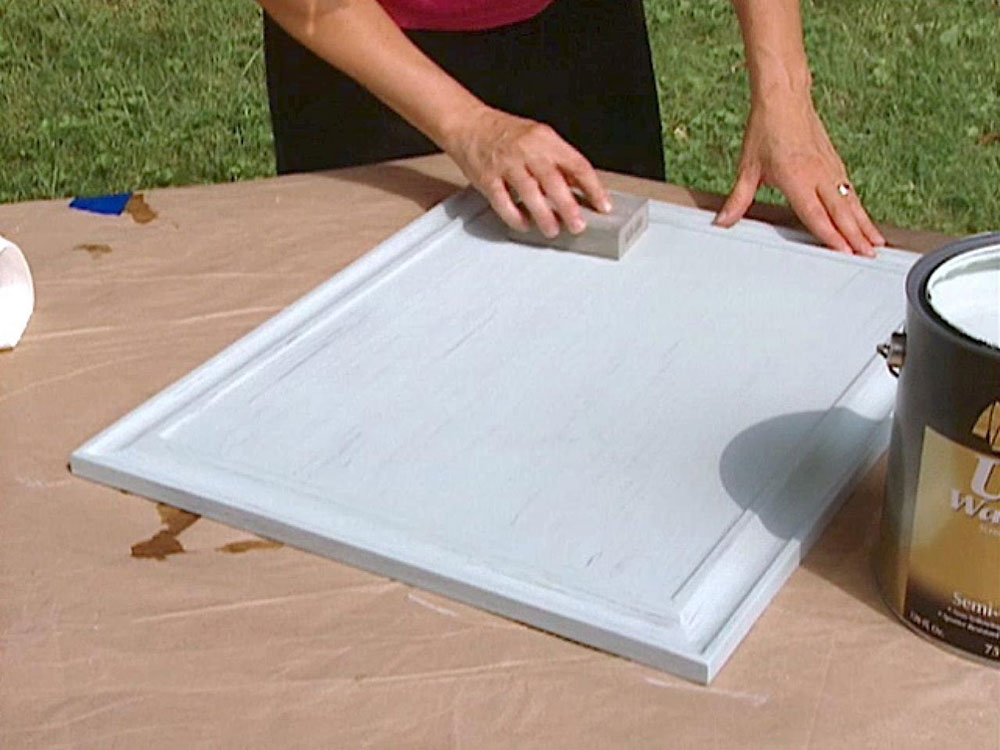
The last step of the preparation should be to sand the cabinet. You’ll need to use sandpaper for this task, of course, which will roughen up the laminate and make it more receptive of the new paint.
With the sandpaper, you’ll remove the slick, or the glossy finish that’s often put over the laminate. Of course, you’ll want to do the sanding only to the laminate, so make sure you remove all the hardware and doors first to make sure you’ll be able to sand as much surface as you can.
This is a crucial step in your painting process. Avoid electric sander, for example, which can be too intense for the laminate beneath the paint.
Once you’ve completed the sanding process, use a cloth to remove any dust that might get into the way of your new layer of paint.
Step 2: Prime and Paint
Now onto the fun part: the painting.
Prime the Cabinet and the Doors
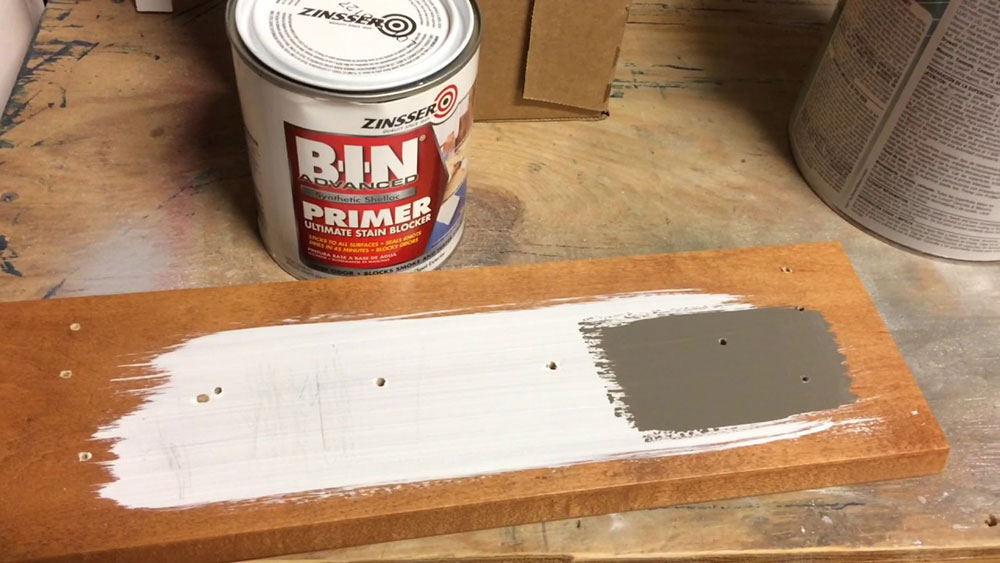
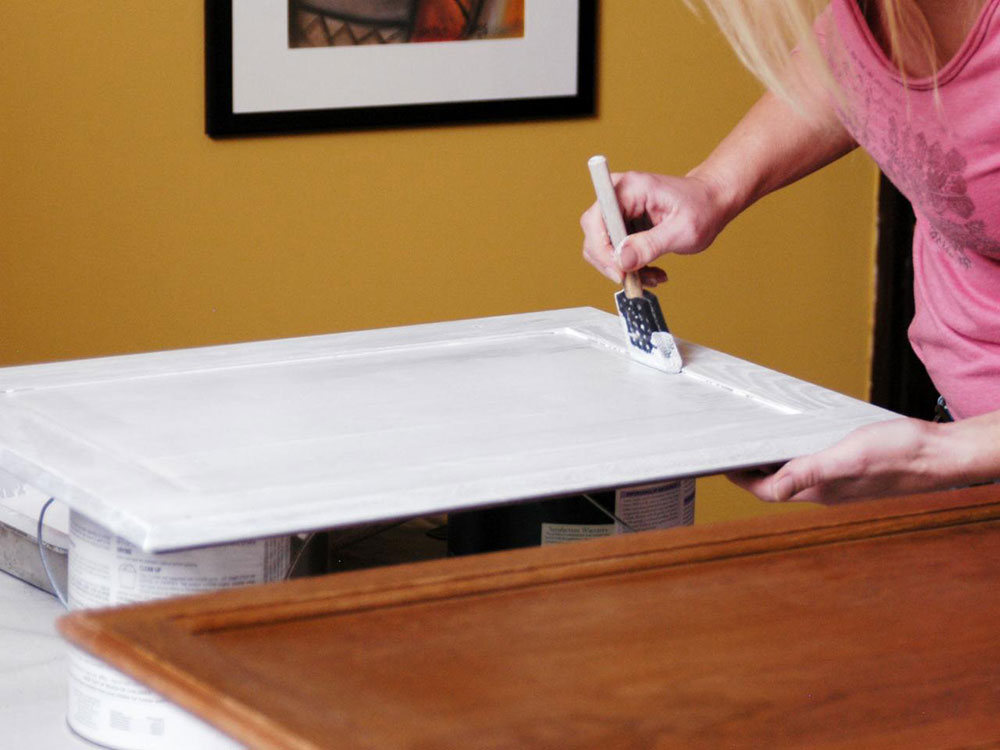
You’ll want to apply some primer to make the color or the paint stick better. A bonding primer that’s oil-based will work wonders for your cabinet. Use a foam roller to apply the primer, and you’ll also want to apply several layers of the primer to make sure it gets into the laminate.
If you want good results, you’ll want high-quality materials. Use a good quality primer, and you’ll want to also use a good quality roller. That way, you’ll get rid of the brush strokes from the roller, which is great for providing a quality layer of primer.
For the edges, you’ll want to use a paint brush to access those hard-to-get-to areas. Make sure every piece of your drawer is painted with a primer – from your edges, which should be done with a brush, to the larger surfaces, which can be done with a roller.
If you notice any bubbles when you apply the primer, it means that it’s not adhering to the surface. In that case, you’ll want to use another, better quality primer to make sure it sticks.
Sand Again
You don’t want to go hard this time. once the primer dries, give the surface another gently sand with a fine grit sandpaper to smooth out the surface. Don’t take off all the primer, though.
Start Painting
Ok, now you’re ready to start painting (finally).
The first thing you’ll want to do is pick the right paint for the laminate you have.
Once you make your choice and you’re ready to start painting, stir the paint. Then, pour half of the paint into the working pot and the other half into the paint tray. You can start painting. It might be a good idea to start with the edges, for which you will need a brush to get to the hidden areas.
For larger areas, you’ll want to use a roller. If you still notice some rough areas with dents on your laminate, consider using satin to cover up those imperfections.
Then comes the top coat. This needs to be compatible with the primer. To make sure that it is, read the label on the primer whether you need acrylic or oil-based products. Also, make sure you get an enamel topcoat, which will protect the cabinet and protect it from the abuse that it is bound to take during this time. lastly, you’ll want to finish it off with a luster, preferably a satin one. This will hide imperfections.
Choosing the Right Paint for Your Laminate
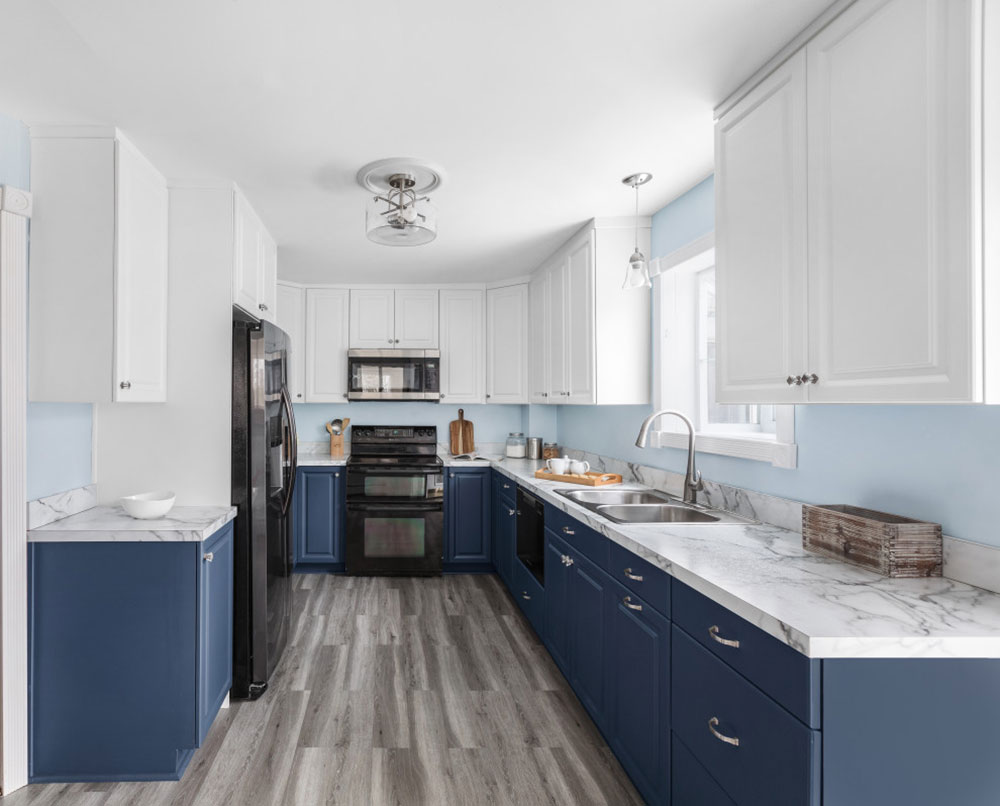 Image source: Kitchen Magic
Here are some considerations when choosing the paint.
- Choose glossy, semi-gloss, or satin finishes, and avoid matte finishes, which can smudge easily.
- Pick oil-based paints. These are more durable but also dry better.
- Choose a paint that’s made particularly for laminate.
- Skip the stain.
- Add a coat of polycrilic if you want additional protection for the laminate.
Ending thoughts on how to paint laminate kitchen cabinets
So there you have it, this is how to paint laminate kitchen cabinets. If you have old kitchen laminate cabinets, then you will want to consider painting them every once in a while. The trick is to remain patient and go for details. Hopefully, you now have a better idea of how to paint laminate kitchen cabinets effectively.
If you enjoyed reading this article about how to paint laminate kitchen cabinets, you should read these as well:
- How to refinish kitchen cabinets to look beautiful and new
- Basement kitchen ideas for creating an amazing kitchen
- L shaped kitchen island ideas to try in your kitchen
The post How to paint laminate kitchen cabinets (A quick guide) appeared first on Impressive Interior Design.
source https://www.impressiveinteriordesign.com/how-to-paint-laminate-kitchen-cabinets/


No comments:
Post a Comment