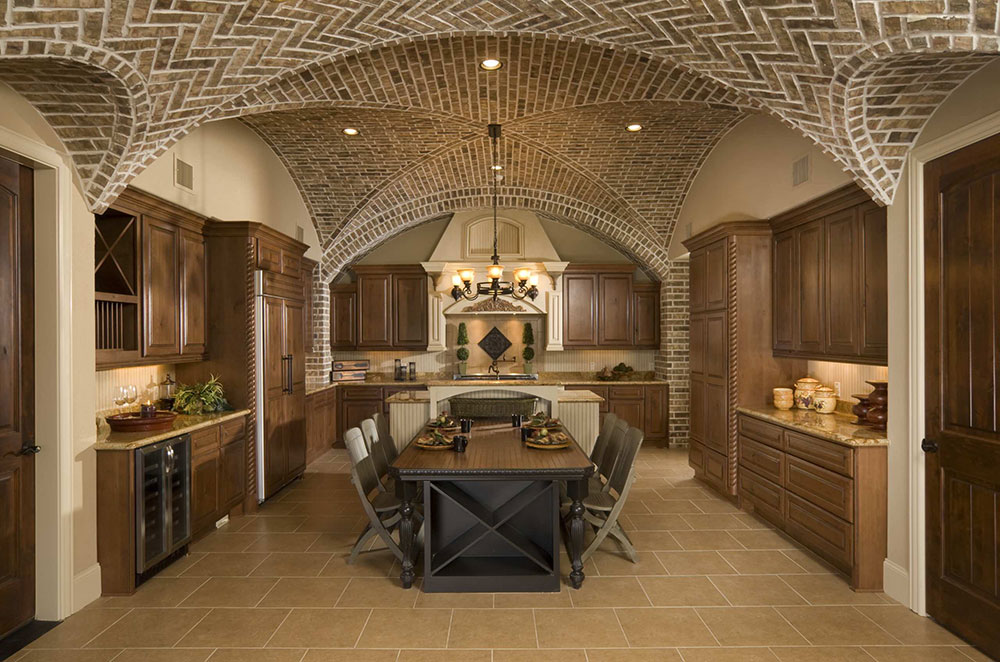
Spring is a season flooding with symbolism. It is a transitional time of year when everything starts a state of renovation. Renovating your kitchen is an excellent start of the season. You can change as little as a kitchen island and still add a fresh design to your kitchen. We’ve compiled these 17 ideas on how to build a kitchen island.
These tutorials can help you save both time and money. So check them out and decide on your next design.
How to build a kitchen island – ideas to try
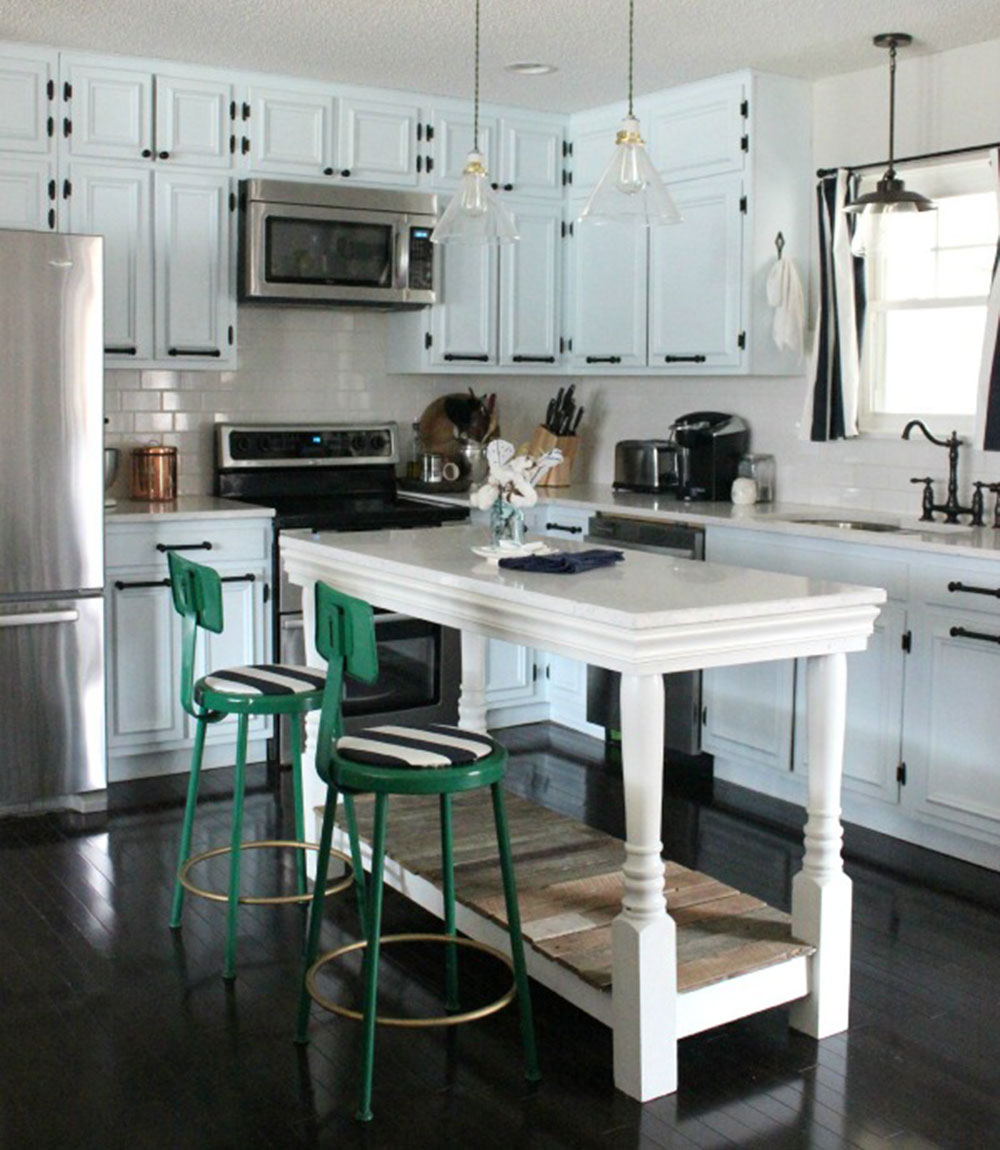
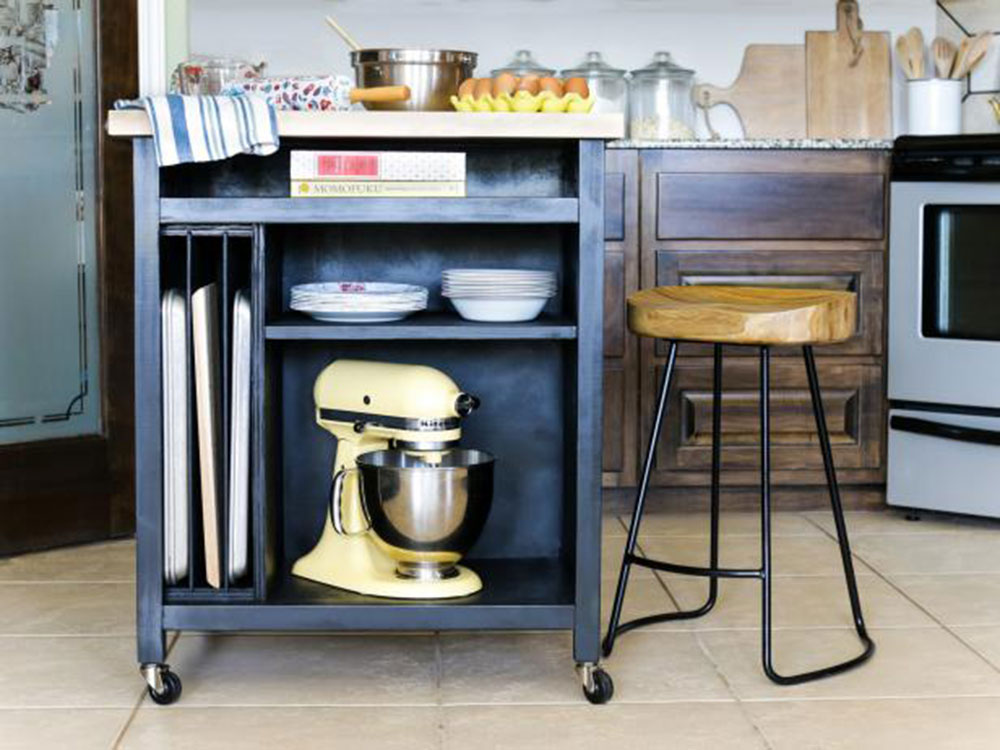
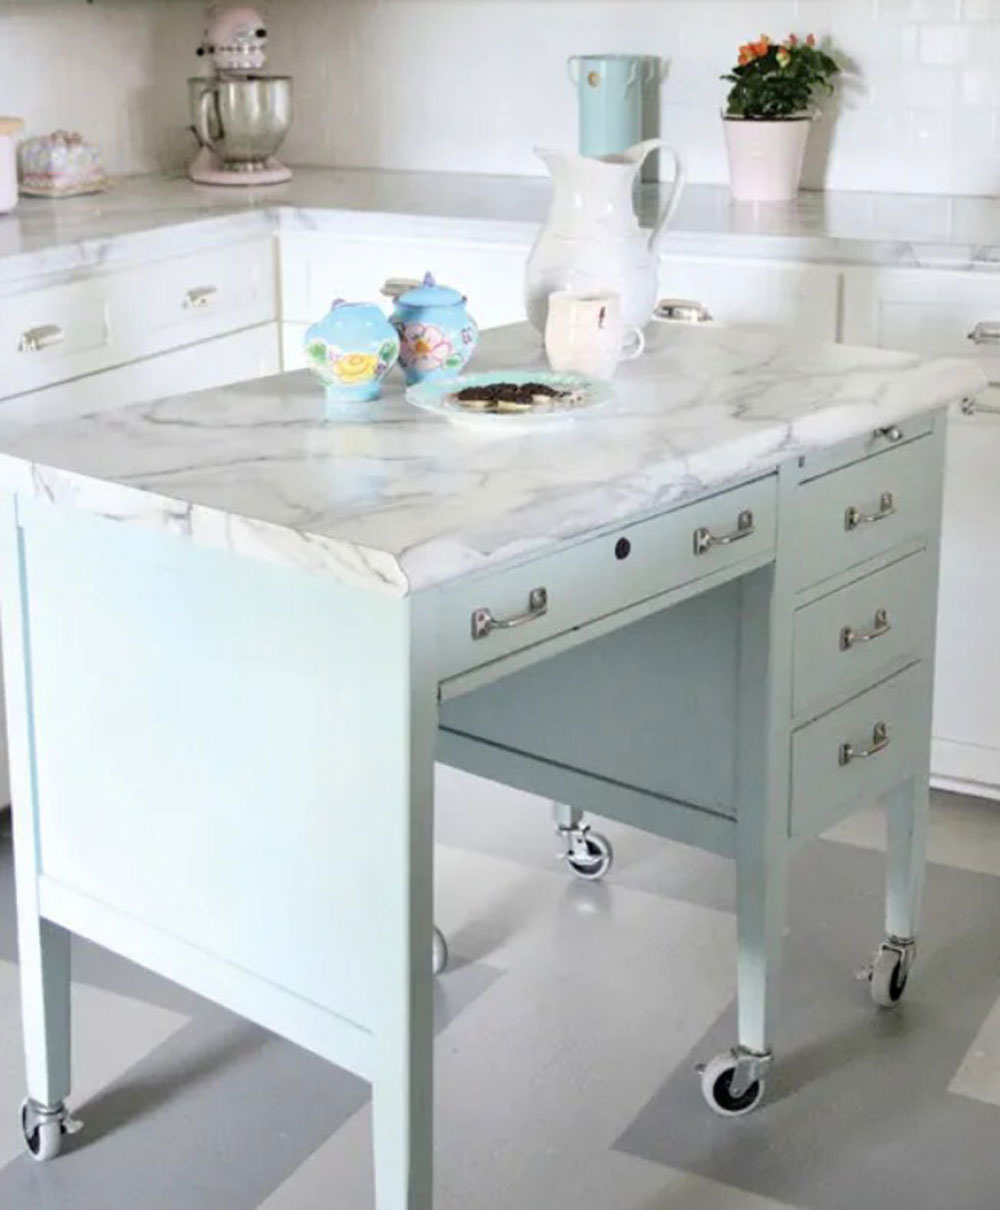
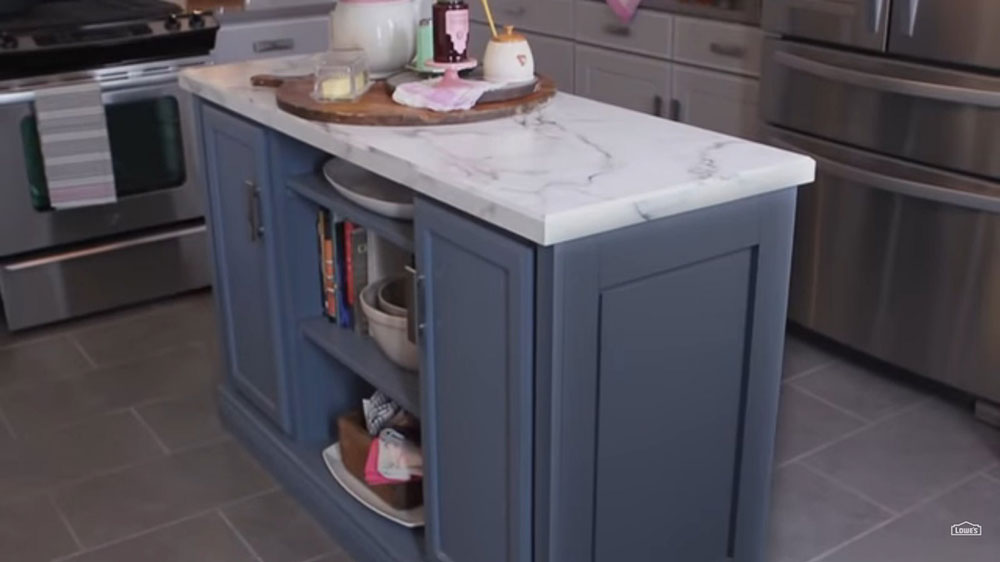
Make-It-Yourself Kitchen Island
This easy to make kitchen island tutorial is perfect if you want to refresh your kitchen immediately. It experienced several makeovers, the most recent one being this lovely powder blue paint upgrade. It’s easy to make and even easier to use. With a simple Youtube tutorial on how to build a kitchen island, you’ll make this one in no time.
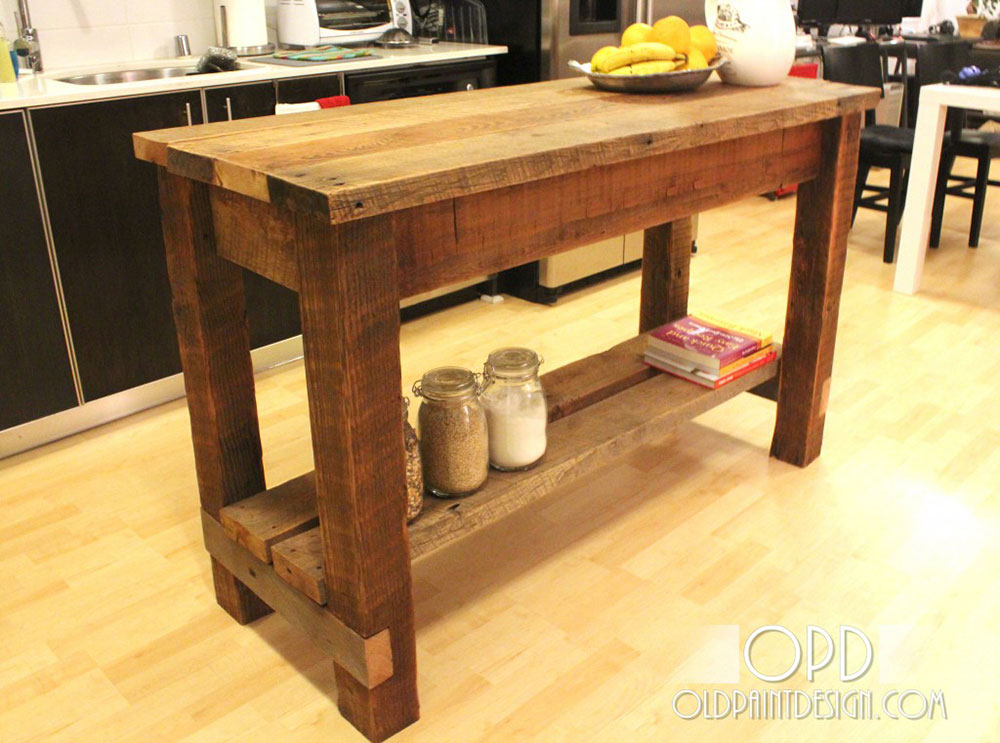
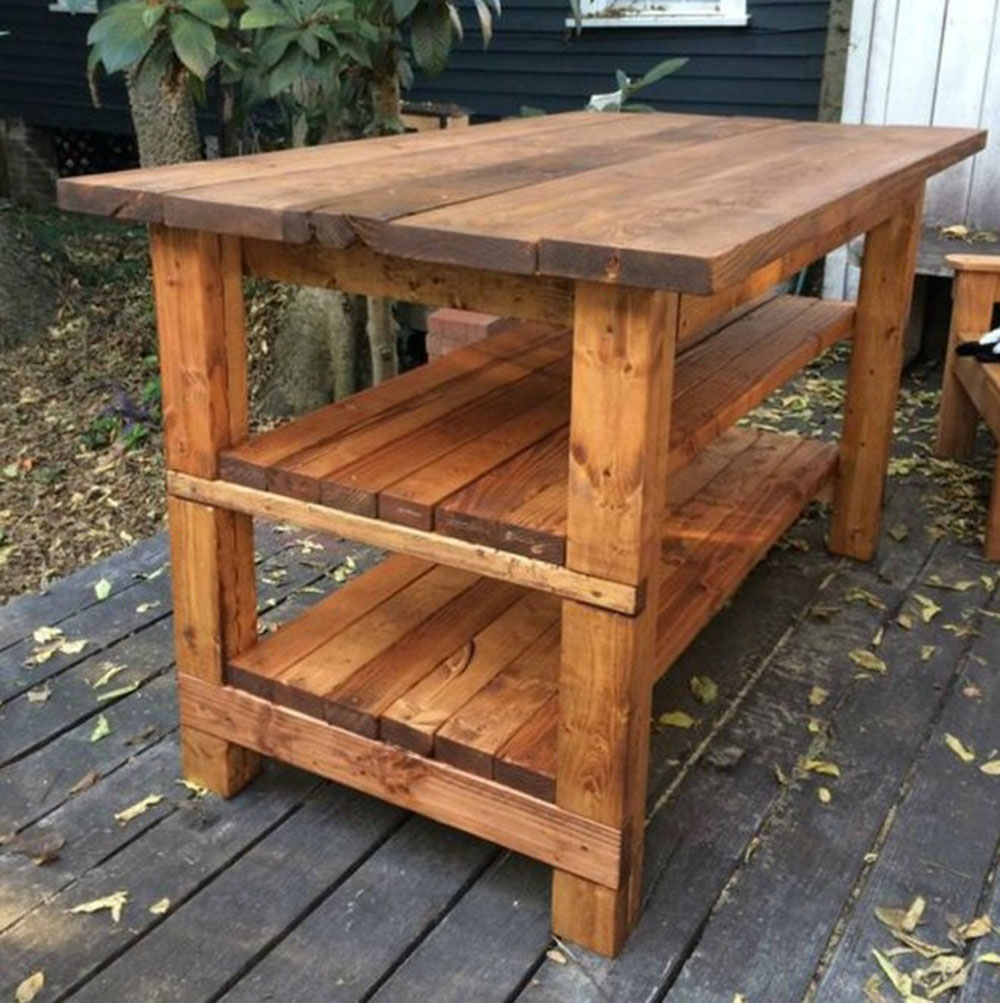
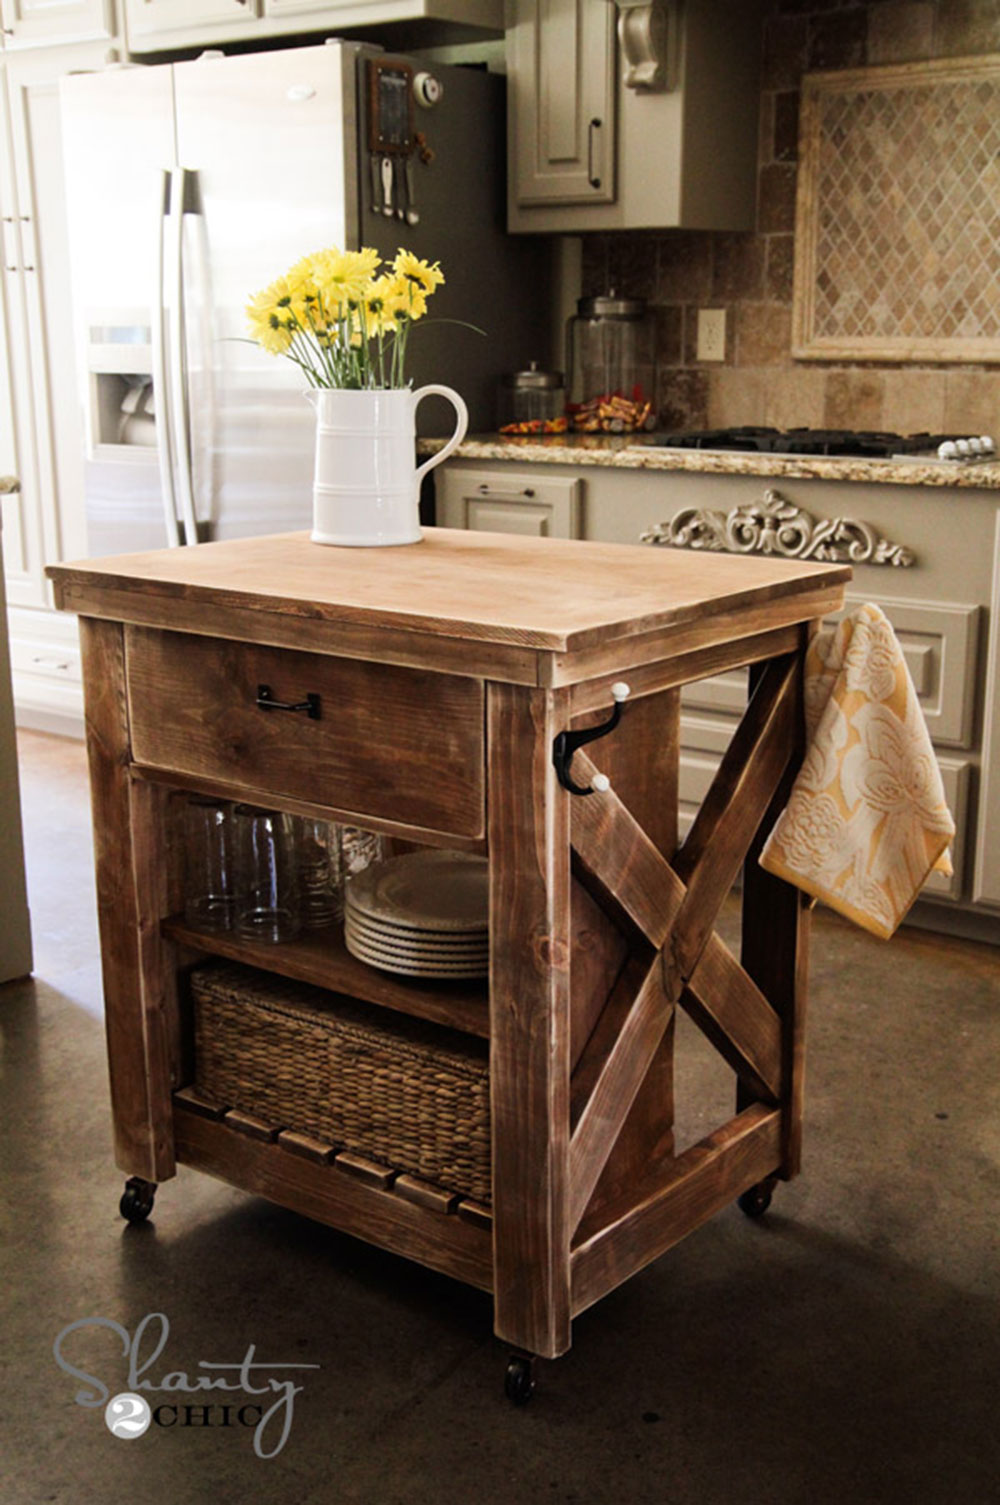
Compact Woodwork Kitchen Island Table
This is a compact, minuscule kitchen island. It is well built and harmonious. It is distinct for its use of wood columns and ornamental molding around the edges.
It’s perfect if you strive for something old-looking yet fresh. Just like all DIY kitchen islands, this one is also simple to make.
Old Paint Design’s Plan For Kitchen Islands
If you’re wondering how to build a kitchen island, then ask no more. Here is a plan from Old Paint Builds, which demonstrates how to makeover your shelves and cabinets for less than $100. It is both easy and cheap! This plan includes instructions such as building directions, a shopping list, and even color diagrams and photos.
Patterned Top Kitchen Island
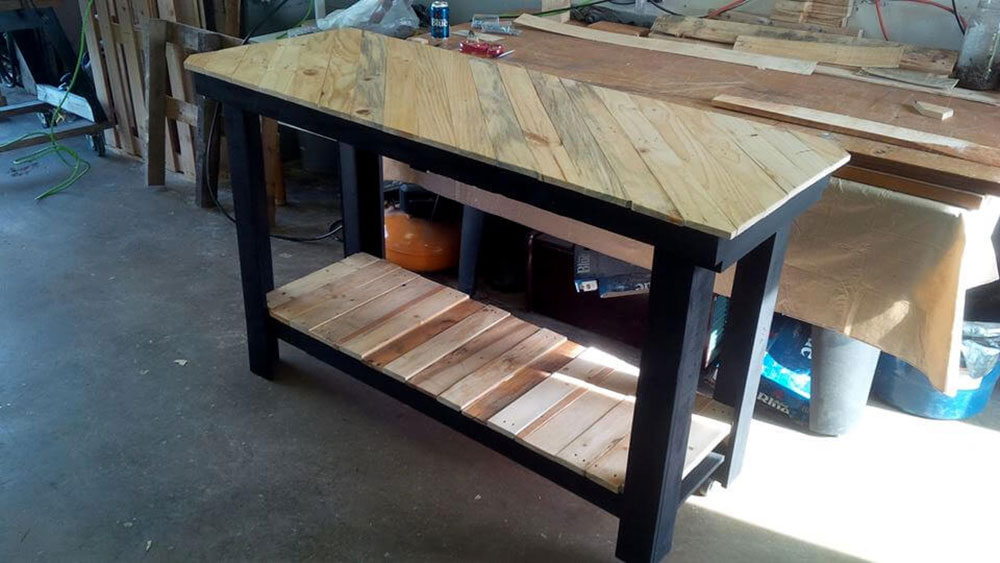
Built with pallets, this kitchen island will guarantee to show you how to build a kitchen island. What’s great about this kitchen island is that it comes with a unique pattern top. They will break the dullness in your kitchen and add a new flavor.
DIY Bookshelf Island
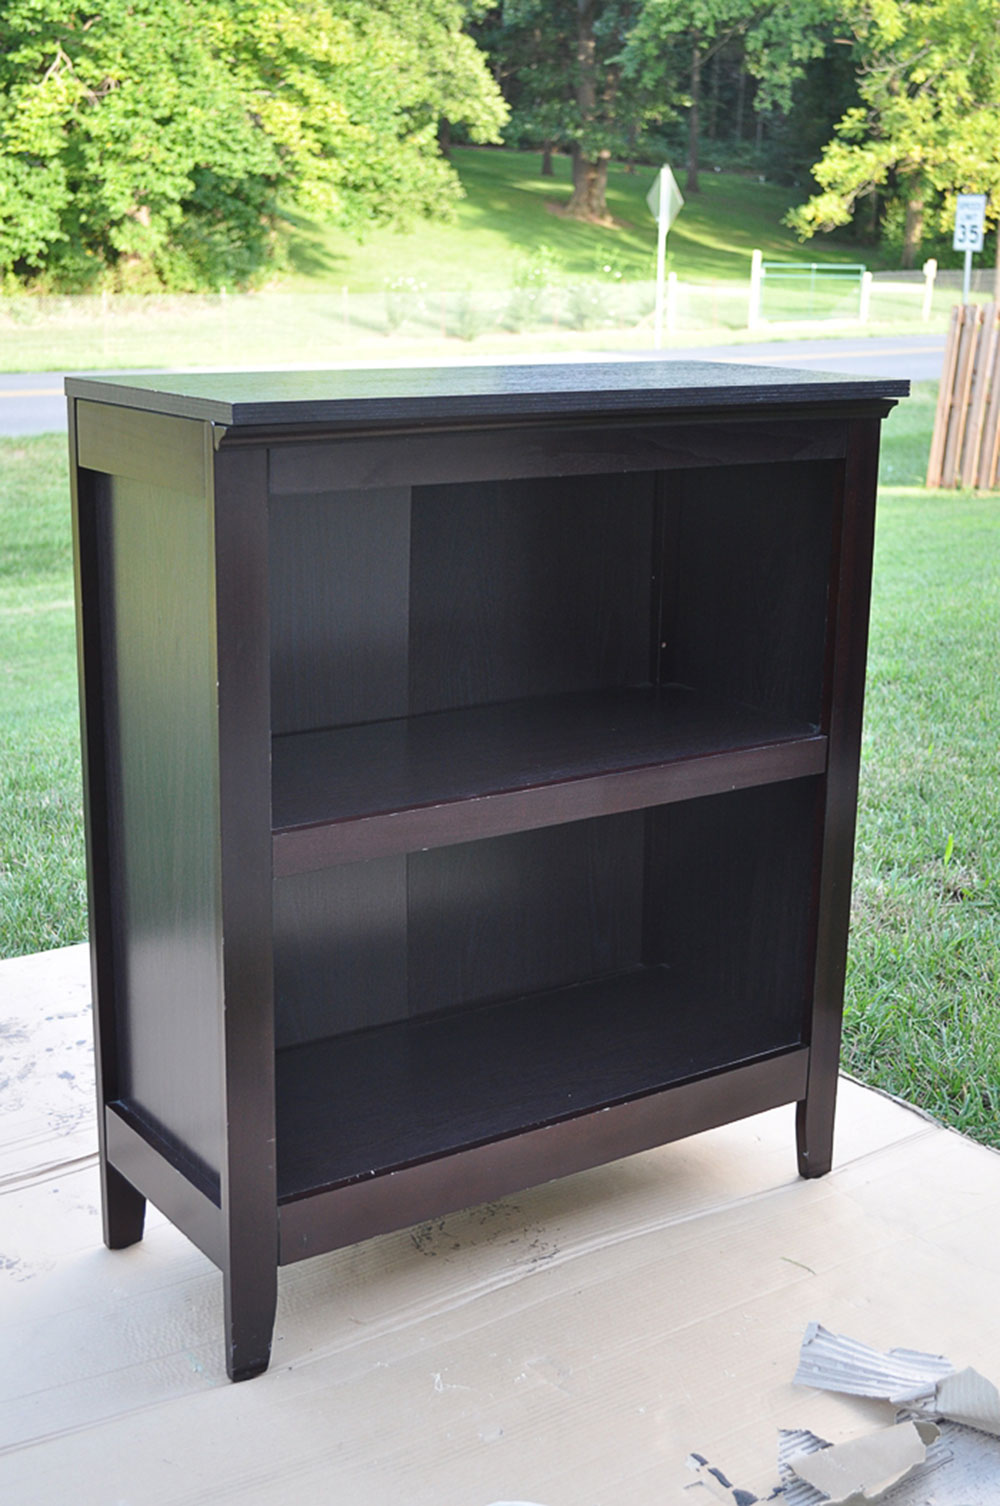
Have you ever thought about turning your old bookshelf into a kitchen island? With this easy tutorial, you can find out how to build a kitchen island cabinet from scratch.
Transform an old bookshelf into a helpful kitchen island with this easy tutorial. This narrow little island is perfect for anyone with a small kitchen.
Small Rustic Kitchen Island
If you want something perfect for your small kitchen, this roll-away kitchen island might be a great idea. It is portable, and it easily rolls out when you need it. It uses casters and plans materials and instructions. This idea is an excellent start for the new season.
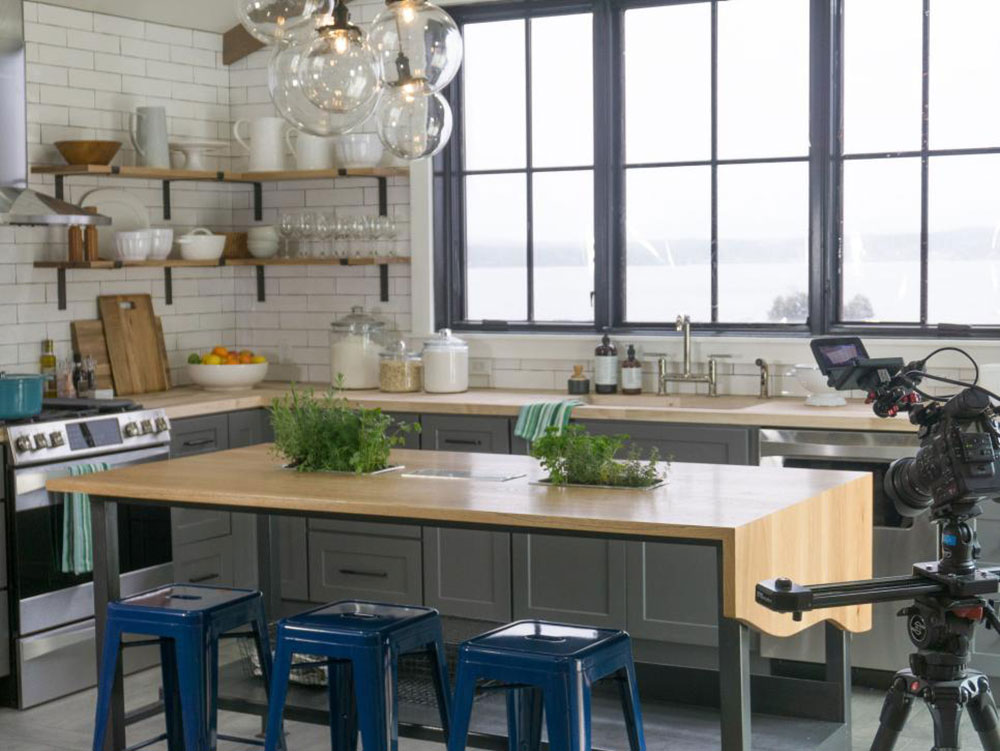
Kitchen Island Table
A rustic décor will add a nice touch to your modern kitchen, from rough stones to crates and shipping pallets. It’s perfect if you are into crafting and DIY projects. Instead of throwing away your cabinet – you can use it to turn it into an elegant one. Build it in no time and enjoy your new kitchen.
From A Door To A Kitchen Island
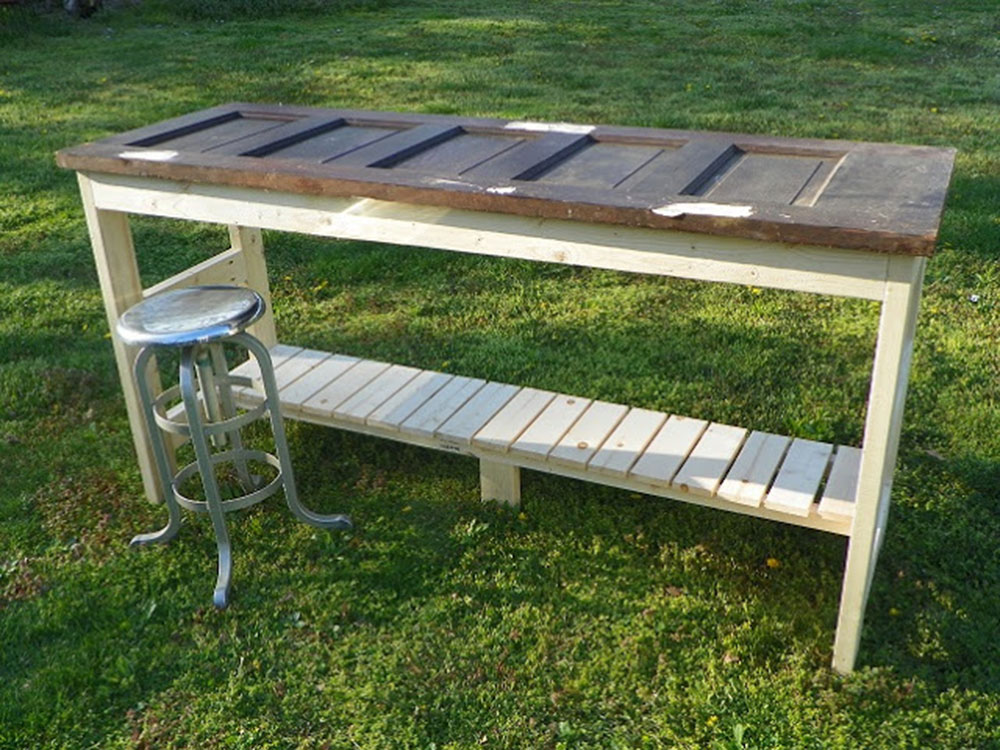
Unique designs come from unique thoughts. Who would’ve thought that you can turn a door into a table? With a simple tutorial on how to build a kitchen island, you can reuse almost any door for this project. It’s long and has a full, delicate surface- perfect for a family-sized tabletop. This new look will give you an excuse to gather your family and enjoy some time together.
Modern Ikea Kitchen Island
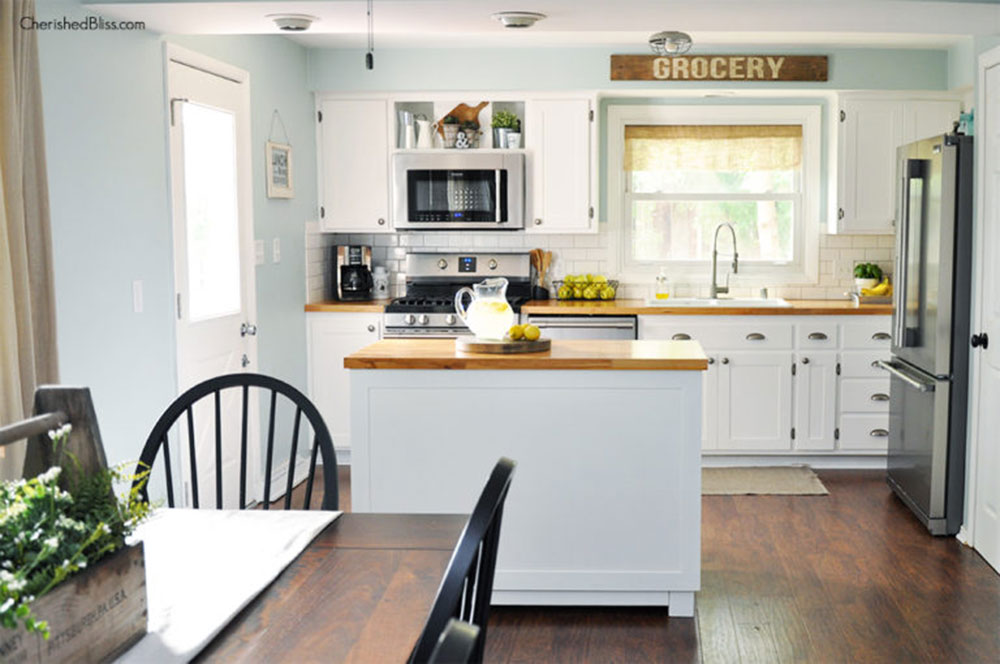
This site offers a detailed building plan for your next kitchen island. Not only you’ll have more space, but you’ll add a minimalistic feel to it. This look is modern, fresh, and pristine. With this makeover, you’re one step closer to a more organized kitchen.
Retro Kitchen Island
This is a set of guidelines meant to demonstrate how to build a kitchen island. Once you finish following these instructions, you’ll have a charming new island. Not only is it pretty, but it’s also very functional. It comes with a cutting board made from a sliding shelf – something many old desks have. You can build it alone, or with your significant other. Either way, it will be both a productive and fulfilling heart project.
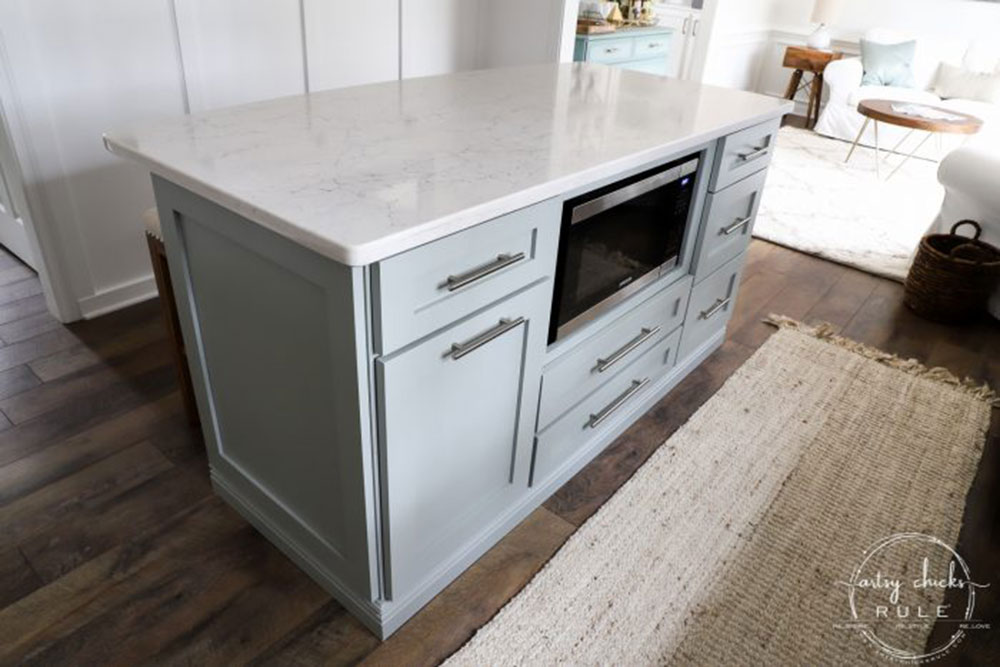
Ikea Kitchen Island
Many people make a lot of mistakes that ruin the appearance and functionality of a kitchen. Often they choose a matching cabinet set, thinking it will make the kitchen look more harmonious. However, these sets can be quite expensive to purchase.
What they don’t know is that you don’t need all that to design a kitchen. Different cabinet designs can break the monotony in the kitchen, and make it a more enjoyable place. This kitchen island is an outstanding example of this. It is built from wooden shelves and aluminum rails – it’s cheap yet effective.
Built-in Trash Storage Island
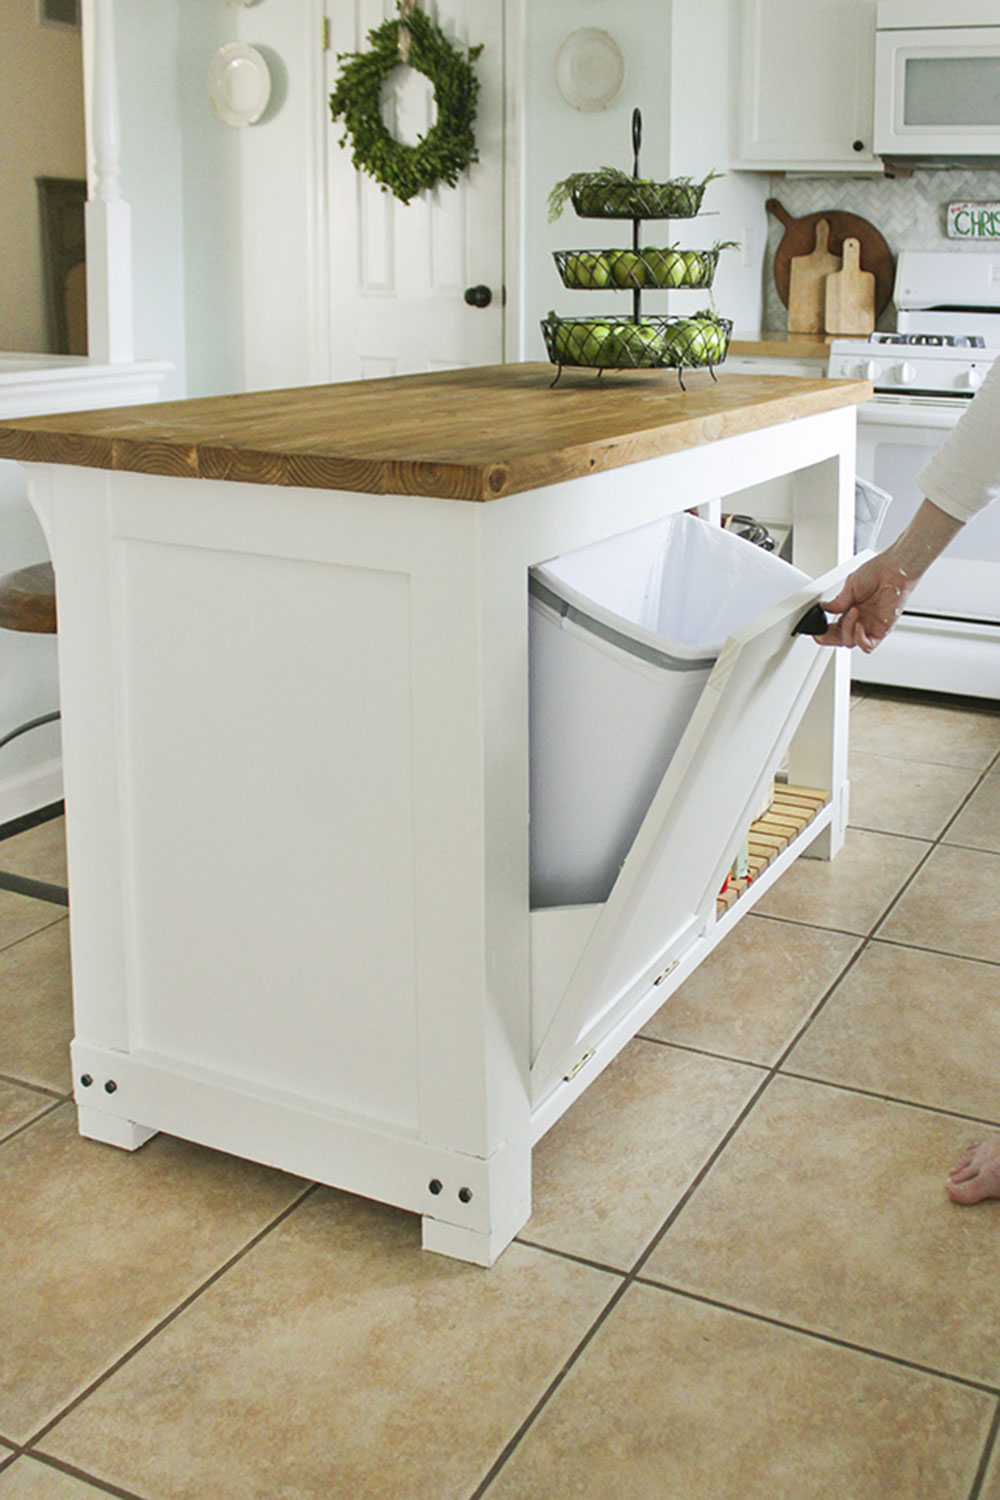
This island not only comes with a featured seating, hooks for kitchen towels and oven mitts, but it has a complete built-in trash can. It is excellent for outdoor kitchens where you can hide and pull out your trashcan. It’s perfect for family evenings and friend gatherings.
Small Kitchen Cart
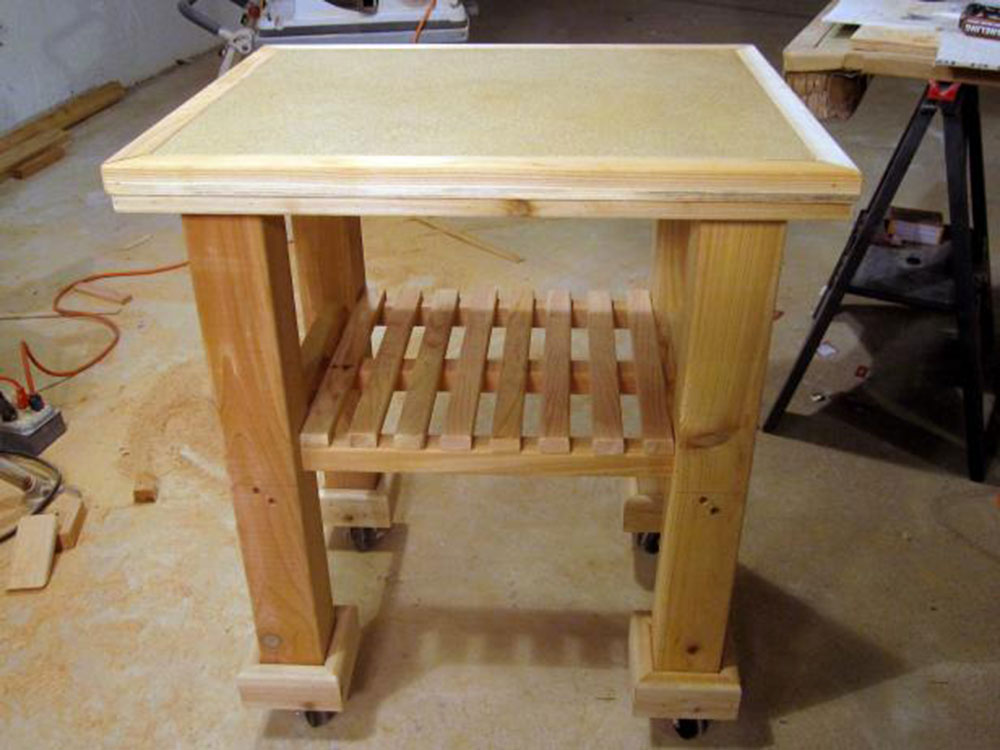
This is a free plan for a kitchen cart. It will double nicely as both a kitchen and grill island. It offers much more flexibility since its portable. This plan also comes with a list of materials, tools, and instructions – all of which are free.
Money-free DIY Kitchen Island
This is a pottery barn inspired kitchen island. Instead of spending hundreds of dollars for a store-bought one – you can just make it yourself. This tutorial offers step-by-step instructions to create a kitchen island.
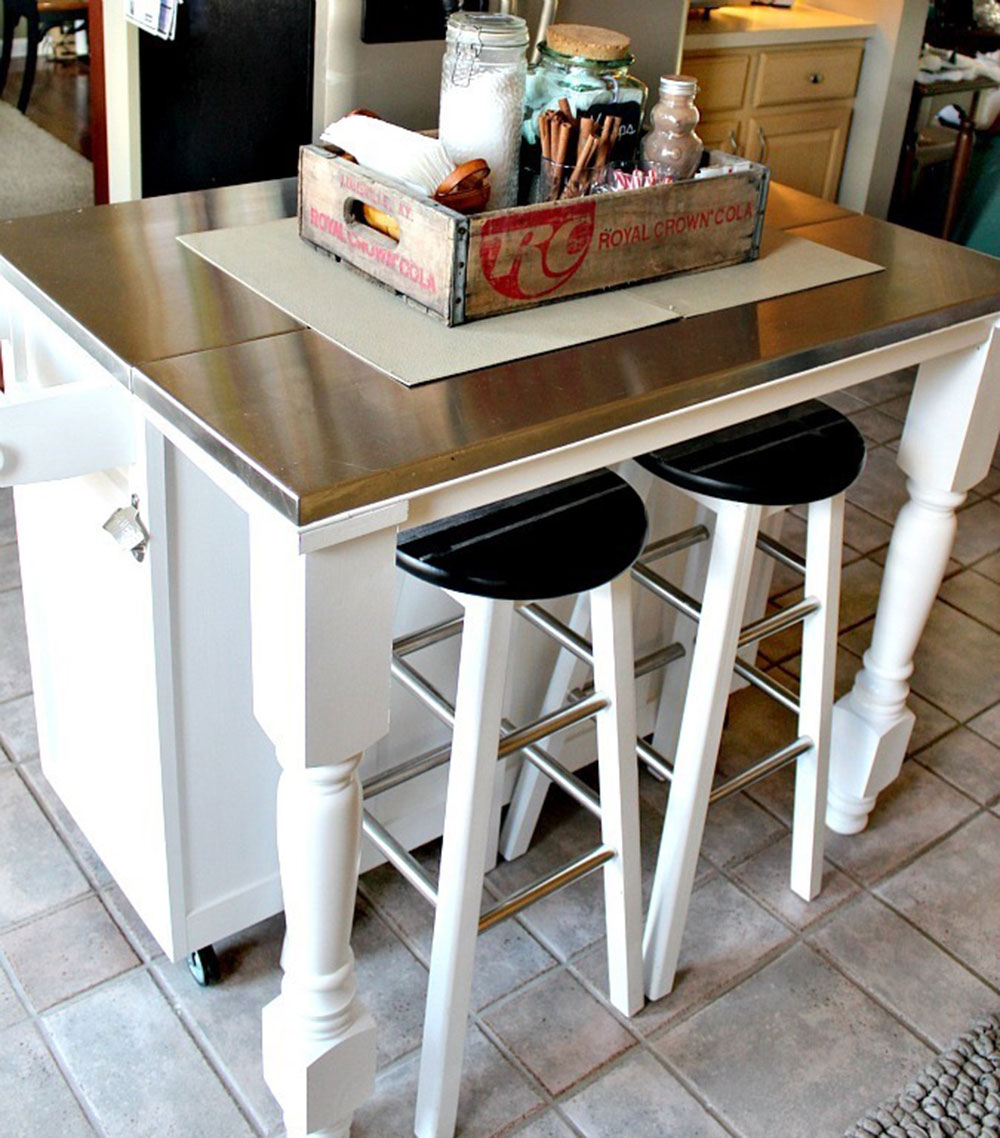
Ikea Farmhouse Kitchen Island

Here’s a homemade kitchen island that doubles as both bar seating and a table. It has a spacious surface and additional kitchen storage in the cabinets. It goes perfect with a two-tone color combination – great for adding a subtle contrast in your kitchen.
How To Make Stock Cabinets
This plan comes with a set of video instructions, necessary tools and materials, and a PDF file with detailed diagrams. You can quickly build this square kitchen island and enjoy your summer without worries.
Homemade Legs For Your Kitchen Island
You can add a bit of character to your kitchen by dressing up your kitchen island with a leg. Such island cabinets vary in size, shape, and thickness. They are an excellent way to spice up any kitchen. However, make sure to match them with the style of your kitchen. The wrong design can be irritable and look tasteless and cheap.
Ending thoughts on how to build a kitchen island
With ever so changing styles and trends, updating your kitchen is always a great idea. You can replace your kitchen appliances and decorations, or your kitchen islands. If you hate spending money, then changing your kitchen island is both cheap and fun to do. With these 17 simple DIY tutorials, you can now improve your kitchen atmosphere and add flavor. Hurry up and season your kitchen in no time.
If you enjoyed reading this article about how to build a kitchen island, you should read these as well:
- How to pick the best countertop water filter (Guide and the best options)
- Basement kitchen ideas for creating an amazing kitchen
- How to paint kitchen cabinets without sanding
The post How to build a kitchen island (17 DIY kitchen island plans) appeared first on Impressive Interior Design.
source https://www.impressiveinteriordesign.com/how-to-build-a-kitchen-island/