One of the biggest DIY projects is painting various rooms within your household. The bathroom can be an especially sensitive area to paint, and it might require a lot of time and effort, but the payoff can be big if you put the effort in. In this article, we will take a look at how to paint a bathroom properly without making a mess.
A bathroom is a place that is one of the most used rooms within your house. That also means that it requires regular maintenance, especially because of the nature of the operations within it. Constant hot water use means a lot of condensation and moisture, which will inevitably lead to mold. If you are not careful, your walls will be full of mold in no time, and that can become a big issue.
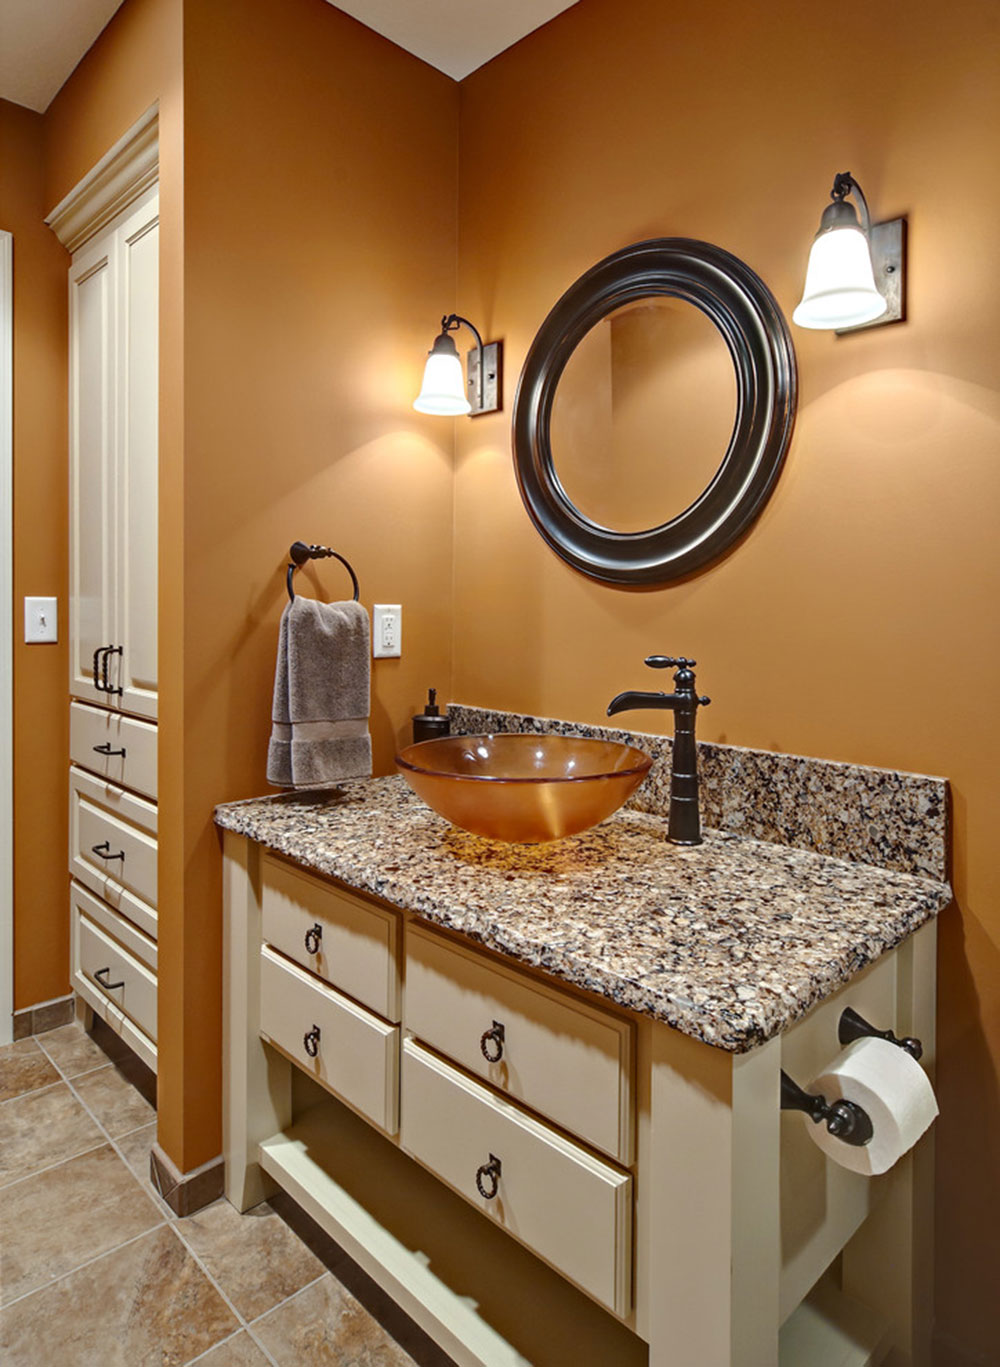
Image source: Knight Construction Design Inc.
If you have painted, or tinted, walls, it can be even more important to maintain it regularly. Just like with any other room, your bathroom will need to be repainted regularly to maintain its quality. How to paint a bathroom requires a lot of thought and precision.
Here are some facts about painting the bathroom.
- Working time – 6 hours
- Total working time – cca. 8 hours
- For beginners
- Cots: from $50 to $100
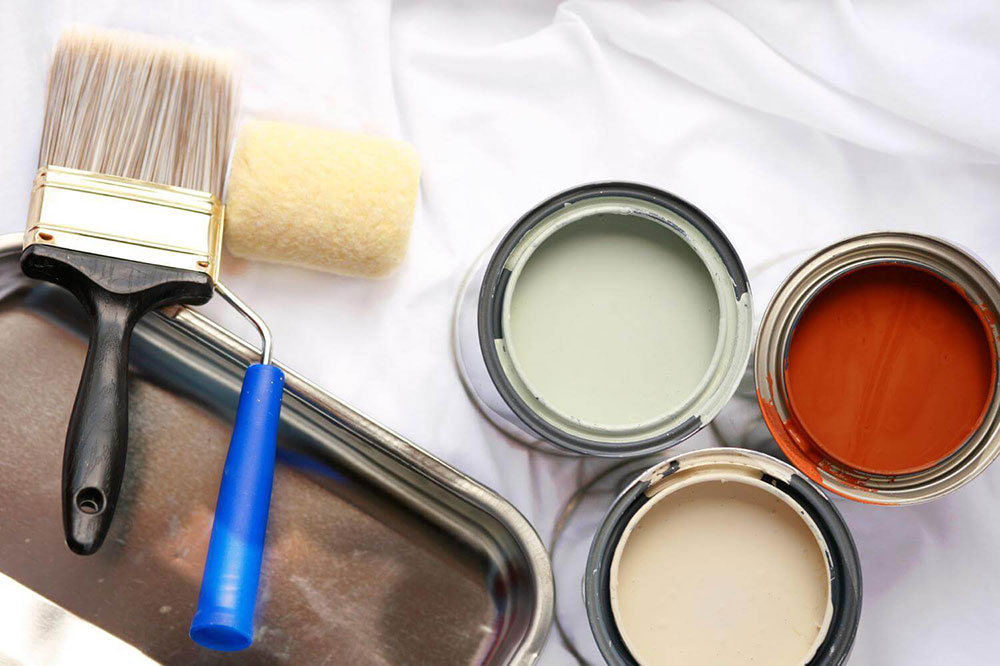
Also, you will need to spend some money on the supplies. Here are some of the most commonly used supplies for painting a bathroom:
- Interior paint
- Paint roller
- Roller cover
- 2-inch sash brush
- Paint tray, liner
- Painter’s tape
- Plastic sheeting
- Flathead and Phillips screwdriver
Here are the steps you need to take, if you want to know how to paint a bathroom properly.
How to paint a bathroom properly
Step #1: Prepare the Bathroom
Preparation is key to any project like this; the better you prepare for it, the better you will be able to do the job.
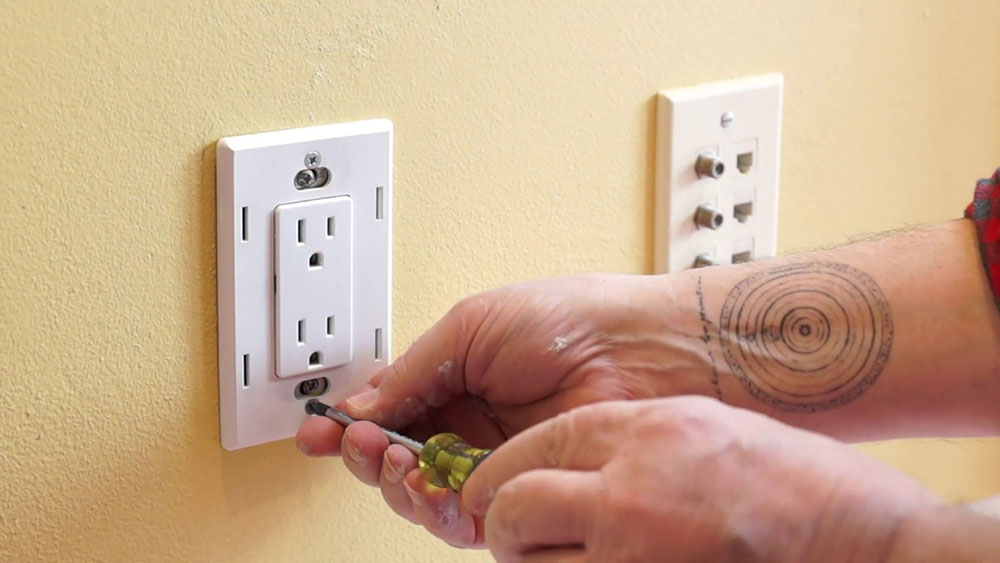
The first thing you will want to do is to remove the plates from electrical sockets and light switches. This will prevent them from getting dirty while also being able to cover the area behind the plates with paint.
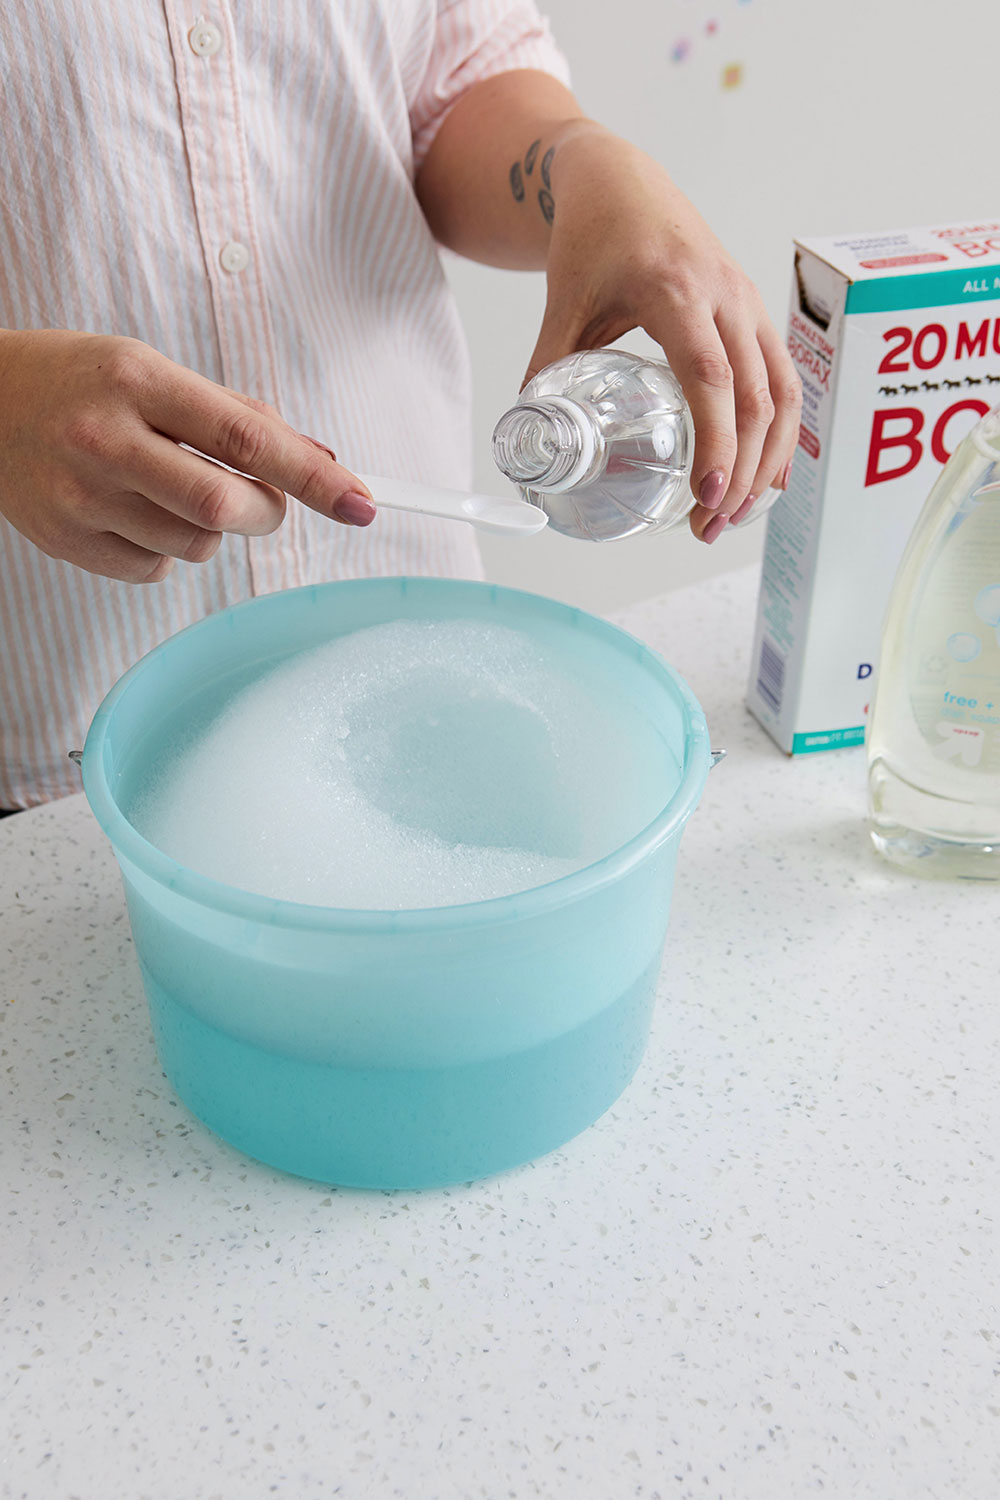
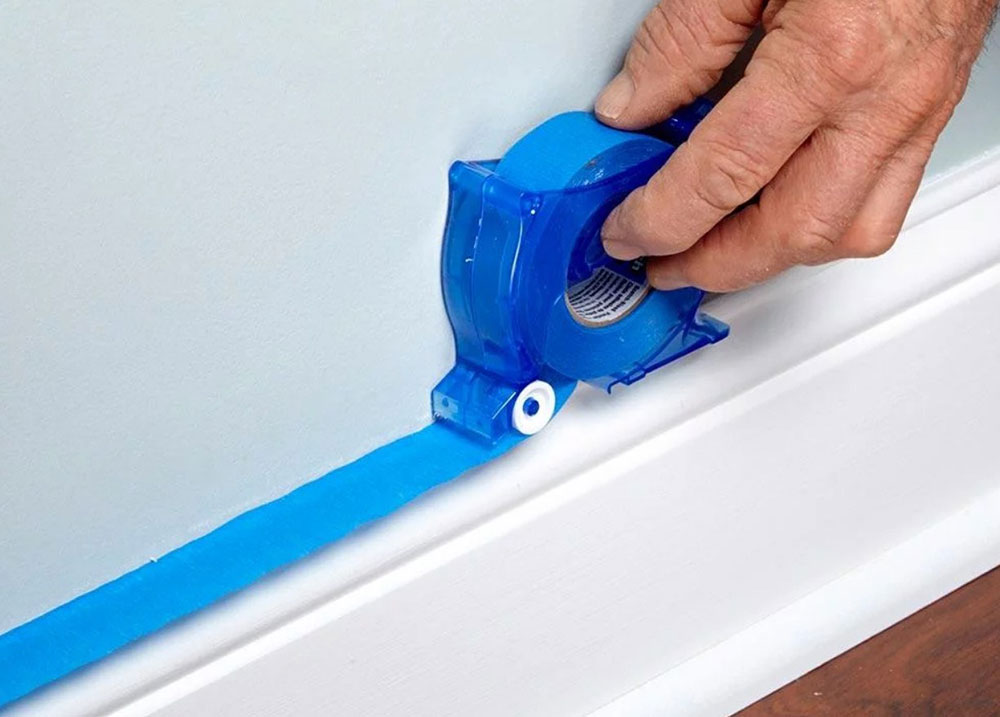
Next, wash down the walls with soap and water. For easier top-to-bottom painting, apply the painter’s tape to baseboards, which will enable you to perform horizontal painting with ease. Then, look for any holes or dings; if you find any, patch them. You will also want to protect the floor from possible spills. You can use a tarp to do that.
Also, you will want to protect everything that you won’t be painting from getting dirty. Remove any unnecessary part of the furniture that you can easily reinstall. For the areas that you don’t want to be painted, apply the painter’s tape. Use sash brushes for more precise painting, because they have a diagonal tip, which makes it easier to paint in tight areas.
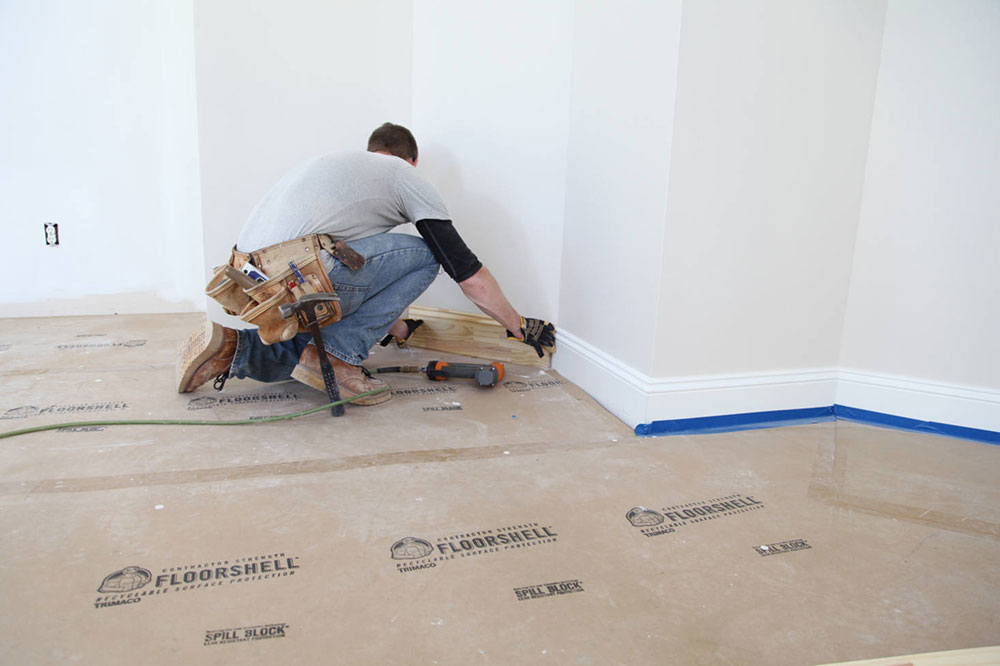
Lastly, the floor. You will want to protect the floor as good as possible, and you can do that relatively easily with drop cloths. Lay the cloths on the floor, and try to cover as much as you can, including the areas next to the baseboards. You can also cover it with a newspaper, which can take you slightly longer to cover, but it is effective nonetheless.
Tape the baseboards and all framing. This will make your life much easier. Again, the importance of the painter’s tape can be huge, so you will want to have it handy for any possible coverings with the tape. Smooth out any edges, cover the holes, and you are ready to go.
Step #2: Choose the Paint
Before you start painting, there is also another very important thing to ask yourself: which color you will use for painting, and what type of paint to use?
Possibly the best paint to choose is the mildew-resistant paint, and also satin or semi-gloss paint. One of the most important steps of how to paint a bathroom is choosing the right paint. You have to consider that your bathroom is a breeding place for mold and will inevitably produce a lot of moisture. For this reason, you would do best if you choose a paint that has mold-inhibiting agents in it.
Glossy paints are also a good choice, because they are more durable than matte finishes, and easier to clean. Glossy paints also tend to repel moisture and mold better, so that would probably be the best option for the type of paint. Of course, it is completely your choice, depending on your own taste. This type of paint is sensitive to various bumps and imperfections though, and it will tend to show much more.
As for the color, this is completely your choice. However, the best option is to pick the colors that suit your hallway, or the overall design of your home. Some people prefer more extravagant colors in their bathrooms, while others go for more subtle and calming colors. Add glossy finishes to your liking.
You can also get a taste of the color as a part of the preview that some paint companies offer on their website, or get the sample in their stores. You will also need to consider the amount of color you buy; sometimes, you can buy too much color, but the best would be to buy more; however, too much paint leftover is also not the best idea.
Step #3: Paint Your Bathroom
Here is how to paint a bathroom properly, step-by-step.
Wash the Walls
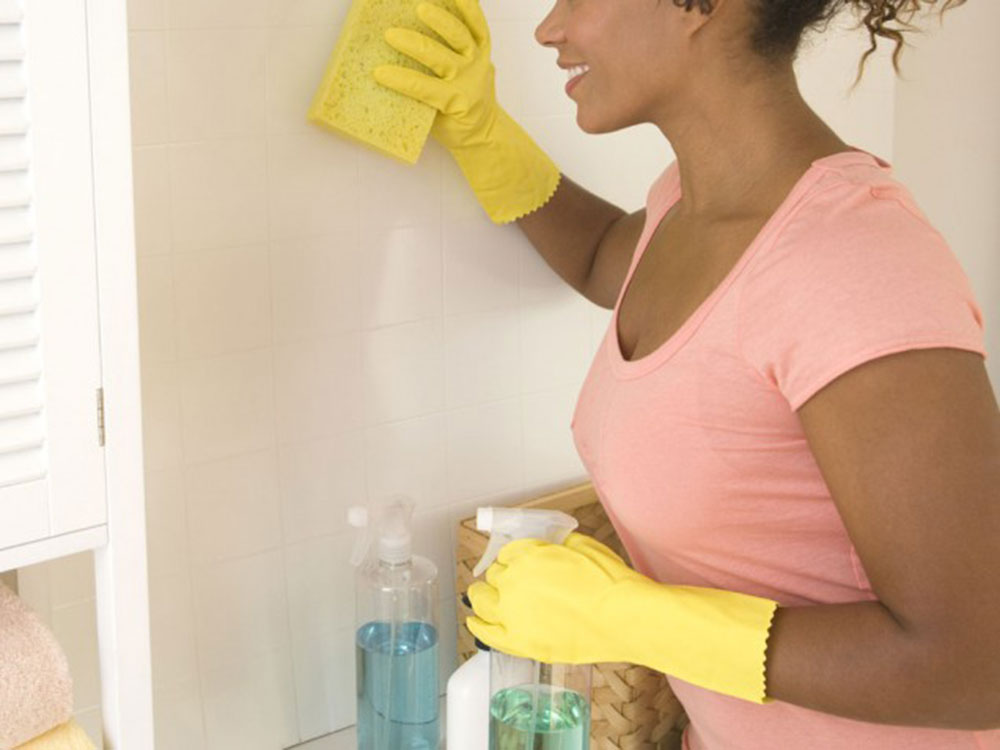
As we already said, the best thing to do before starting to paint is to properly wash the walls. This way, you can get rid of the mold that has collected up to now. You can also use various solutions and bleach, which will make your cleaning more effective.
Another good solution to wash the walls with is the trisodium phosphate and water solution. This detergent is a very powerful solution that will clean your walls and it will remove all the grease, and even mold. Remember to wear gloves during the process.
If the walls are left untreated, and there is still mold on the wall, then you can’t expect the same quality of paint. The paint won’t stick to the wall; for best results you will need a dry wall for the paint to stick to the wall and to see the best colors in your bathroom. Keep the bathroom ventilated while you clean the walls, as you want to have as dry wall as possible.
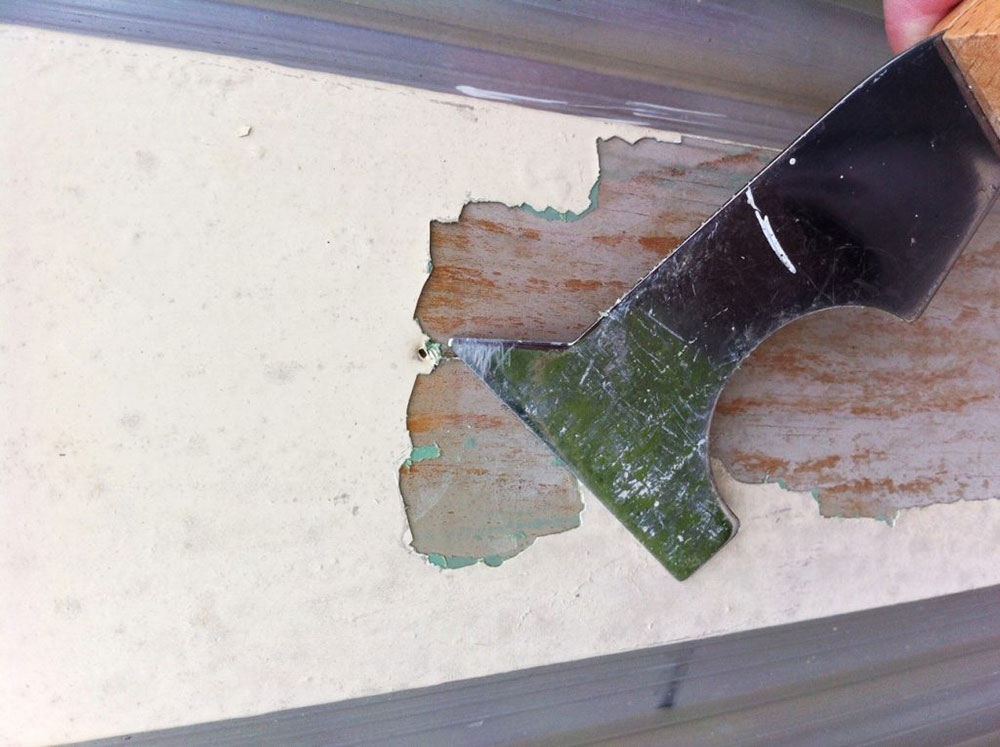
Remove any flaking paint with a scraper or other tools, which will prevent the new paint from falling off as well. You might want to wear goggles for this, though. Next, we will take a look at how to paint a bathroom properly.
Prime
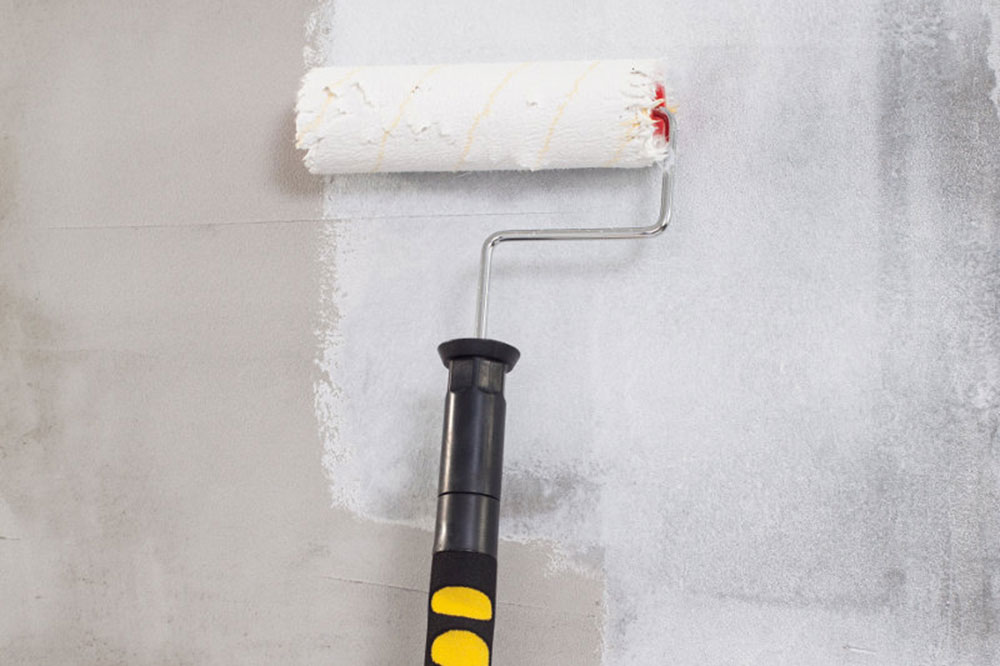
To guarantee that the new paint will stick as best as possible, you will want to use a high-quality primer to prime the wall. For this, you can use a latex primer that will make sure the paint will apply to the wall. With a good primer, you will use much less paint as you would have to without it, and it can save you a lot of time applying additional coats of paint later on.
Paint
At last, you can start painting. You will want to follow this procedure: trim, roll walls, and then cut edges.
First, dip the roller into the paint gently, and slide it behind the tank. Then you can use your brush for applying the paint to your wall. A good quality brush will allow you to apply it much more efficiently. Paint the borders, and then the edges. Then, you can use a lightweight nap roller dipped in a tray for a much faster and efficient painting process.
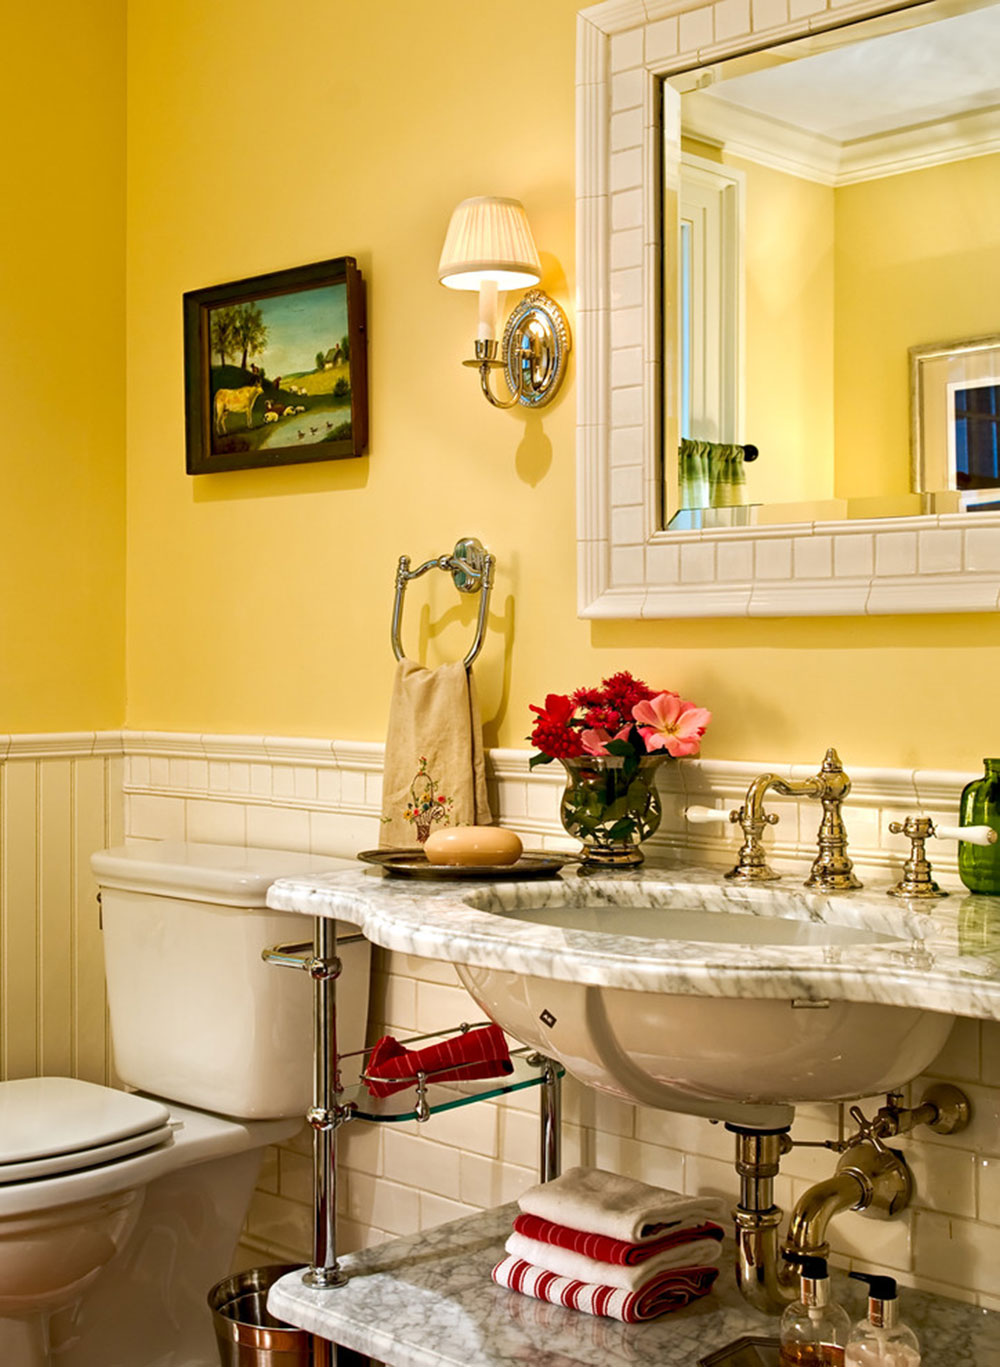
Image source: Crisp Architects
Wait for the paint to dry. Once it does, evaluate whether it needs another coat. If you think it does, then apply another coat of paint. Most likely, you will need at least 2 coats of color for a good painting process.
For the next few days, try to produce as little humidity as possible to enable good drying.
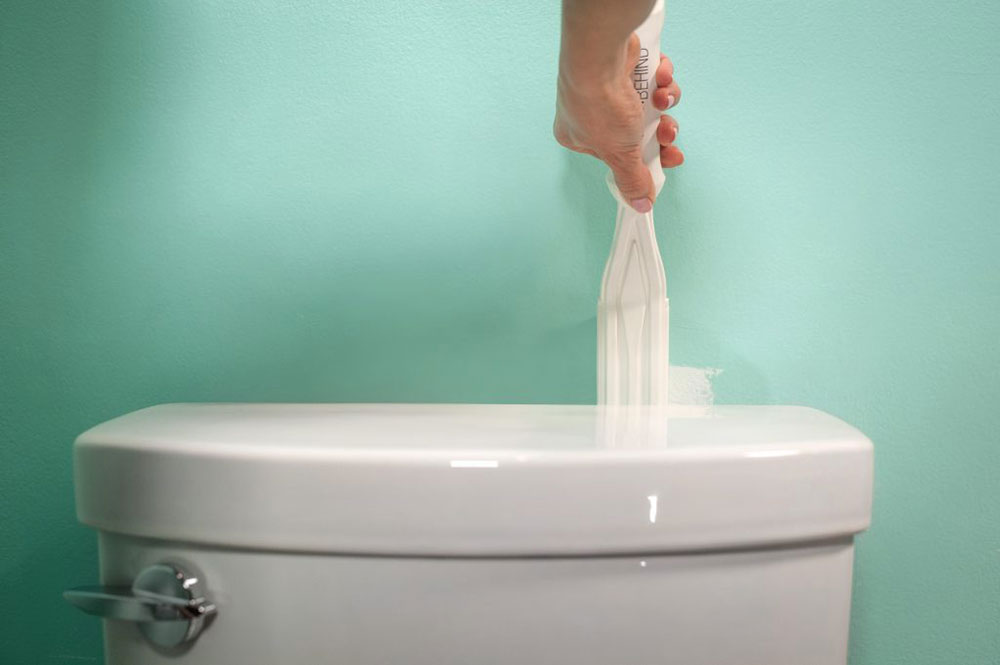
How to Paint Behind a Toilet
One complicated part of how to paint a bathroom is behind the toilet – that is the place that is not as easily accessible as other parts. So, you can use a small paint roller to carefully paint behind the toilet.
Or, you can perform a paint swipe using a cloth. Then, you can paint the area carefully with that cloth.
Hopefully, you will know how to paint a bathroom properly. It takes some practice and effort, but it can be done by virtually anyone.
- White ice granite countertops, inspiration and tips for using them
- Dark Wood Floors Tips And Ideas You Should Try
- How Can We Decorate Our Bathrooms with Translucent Glass?
The post How to paint a bathroom properly (Images inside) appeared first on Impressive Interior Design.
source https://www.impressiveinteriordesign.com/how-to-paint-a-bathroom/


No comments:
Post a Comment