Friday, March 27, 2020

How to remove candle wax from walls and wood

Want to know how to remove candle wax from walls? Let’s find out in this article.

People use candles to bring a romantic atmosphere to a room, especially during the festive period. Not only that, but candles are also great decorative elements that many homeowners utilize to create a special feeling to a room. Unfortunately, there is always a risk of candle wax dripping if we let them out of control. And once it dries, it sticks to our walls and wood, which is extremely hard to remove.

The problem is even bigger if the candles are colored. The usual cleaning products that we use for regular maintenance will likely not be enough here. And that is especially annoying, as candle wax can cause further damage to the walls and especially wood.

In this article, we will take a look at how to remove candle wax from walls and wood. These are foolproof methods of removing candle wax, and they are sure to work. Stay tuned!

How to remove candle wax from walls

remove-wax How to remove candle wax from walls and wood

Removing the candle wax will massively depend on the type of wall you have. You could have sheetrock, lath, or plaster wall. In any case, it will require you to take action as soon as you notice wax on the wall before it dries.

The paint on the can also be vulnerable and is a factor to consider. You should try to be as gentle as possible to not mess with the paint. Here are some of the best methods of how to remove candle wax from walls.

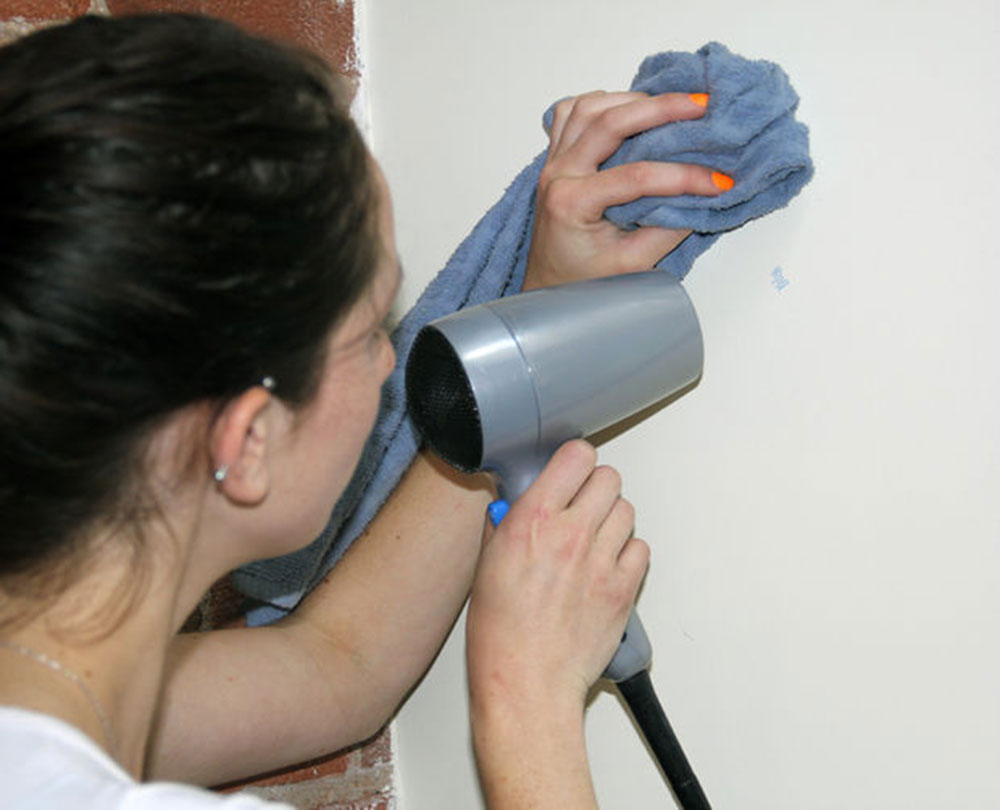
Method #1: Using a Hairdryer

haridryer1 How to remove candle wax from walls and wood

First of all, here are the things you will need for this method:

  • Scraper or a plastic knife
  • Hairdryer
  • Paper bag
  • Dusting cloth
  • Vinegar
  • Water

With this method, you will want to let the wax dry first before you start removing it. Once it is dry, you will use a hairdryer to heat it up again so the wax will be much easier to remove.

Then, you will want to use the hairdryer and a paper bag to heat up the wax. With the paper bag, you will need to cover the area you will be heating so that you will be able to remove the wax later on much easier.

Once you complete the process, the wax should be gone. However, if there are any wax spots left, repeat the process again and again until the wax is completely gone.

To complete the cleaning process, get a dusting cloth so as not to disturb the paint underneath the wax. Then, mix a solution of vinegar and water (ratio of 1:3), and apply it to the cloth. Then with the cloth, start wiping gently across the surface where the wax was. The solution will make sure that the paint won’t get damaged.

By now, the wax should be gone; if there is still some left, use a multi-surface cleaner straight after applying vinegar and water to get rid of it completely.

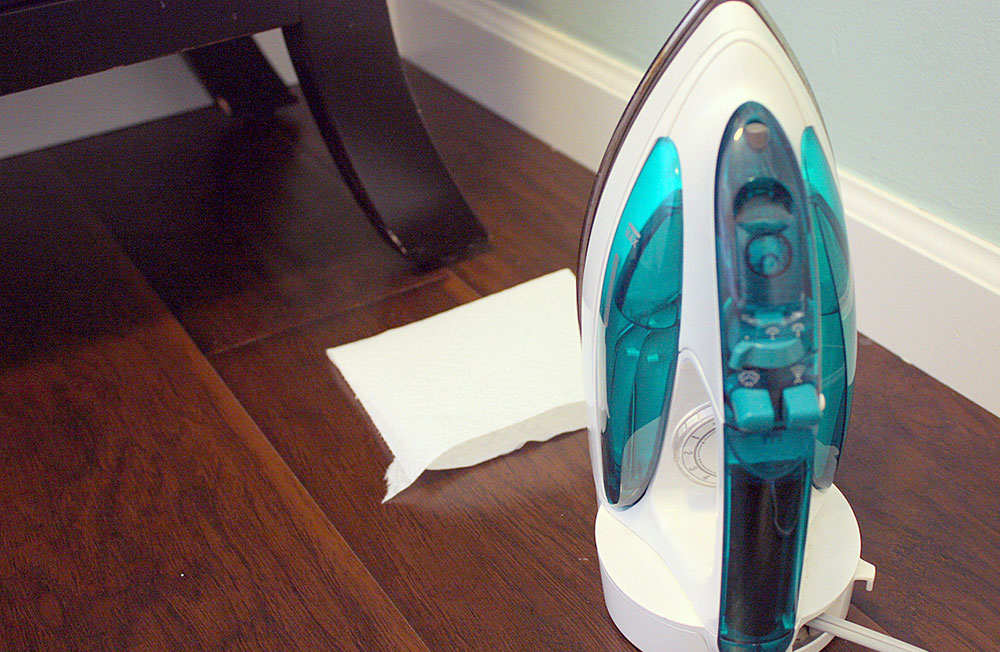
Method #2: Using an Iron

iron-towel How to remove candle wax from walls and wood

In this method of how to remove candle wax from the wall, you’ll require the following supplements:

  • A scraper such as a plastic knife
  • Iron
  • Paper towels
  • Melamine erase sponge

wax-from-wood How to remove candle wax from walls and wood

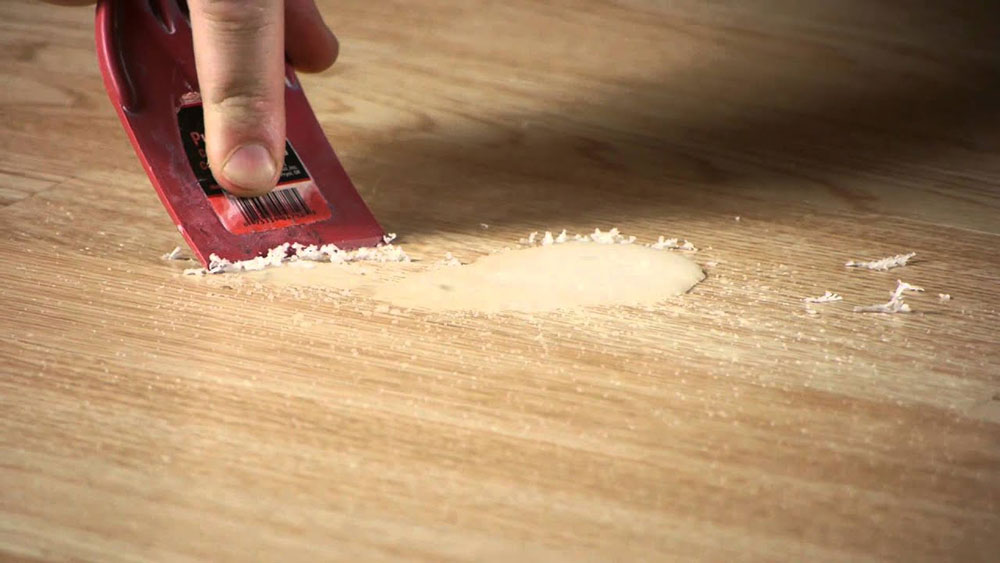
Before you start removing wax with this method, try to remove as much wax as you can using a scraper or a plastic knife. Be as gentle as possible to not damage the wall. If the wall is plaster, then the wax should come off with a plastic spoon or knife without making damage to the wall. However, if you have sheetrock, you should be wary of using a knife unless there is a lot of wax.

Then, heat an iron to the lowest setting. Make sure that you use an extension cord to make work easier, and make sure that you don’t drop the iron to areas where it can cause harm.

Before you actually start using the iron, test it on a surface for a brief period to make sure it won’t damage the area. Plaster or sheetrock should handle the iron easily, though, but the paint can still be damaged.

Place paper towels over the area where wax is. Then, go over the area with the iron until the wax starts to melt. Once it does, use the paper towels to remove the wax from the wall. Keep the iron moving and don’t use it in one place only as it can damage the surface.

wiping-wax-on-the-wall How to remove candle wax from walls and wood

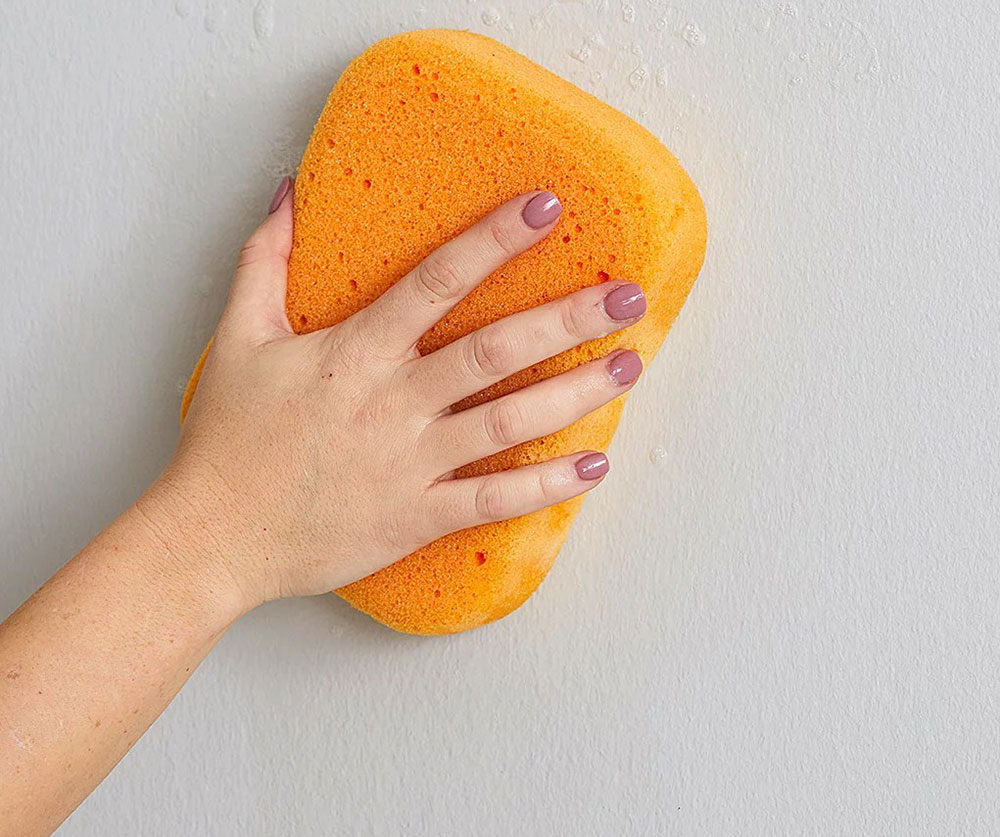
Lastly, dampen the melamine eraser sponge and use it to remove any leftover wax stains completely.

How to Get Candle Wax Off Wood

Removing Candle Wax from a Wooden Table

vinegar How to remove candle wax from walls and wood

You will need:

  • Blow dryer
  • Iron
  • Soft cloth
  • Vinegar and water
  • Furniture polish

First of all, we must establish that under no circumstance, you should chip away at the wood as you can very easily damage the wood. Instead, consider using a blow dryer.

To soften the wax, use the dryer at minimum heat, and keep the dryer about 3 or 4 inches away from the table. Let the wax soften, and then simply wipe it away using a cloth.

polish How to remove candle wax from walls and wood

Then, you can use the same method as with removing the wax from the wall: use a mixture of vinegar and water to completely remove the wax after you have softened it.

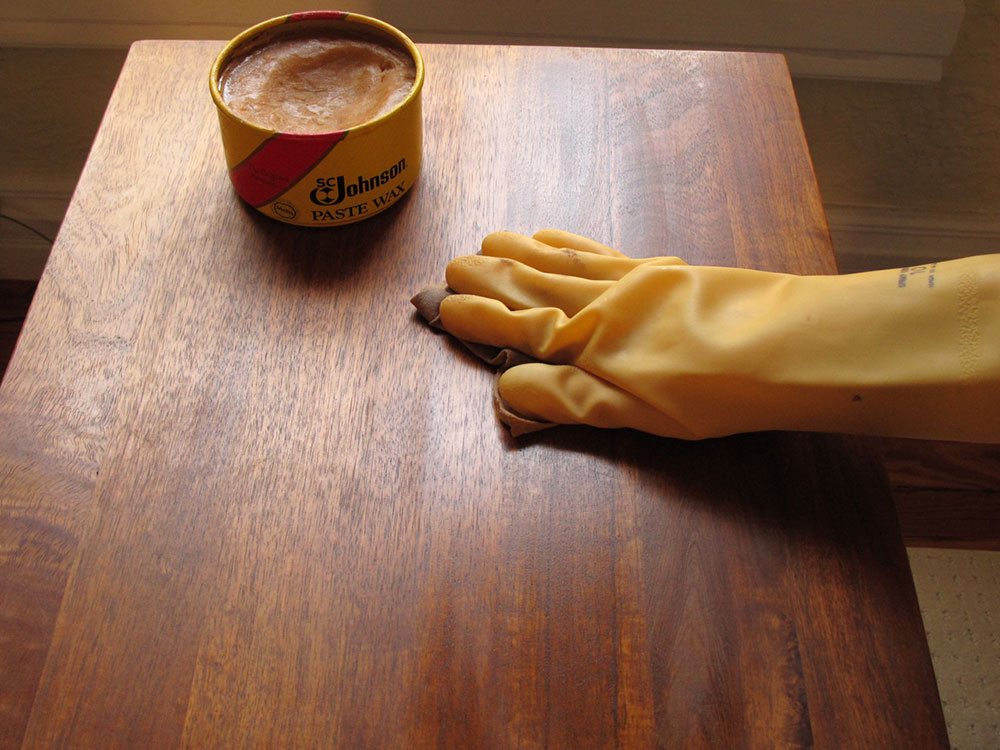
Lastly, polish the table to get that final touch.

Removing Candle Wax from Wooden Floors

When removing the wax from wooden floors, you have two options.

Option #1:

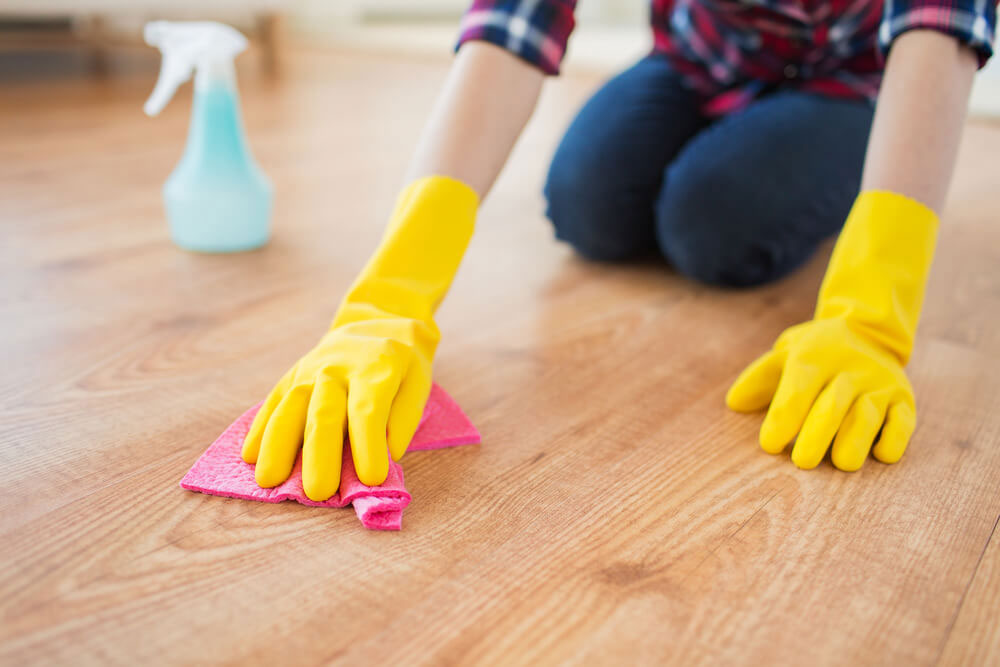
dry-mop How to remove candle wax from walls and wood

This first option should be followed step-by-step to remove the wax as effectively as possible.

You’ll need:

  • Warm water
  • Mineral spirits
  • Mop or a cloth
  • Dry cloth

Let the wax dry. It might be tempting to start removing wax right away as you spill it, but it is not the best idea, as you might spread the wax even more.

Once the wax is dry, start mopping the wooden floor with warm water. Not only will this remove the residue and dirt sitting near or on top of the wax, but it will also loosen the wax a bit.

Pour mineral spirits right over the affected area.

Start scrubbing the floor with a mop or a clean cloth. You might need to apply some force to it for the wax to start coming off.

Wipe the floor clean using a dry cloth.

Option #2:

hairdryer How to remove candle wax from walls and wood

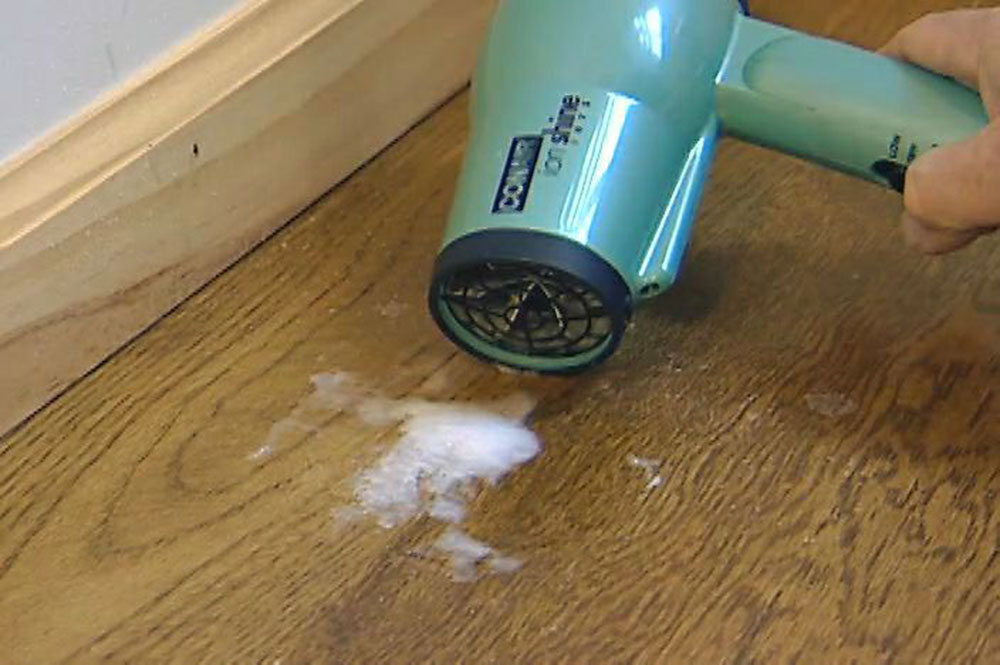
The second option is relatively simple, and you’ll only need a spoon, a hairdryer, and a soft cloth.

  • First, try to remove as much wax as possible with a spoon or with your fingers. Don’t scratch the floor, though.
  • Then, set the hairdryer at the medium speed, and start heating the wax.
  • Once the wax softens up, use a cloth to remove the wax off.

Option #3:

crredit-card How to remove candle wax from walls and wood

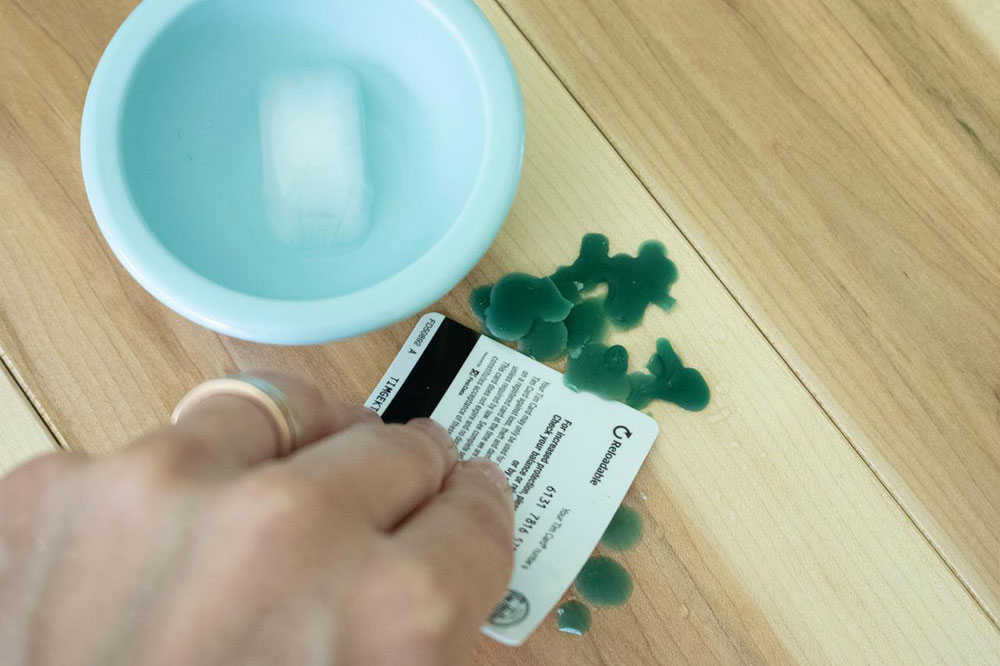
The last method is using the opposite of heat to get the wax off the ice. Here’s what you’ll need.

  • Ice
  • Plastic razor blade or unused credit card
  • Soft cloth.
  1. You can try the opposite: making the wax harder before you start scraping it off. If the wax is already dry, place an ice cube over the wax and let it sit for 30 seconds.
  2. Now the wax should be a bit stiffer but also easier to scrape off. Use a plastic razor blade or a credit card that you don’t need anymore, and start scraping it off. Be careful to not scratch the surface.
  3. Lastly, complete the process by wiping the floor with a cloth, and then with a mop.

Prevention is Key

If you prevent wax from spilling in the first place, you won’t even need to know how to remove candle wax from walls and wood. Here are some prevention tips:

  • Keep candles away from the wall, at least 15cm.
  • Place candles in a dip tray for the wax to not spread.

If you enjoyed reading this article about how to remove candle wax from walls and wood, you should read these as well:

The post How to remove candle wax from walls and wood appeared first on Impressive Interior Design.


source https://www.impressiveinteriordesign.com/how-to-remove-candle-wax-from-walls-and-wood/

10 Inspiring Work-from-Home Office Setups

Get inspired with these work-from-home office setups

To help prevent the spread of COVID-19, most companies are shifting to remote work. As a result, plenty of people are reconfiguing their spaces and scrounging for the tools to effectively work from their homes.

We reached out to our coworkers for some work-from-home inspiration. Some of us are having to make do and get creative with the space we have at home. Others are seasoned remote employees who have mastered an aesthetic. 

Abby Dauchess — Home Jungle, Charlotte, NC
“My setup is what used to be my painting/art area now turned into my WFH sanctuary. Once I knew we were going to be working from home for a while, I wanted to prioritize a dedicated space I could focus in. It’s very nice sitting by a window because I have a great view throughout the day while being stuck inside during social distancing. I especially love having a large portion of my indoor plant collection near my workspace to look at and care for.”

Ali Dunlap — Parent’s Basement, Raleigh, NC
“My father joked about him setting up a workspace for me and when I got home this is what he showed me. Snapped a pic, then got myself back upstairs to set up at a desk.”

Brandi Myers — A Funky Space, Charlotte, NC
“This space is my home office that I use for freelance design work so I needed a room that was energizing and also comfortable to spend time in. My love of color and eclectic sense of style challenges me to balance contemporary pieces with antiques. This is by far the funkiest space in my house.”

Brian Miranda — Quarantined Paradise, Puerto Rico
“During this time of the year we enjoy not-too-hot, mid-70s weather from time to time, which makes it perfect for the hammock! Since I’m working from a back-breaking dining room chair, I thought it would be cool to use the hammock for a while so I came up with this crazy setup.

Carlos Jimenez — Apartment by a Boat Marina, Puerto Rico
“My dad’s favorite hobby is fishing, so the apartment is PACKED with fishing gear. Even though we’re stuck inside most of the day, it’s nice to have a nice view to work with and for running after work.”

Claye Stokes —  The Game Room, Waxhaw, NC
“Showing off the new content performance dashboards to my best co-worker in my music & gaming room. The table is a pool table but I can put a topper on it which makes it my office/conference table. Coworker’s name is Rusty, he’s a two-year old Australian Shepherd.”

Clint Branch —  Designer’s Desk, Charlotte, NC
“I think having a lot of plants around my desk helps fuel creativity and brings life to my work space.”

Ken Hocker — Visual Representation of His Mind, Charlotte, NC
“If I’m going to be stuck at my desk, I need to be surrounded by visual and auditory stimuli to keep the creative juices flowing. The walls of the office are constantly being added to in the hopes that one day every inch will be covered. Very similar to the interior of McSorley’s in NYC, minus the beer and history.”

Taylor Leamey — Home Art Studio (AKA Guest Bedroom), Charlotte, NC
“I angled my desks to take advantage of the natural light instead of facing it. I selfishly hung the things I am most proud of in front of my face, hoping they will sometimes inspire me. (Does it work? No idea. But I like looking at them.)”

Shannon Ullman — Walking Office, Philadelphia, PA
“I bought this treadmill about two months ago because I wanted a healthy alternative to sitting all day. I walk super slowly while working and aim for 10k steps a day!”

Show off your work-from-home set up and tag us @freshome with the hashtag #freshWFH. 

The post 10 Inspiring Work-from-Home Office Setups appeared first on Freshome.com.


source https://freshome.com/inspiration/work-from-home-inspiration-quarantine/
Thursday, March 26, 2020

How to remove fiberglass insulation from skin easily

If you’re here to find out how to remove fiberglass insulation from the skin, you’re in the right place.  Fiberglass insulation has been around for quite some time now. Originally, it was meant to be a replacement for asbestos, which had carcinogen properties.

But fiberglass insulation is not without health hazards, and it can be extremely unpleasant to deal with this material if it gets onto your skin. In this article, we will take a look at how to remove fiberglass insulation from skin.

Fiberglass is a very beneficial type of insulation; it consists of very fine particles of glass, and it protects our homes from wind, heat, and cold from entering. Fiberglass insulation is found in various different types: the most common one is in combination with a blanket of batts and rolls, as well as loose fill. You can also get fiberglass insulation in the shape of rigid boards and duct insulation. In essence, fiberglass insulation is made from plastic and fiberglass, which gives the plastic extra sturdiness.

skin How to remove fiberglass insulation from skin easily

Working with fiberglass insulation can cause a few rashes and scratches that are relatively easy to remove. You may want to wear protective attire in order to prevent these tiny fiberglass particles from contacting your skin and your body. Wear long, loose clothes, gloves, a mask, and goggles. Taking these precautions is important to prevent the fiberglass from causing problems in the first place.

In any case, you will want to know how to remove fiberglass insulation from skin, and we will teach you how to do it.

What Effects does Fiberglass have on Skin?

The particles from fiberglass are so small that it is impossible to spot them with the naked eye. It is almost inevitable that these particles will make their way on your skin if you are not wearing some sort of protection. Don’t worry, these particles won’t cause major damage or pain, but you will feel discomfort or itchiness in the area where they have entered your body.

Use Anti-Itch Cream

Anti-Itch-Cream How to remove fiberglass insulation from skin easily

As fiberglass will most certainly cause itchiness, you will start scratching the skin, and this can lead to additional irritations and problems at hand. To relieve yourself from the scratching, you may want to use an anti-itch cream of some sort, which will not remove the fiberglass but will relieve the symptoms.

Allergy to Fiberglass

cough How to remove fiberglass insulation from skin easily

Sure, fiberglass can have effects on your body, but even more so if you are allergic to it. You will notice the allergy if the symptoms persist for a prolonged period; 12-72 hours after the contact with fiberglass, you will still notice symptoms of allergy. The allergy is also commonly known as contact dermatitis.

The symptoms, in the severe case of allergies, will persist for days, and maybe even for 2-4 weeks after the contact. They can vary and can range from mild to severe. Here are some of the most common symptoms of fiberglass allergy.

  • Blisters containing pus-like liquid
  • Dry skin with scales
  • Skin hives
  • A burning sensation on the affected area
  • Sun sensitivity (irritation when the skin comes in contact with sunlight)
  • Coughing
  • Breathing difficulties similar to asthma

Don’t Scratch!

iching How to remove fiberglass insulation from skin easily

After you have contacted fiberglass, you will notice that your skin will feel itchy, and you may be tempted to scratch. Don’t; you will make the infection or the symptoms even worse by scratching, as the fibers will move deeper into the skin, making them even harder to remove.

Remove the Clothing

wash-1 How to remove fiberglass insulation from skin easily

Carefully remove the clothing you used when you were in contact with fiberglass; don’t put it next to other, clean clothes. Instead, wash them separately and wait until they dry, hopefully, the fiberglass will be gone by then.

How to Remove Fiberglass insulation from Skin

Let’s talk about the solutions: here’s how to remove fiberglass insulation from skin. There are various ways of removing the fiberglass, and here are some of the most effective ones.

First Remove the Visible Particles

remove-1 How to remove fiberglass insulation from skin easily

  • Wash the affected area thoroughly; use soap and water.
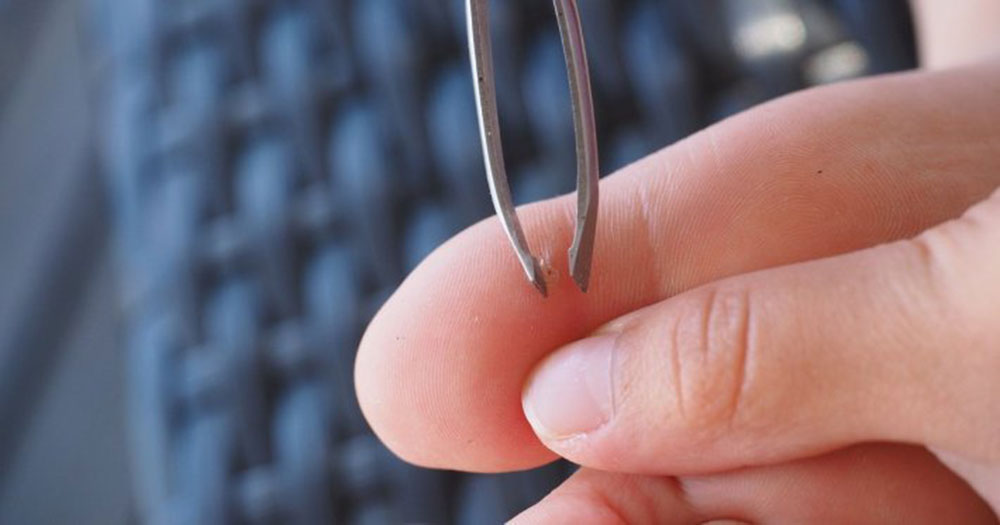
  • You can use tweezers for removing the visible particles; soak the in alcohol to sterilize them, and try to remove the fibers.
  • If the particle is visible, but you can’t get it out with tweezers, then try to use a needle. First, sterilize the needle in alcohol, and move the particle in such a position that will enable you to remove it with tweezers.
  • Once the particle is out, squeeze the area gently to let the blood with the germs out. This will prevent an infection. Then, apply an antibiotic cream to prevent it.
  • If there are particles deep in your skin, don’t try to do it on your own; instead, contact your doctor.

Have a Cold Shower

Yes, a cold shower can be unpleasant, but here, it might be a very useful solution. First, you will want to have a cold shower for two minutes, and then have a hot shower for two minutes straight after. The cold shower will close up the pores, which will prevent the particle from going any deeper.

Then, have a hot shower straight after for two minutes. Make sure the water is not too hot; it should be closer to mild than hot. This will open up the pores and the fiberglass particles will start to come out, hopefully.

Use Epsom Salt

epsom-salt How to remove fiberglass insulation from skin easily

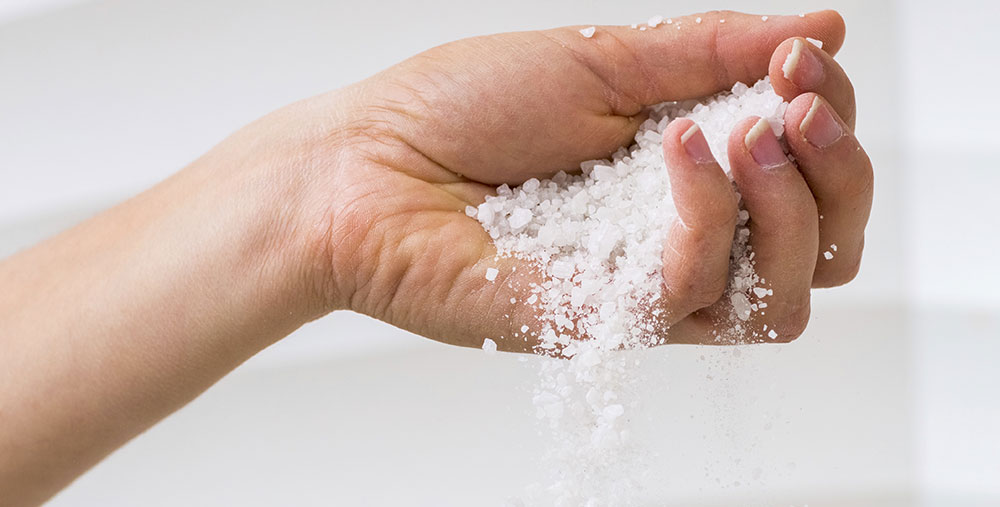
Epsom salt can be effective for removing fiberglass. Here is how to remove fiberglass insulation from skin by using Epsom salt.

  • Boil a bowl of water, and then take a cup of Epsom salt and put it into the bowl. You will want to let the solution mix up completely, and wait for a few minutes.
  • There are two solutions: if the affected area is large, you can take a shower in this solution. If the affected area is your hand, for example, you can dip it into the solution. It will remove fiberglass as well as remedy the itching sensation.
  • Lastly, take a cold shower after this for a better effect.

Use Tape

tape How to remove fiberglass insulation from skin easily

Here is how to remove fiberglass insulation from skin using tape.

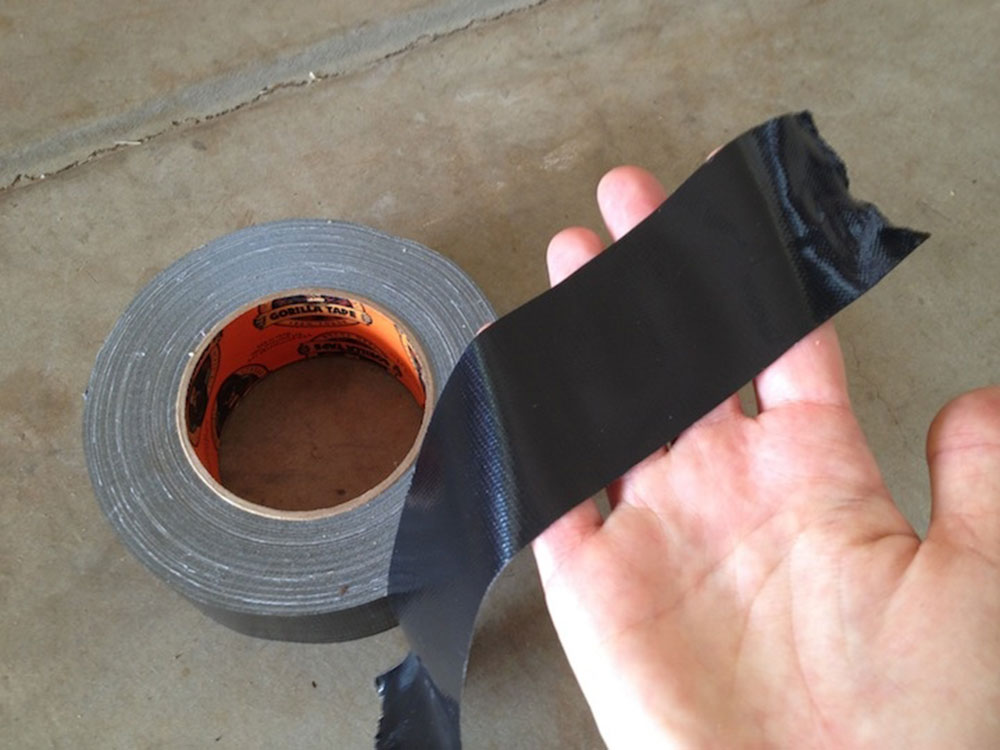
  • Buy a roll of heavy sticking tape. Duct tape or electrical tape will work fine; it should not rip apart, and the more glue there is, the more effective the tape will be.
  • You will also probably require a magnifying glass and good lighting. That is important because the particles are so small that they will most likely not be visible with your eyes. The fiberglass particles will usually be white or yellow.
  • With this method, you don’t want to wash the skin first, as water will make the particles harder to remove. Instead, use the tape straight after you come into contact with the fiberglass.

use-tape How to remove fiberglass insulation from skin easily

  • Press the tape strongly against the affected area. Hold the tape in place for several minutes before removing it. It should have good contact with your skin. After that, remove the tape, and hopefully, the particles will come out.
  • Pull off the tape smoothly, don’t force it. Perhaps you will need to repeat the process several times before the itching goes away and the particles come out.

Nylon Stockings

Nylon can be very effective for removing fiberglass, as it attracts it to itself, meaning that it will remove it once it is in contact with it. With this method, you will want to have a hot shower first to open up pores, and then rub your skin with the nylon stockings to remove the fiberglass.

After it, protect your skin with some lotion or baby oil. This will soothe the affected area and prevent itching and irritation.

Protection is Key

Next time, you will want to protect yourself better; use protective gear, and don’t spread the fibers by scratching or rubbing yourself. Hopefully, you now know how to remove fiberglass from the skin.

If you enjoyed reading this article about how to remove fiberglass insulation from skin, you should read these as well:

The post How to remove fiberglass insulation from skin easily appeared first on Impressive Interior Design.


source https://www.impressiveinteriordesign.com/how-to-remove-fiberglass-insulation-from-skin/

Wednesday, March 25, 2020

How to fix a leaking roof from the inside (Quick tips)

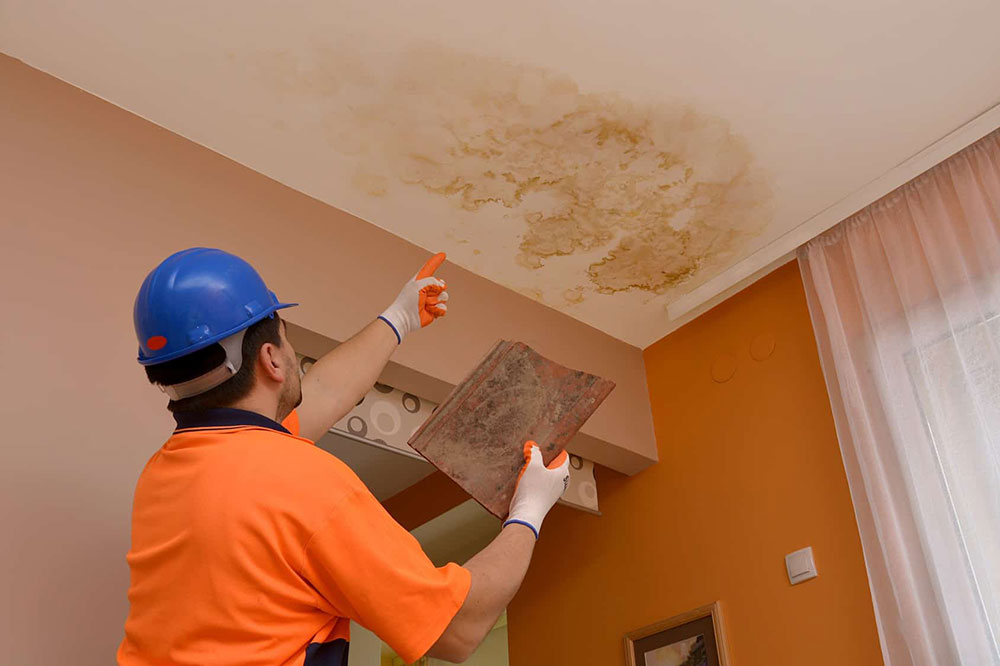
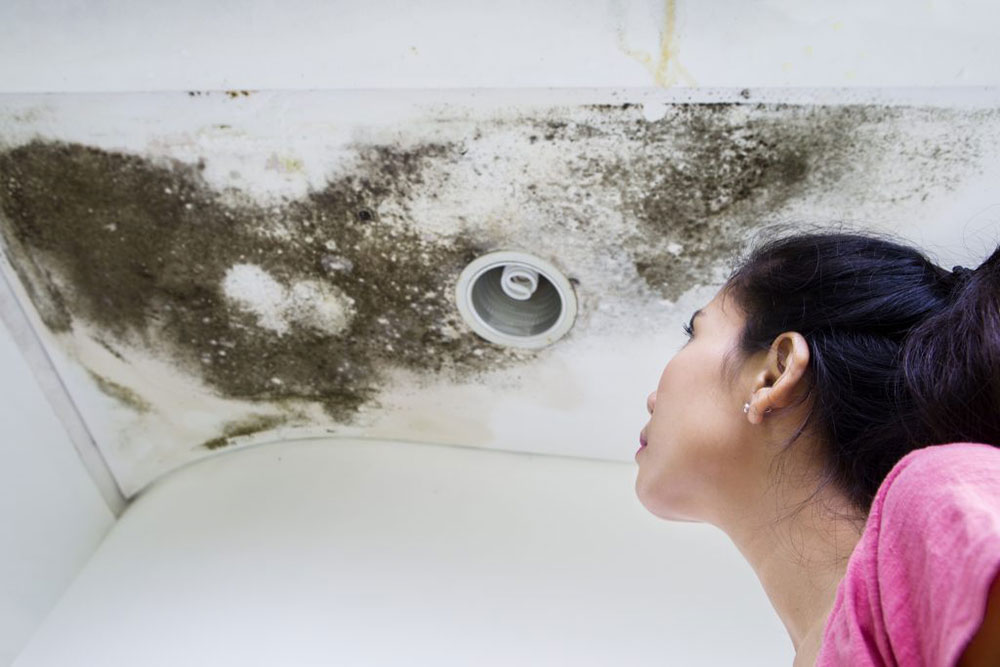
Having a leaky roof is obviously a reason for concern, and it calls for immediate action. If you don’t want to deal with the consequences, then it is better to act fast and repair the roof. Even the smallest leaks can lead to much bigger and substantial problems, like mold, rotting, damaged ceilings, and much more.

It might lead to significantly higher costs over the long-term if left untreated, rather than just fixing it right away. It might not be easy to fix the leaking roof, especially if the leak is not easily accessible. Luckily, we have a good guide for you here. Let’s take a look at how to fix a leaking roof from the inside.

A leaking roof can be a problem in any weather condition, but it can be an especially big problem if you live in an area with heavy storms. Leaving a leak untreated can lead to a lot more damage than just the small hole in the roof, so time is of the essence with leaking roofs. There are steps you can take to fix the leak, and we will go over them here. Here is how to fix a leaking roof from the inside.

Finding Roof Leaks

Try to Find It When it is not Raining

roof-leak1 How to fix a leaking roof from the inside (Quick tips)

Finding a leak when it is raining is practically impossible. So it makes sense to find it once it’s dry. The best idea is to start from the higher places of your house, and then move down gradually.

The way the water will travel is downwards. It might start high up, and the leak towards the bottom and make its way through the ceiling and down the wall. Maybe the water will travel several feet before we actually see the leak.

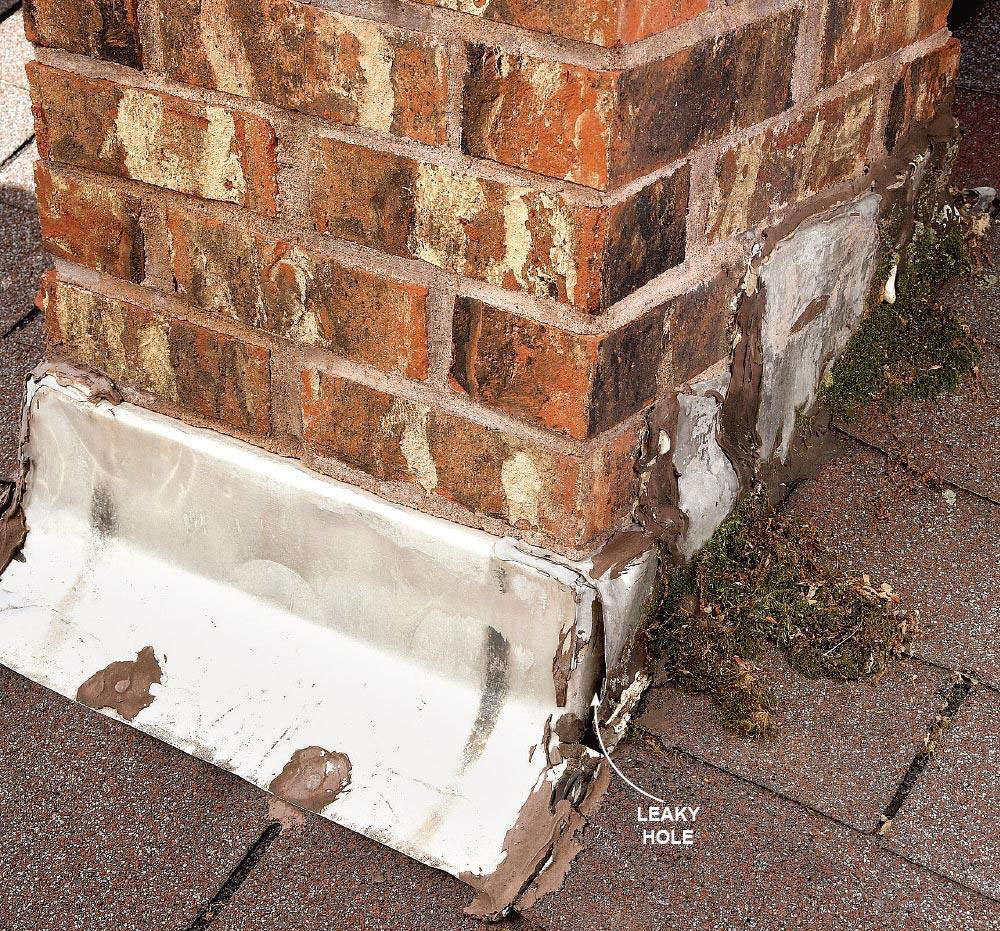
So a good idea would be to start in the higher areas, such as the roof. Try to look for roof penetrations to start with. That is exactly where most leaks start, and it is not uncommon to see an item penetrate your roof. It is quite rare to see leaks develop in open areas with uninterrupted shingles.

leak-chimney How to fix a leaking roof from the inside (Quick tips)

If you can’t find a leak in the roof, then search in other places. These include the chimney, your roof vents, dormers, or any similar device or space that projects through the roof. Although the most commonplace of leaks will be the roof, and sometimes, the leak will be quite easy to find, sometimes it will hide.

What to do if the Roof is Leaking Right Now?

mark-with-chalk How to fix a leaking roof from the inside (Quick tips)

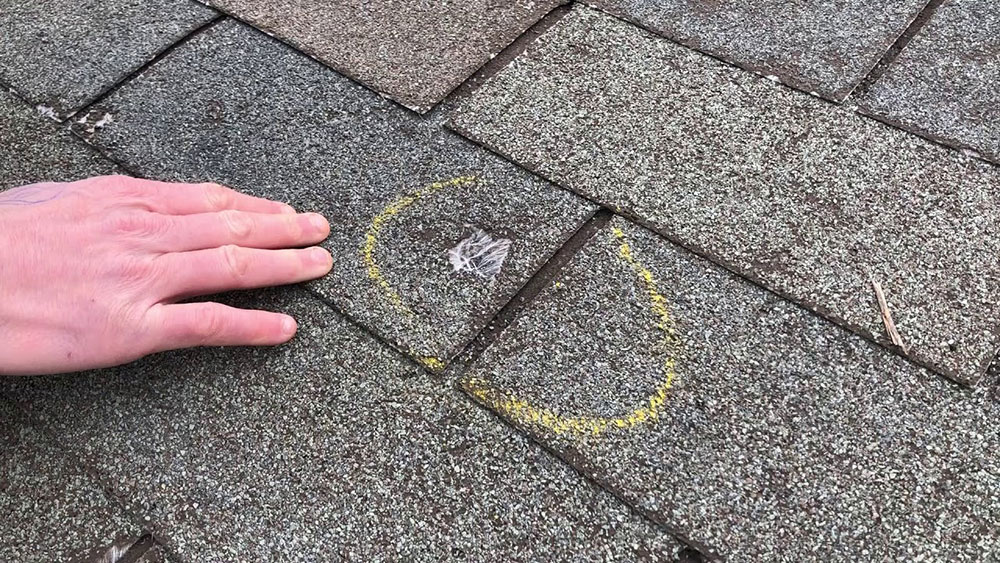
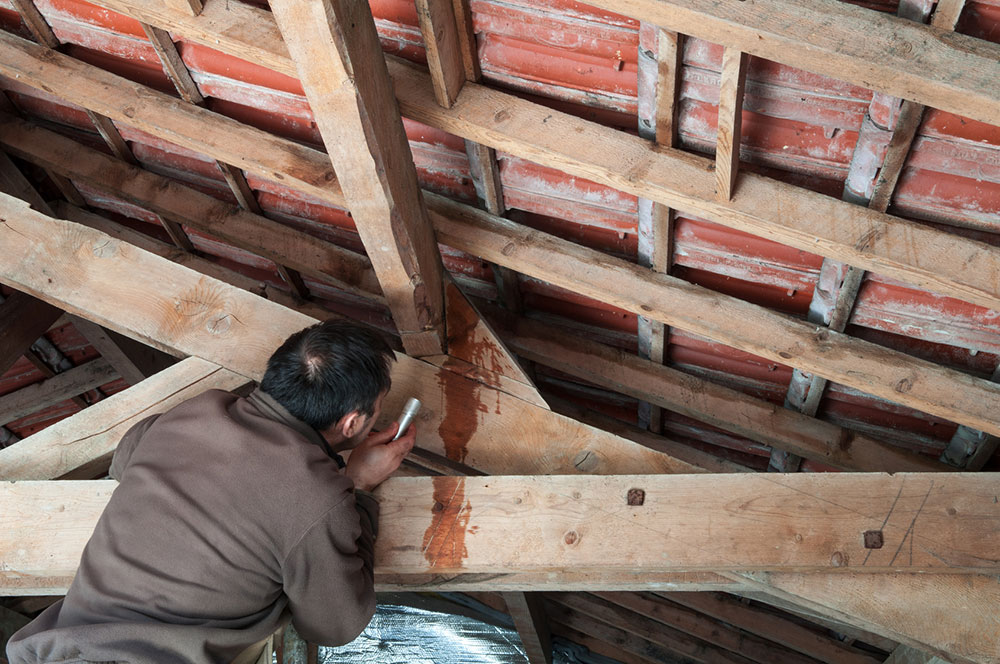
If it is raining, you can go to the attic and pinpoint the exact location of the leak. Take a flashlight with you and a piece of chalk, so you will be able to mark the leak.

Search for damp spots on the underside of the roof, and start looking for a thin stream of water. Then, follow the leak all the way up until the wood is no longer wet. Search for possible entry points, such as the roof, vents, loose nails, and once you find the leak, mark it with the chalk.

Also, look for water running down the chimney, or for water running down the pipes. Mark any problems with the chalk.

Once it stops raining, examine the leak more closely, and start working towards the repair. Examine the exterior of the roof, and start repairing the leak.

I Can’t Find a Leak

water How to fix a leaking roof from the inside (Quick tips)

Sometimes, the leak is too hard to find, but you can still do something to find it. For example, you can ask someone to help you with finding the leak. Ask them to go up the roof, and start soaking the roof with a hose. Start low, and move upwards as you try to find the leak.

leak How to fix a leaking roof from the inside (Quick tips)

Try soaking the downside of the chimney, and all vents on your roof. Then, one of you two should be inside of the house, looking for the leak to appear. If you can’t locate it, move upwards and try to find it again. Hopefully, you’ll find it this way.

How to Fix a Leaking Roof from the Inside

Of course, the first step is locating the leak, and then working towards the solution. At first, you can provide a temporary solution, which will still need to be fixed later on with a permanent solution. If you don’t own a ladder, for example, it is still possible to make temporary fixes.

Let’s take a look at how to fix a leaking roof from the inside.

Step 1: Locate the Leak

roof-leak How to fix a leaking roof from the inside (Quick tips)

As we already discussed, finding the leak as quickly as possible is vital to prevent further damage. Go to your attic, and start finding the leak in the ways that we discussed above.

You might have to remove the insulation from the drywall in order to locate the leak. Once you find it, dry the plywood with a sponge or a similar object, and start controlling the leak.

Remember that the leak might be in the higher layers of the roof, even if you find the leak in your attic. Pinpoint the exact location of the leak with chalk. You will be able to trace the leak from the path that the water makes along the wall or the beam.

Step 2: Divert the Water

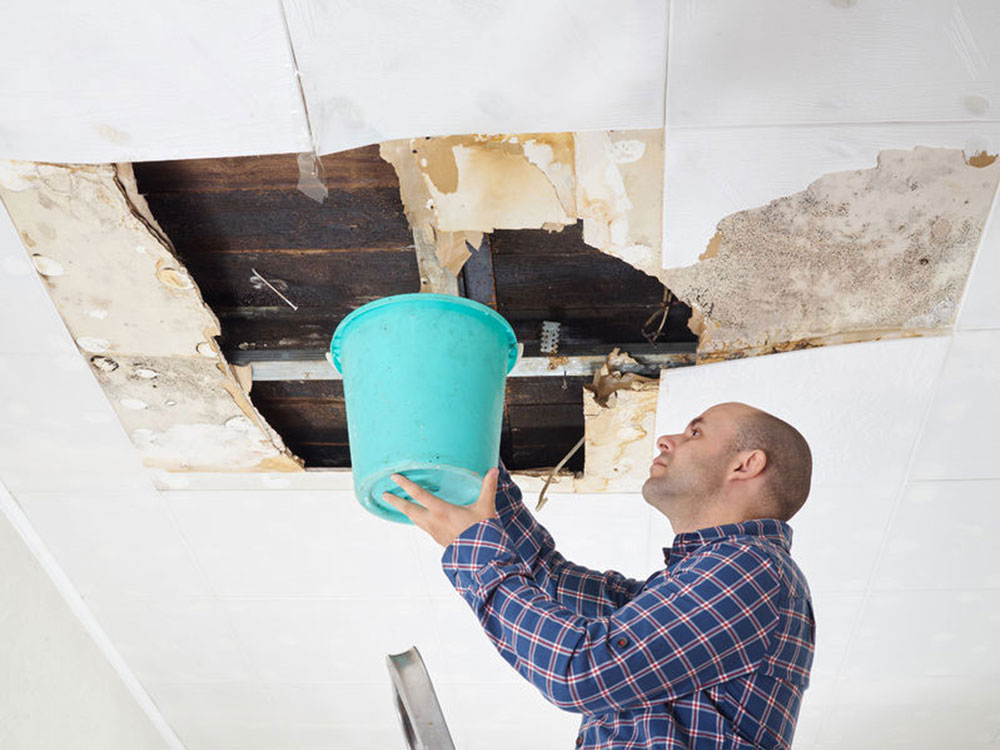
leaking-room How to fix a leaking roof from the inside (Quick tips)

The next step is to collect the water that is leaking, and provide the way for the water to leak into a bucket or a similar object. Even if you aren’t able to provide a fix straight away, you can still collect the water to prevent further leaks.

An easy way to do this is by sticking a nail into the hole. This way, the water will divert from the nail, and leak towards a specific location.

Then, you will have to put a 5-gallon bucket underneath the leak to collect the water. Let the water collect, and make sure that the bucket is large enough for the water to collect.

Step 3: Repair the Leak

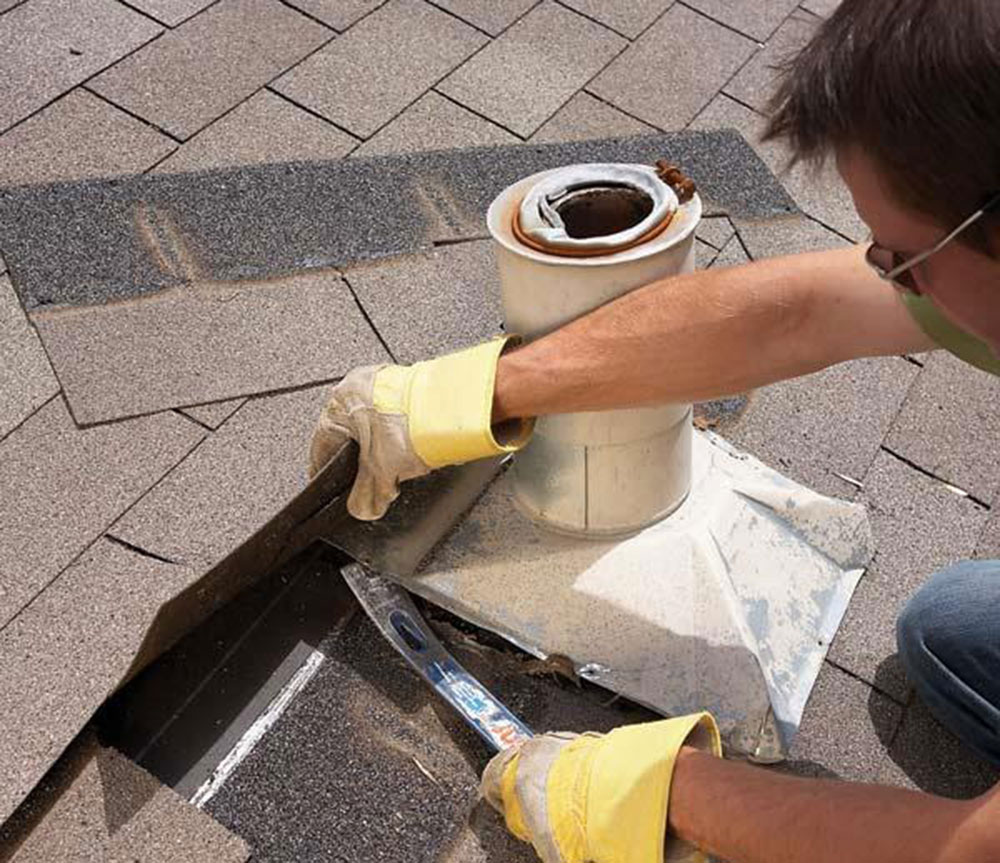
flashing-1 How to fix a leaking roof from the inside (Quick tips)

Once the area is already dry, you can start fixing the leak. If the area of the leak is already dry, then ignore step 2 and go straight to this step. Here is how to fix a leaking roof from the inside.

If the leak is because of a missing flashing, or if the flashing is in poor condition, then the fix might be to use sealants to fix the flashing. Although this is only a temporary fix, it can be effective for protecting you for some time. That goes especially for shingles, as you will need to fix them once and for all at some point.

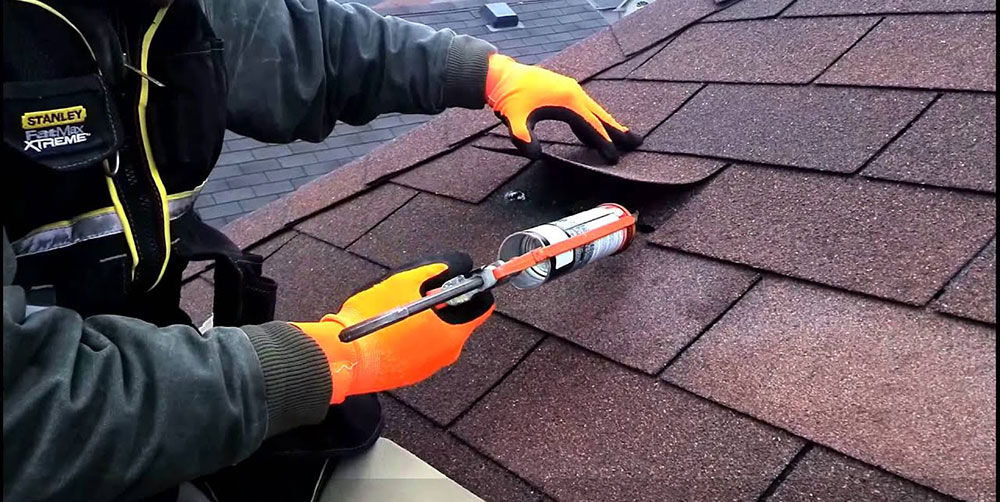
leakingroof How to fix a leaking roof from the inside (Quick tips)

A good short-term fix for shingles is to use masting or roofing cement, and do the following:
Use a flat bar to lift the shingle. It might require you to pry the nail a bit, but don’t forget to nail it down again.

Then, spread the sealant all over the leaking area. Spread the sealant with a trowel under the shingle.

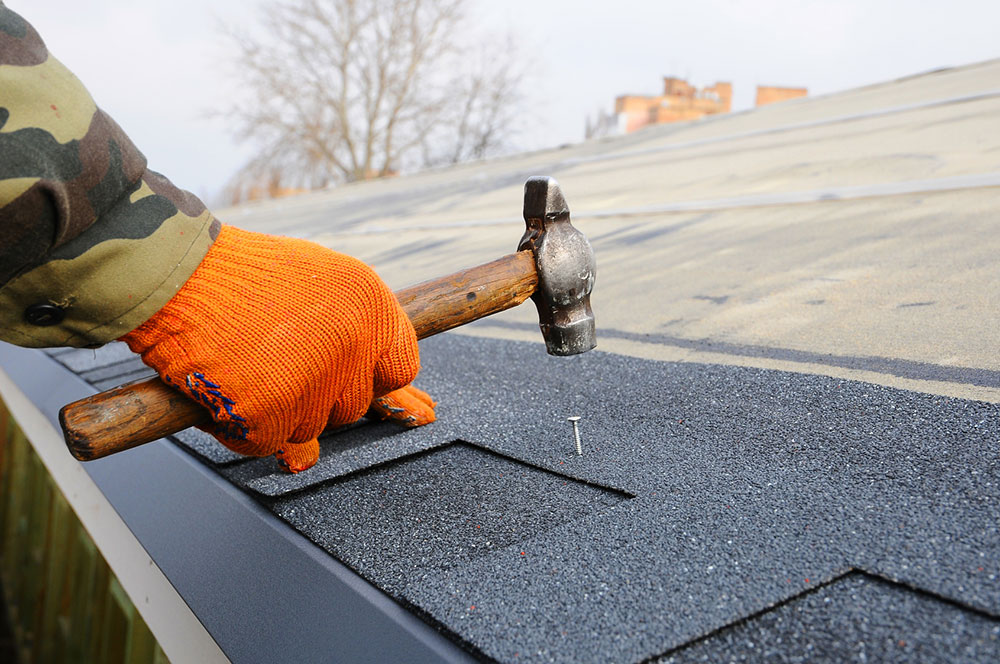
roofing How to fix a leaking roof from the inside (Quick tips)

The sealant should cover the broken area, and you should gently spread it so that it is relatively flat.

You can also, alternatively, use a spray-on silicone for a quick fix during the storm. It is an emergency fix. Once the storm is over, you will want to consult a professional to help you fix the shingle or the leak.

Ending thoughts on how to fix a leaking roof from the inside

So that is how to fix a leaking roof from the inside. It is geared more towards temporary solutions, and in the end, you will need to make a conclusive, permanent fix at some point. But still, it is important that you cover the leak at least for now, to stop further damage and to prevent further leaks from happening.

The post How to fix a leaking roof from the inside (Quick tips) appeared first on Impressive Interior Design.


source https://www.impressiveinteriordesign.com/how-to-fix-a-leaking-roof-from-the-inside/

Don’t Stockpile: What to Buy for Home Quarantine During Coronavirus

Getty Images

As the number of coronavirus cases increase around the world, the COVID-19 pandemic continues to profoundly reshape daily lives and habits. If you’ve spent any time on social media, you’ve likely seen people in the U.S. and around the world “panic buying” in response to the COVID-19 outbreak, but it’s critical to remember that being prepared doesn’t equate to stockpiling or hoarding. 

During the coronavirus pandemic, it’s important to not panic or stockpile supplies. There are healthcare workers and sick people around the world who have a much higher need for supplies like face masks. A shortage could pose an even greater health risk to communities. Instead, it’s best to create a household plan, as recommended by the Centers for Disease and Control and Prevention. With a household plan, you can prepare and anticipate what sort of items you’ll need in case anyone gets sick at home or there’s a disruption of daily activities in your community.

There’s a ton of information on how to prepare for a coronavirus outbreak in your community, and it can be overwhelming. We’ve compiled a list of what to do and buy while you’re quarantined at home. 

Make a plan, scan your home

A COVID-19 outbreak could last for a long time in your community, so a household plan can help protect your health and the health of those you care about, according to the CDC. 

The CDC provides step-by-step guidance on how to establish a successful household plan, and recommends basing the details of your plan on the needs and daily routines of who you live with. Take a look around your home and scan your pantry, medicine cabinet and bathrooms to figure out what you already have, then write down what you’re missing. 

Buy what you need for two weeks

If you’re in home quarantine, you should have at least two weeks’ worth of supplies and minimize trips to stores to avoid contact with others.

Both the CDC and U.S. Department of Homeland Security recommend buying enough household items, medications and food to last two weeks. It’s also a good idea to look into how to get food delivered.

“It’s important to note that food production suppliers and companies are not reporting any shortage of food supplies across the country — so while you shop, it’s not necessary to hoard food or other grocery store items,” Tamika Sims, PhD, director of food technology communications at the International Food Information Council Foundation, said in a blog post

So, you’re probably wondering: What exactly should I buy during a COVID-19 pandemic?

Prioritize your grocery list

Prioritize non-perishables, frozen foods and canned vegetables on your grocery list the next time you make a trip to the supermarket. If you’d like to buy fresh produce, try to use that up first to minimize any food waste. You also have the option to freeze most fresh produce if you buy too much. 

“Instead of going to the store several times a week, try to get enough groceries for one full week, buy more healthy shelf-stable items to avoid spoilage, and refrigerate foods properly,” Sims said.

Additionally, keep an eye out for foods with long shelf lives such as dried beans, rolled oats, pasta products, shelf stable milk and rice. These types of foods can usually sit in the pantry for several years. 

While you can have a supply of bottled water in the house, the U.S. Environmental Protection Agency made it clear that “Americans can continue to use and drink water from their tap as usual.” 

If you have pets or children in the home, pick up some extra food and supplies all at once to avoid making extra trips throughout the week.

Check toiletries and cleaning supplies

Across the internet, images of empty shelves and shopping carts full of supplies have led more and more people to panic buy. Toilet paper is one of several items that has become the latest coronavirus panic buy, but the reason why isn’t very clear. It’s natural to want to prepare for the worst, but don’t overstock basic toiletries.

Within the two-week limit, make sure you have enough toothpaste, floss, face wash, moisturizer, shampoo, conditioner, razors, shaving cream and hand sanitizer with at least 60% alcohol. It’s also good to have extra laundry detergent and hand soap at home. 

Refill prescriptions and over-the-counter medications

Make sure you’re up to date on any prescription medications and have a supply of necessary over-the-counter medications. In light of COVID-19’s spread, CVS and Walgreens are offering free home delivery of prescription drugs. And some insurers, such as Aetna, Humana, and Blue Cross Blue Shield have temporarily waived early refill limits on 30-day prescriptions. 

The CDC advises patients to check with their pharmacists about the possibility of 30-day emergency refills and to keep a 7- to 10-day supply at home, while the American Red Cross recommends having at least a 30-day supply of any prescription medications at home. 

Things you don’t need to buy 

It’s easy to act out of fear during a frightening global situation like the COVID-19 pandemic, but panic buying and stockpiling doesn’t help the situation. Keep in mind that you can skip the hand sanitizer if you’re self-isolating (as long as you have hand soap), and that you don’t need to wear face masks if you’re healthy. 

“The current recommendations regarding masks are that if you yourself are sick with fever and cough, you can wear a surgical mask to prevent transmission to other people,” Dr. Nipunie Rajapakse, a Mayo Clinic infectious diseases specialist, said in a blog post. “If you are healthy, there is not thought to be any additional benefit to wearing a mask yourself because the mask is not airtight and does not necessarily prevent breathing in of these viral particles, which are very tiny.”

As one last reminder, here’s a list of things you don’t need to buy right now:

  • Face masks (unless you’re sick)
  • More than a two-week supply of hand sanitizers or hand soap
  • More than a two-week supply of food 
  • Dehydrated meals

The post Don’t Stockpile: What to Buy for Home Quarantine During Coronavirus appeared first on Freshome.com.


source https://freshome.com/kitchen/what-to-buy-for-coronavirus-home-quarantine/