Brick is a practical construction material that allows building strong houses and works perfectly as a basis for other treatments. However, some prefer to simply paint this clay block. The only detail of painting brick is how difficult it can be to remove the paint later. It is in this situation that the question “how to remove paint from brick without losing the head?”
Let’s go little by little. The first is obvious: why would we want to remove the paint from the brick? There are many causes why we might need to remove paint from a brick wall, for example, if we want to leave it as it was originally because we already get tired of the color it has, or even if we are going to paint it in another color.
Many people will simply tell you that you can paint directly on another layer of paint already applied. Although it is true, the result is not the same, and we end up compromising the finish. Removing paint from brick is essential before any renovation project.
There are currently many options for removing paint from clay material, although the vast majority are complex or expensive. And anyone who has tried to remove paint previously will know that the problem is not the large parts, but the cracks where it has been absorbed.
Today we bring you some practical tips that, with a little luck, will avoid you the problem of having to use sand jets on your wall, which hurt more than they help, creating new cracks. And is that stripping paint from brick should not result in a house less resistant to which we later invest in large sums of money in repairs.
How to remove paint from brick? – The different options
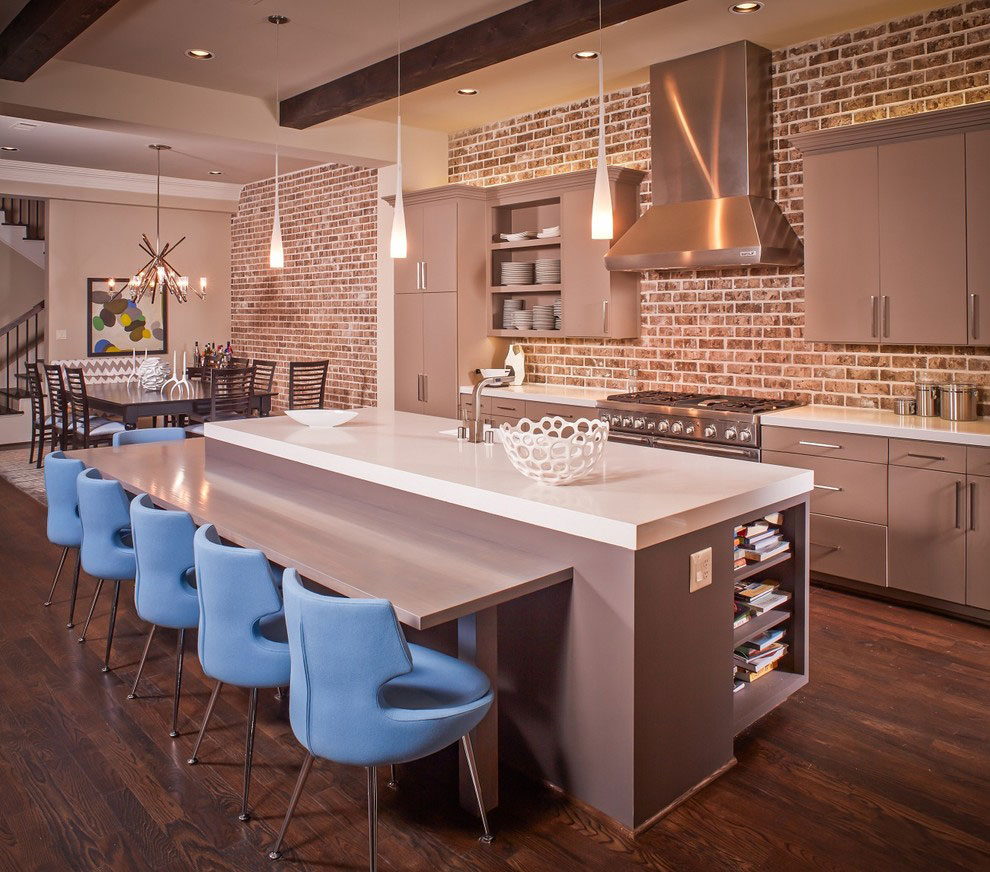
Image source: Jamestown Estate Homes
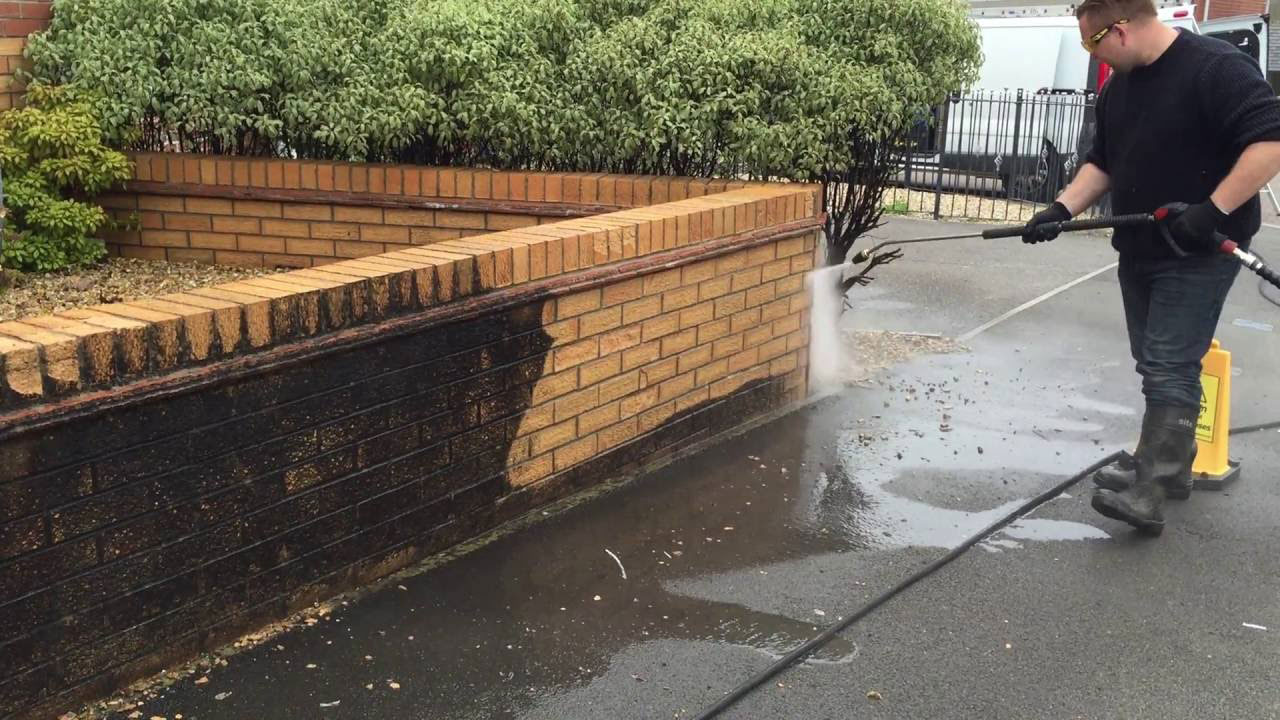
The most popular method is pressure washing. This works great to both remove dirt and paints from the most difficult places. However, when it comes to bricks, the water pressure can end up causing more damage than benefits thanks to the erosion it does. It is popular for its effectiveness, but we only recommend using it if all else fails.
Another less abrupt alternative is to use chemicals. These are corrosive, and like sandblasting, they can compromise the structure of the brick. When it comes to old houses, where it is common to find old walls, we should avoid substances such as acid. If we use chemicals, we should check that moisture has not leaked when we finish.
Finally, we come to the safest and slowest method of all to remove paint from brick: a cloth rag with a paint removal paste. It’s a tedious option, but we can have control of the paint remover at all times.
If you are going to do this removal work, you will need the following previous materials: paint stripper for bricks, rags, brushes, sponges, a cleaning brush (preferably rigid, or with wire bristles), drop cloths, laminated paint removal strips, and the standard protection when we perform this type of work (lenses and rubber gloves).
How to remove paint from brick in the safest way
Once we have all the materials, we will proceed to perform the following steps for a satisfactory removal of the paint:
Determine whether the paint is latex or alkyd/oil -base
This will be important to determine what kind of implements we will need to remove the paint. If you do not have the container where the original paint was, you can always verify its type by a simple technique that consists of moistening a cloth with nail polish remover with acetone and rubbing the wall. If the color is not erased, it is an alkyd paint, but if it is erased, it is latex.
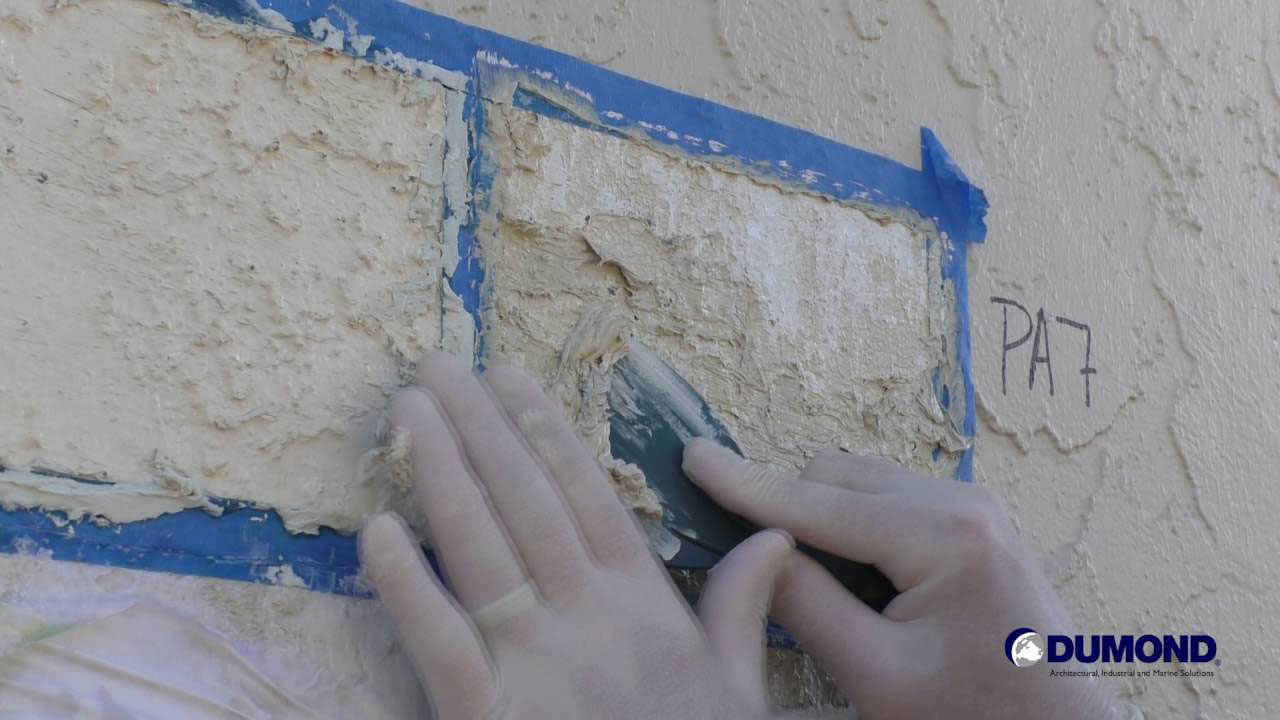
Perform a stripper test
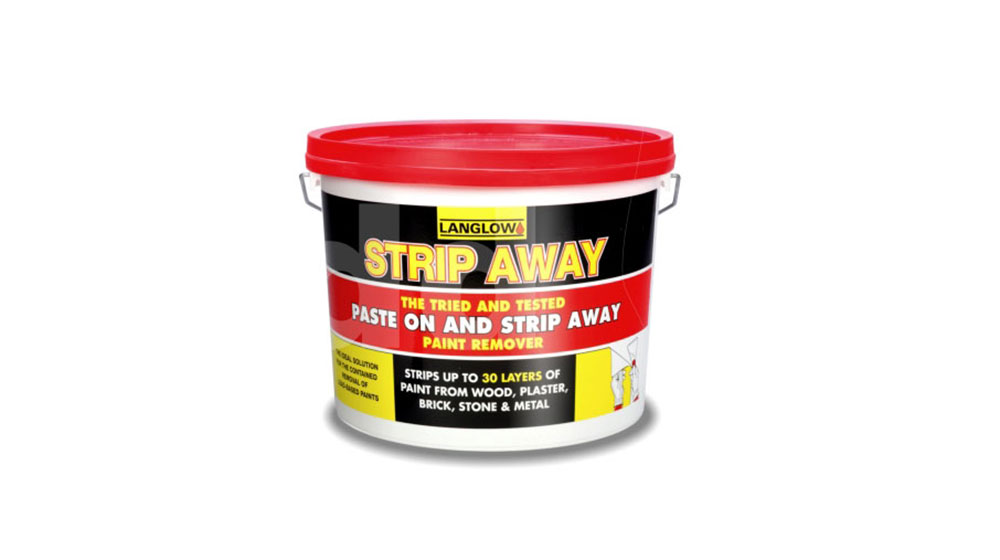 It is important to know if the quality that we will achieve with the tape is the desired one. The test will be in a non-visible area of the wall where the paint is located. This test will serve to verify a series of characteristics, such as the result of removing the paint, the time it would take us to do it, or whether the bricks are painted for some reason, such as a poor finish.
The test does not have to be so big, with checking a small area will suffice to know its quality. Also, from here you should already use gloves and lenses as a means of protection.
Verified, we will saturate with a brush or a sponge the area where we will remove the paint
Protect areas where you will not work
This is one of the most annoying parts of the process. If we want to reduce our cleaning work in the end, we must cover in advance the areas that we will not clean at the moment.
Below the area where we will apply the remover, we must place rags, plastics or newspapers so that the waste falls on them and simply discard them at the end. At the bottom edge, it is also recommended to stick this protective material with tape so that nothing leaks out.
The adornments on the wall, strips of wood, should be covered with patience, as it will be worse if they are damaged in the process. We could get to crack the sets accidentally.
Prepare the area to work by ventilating it
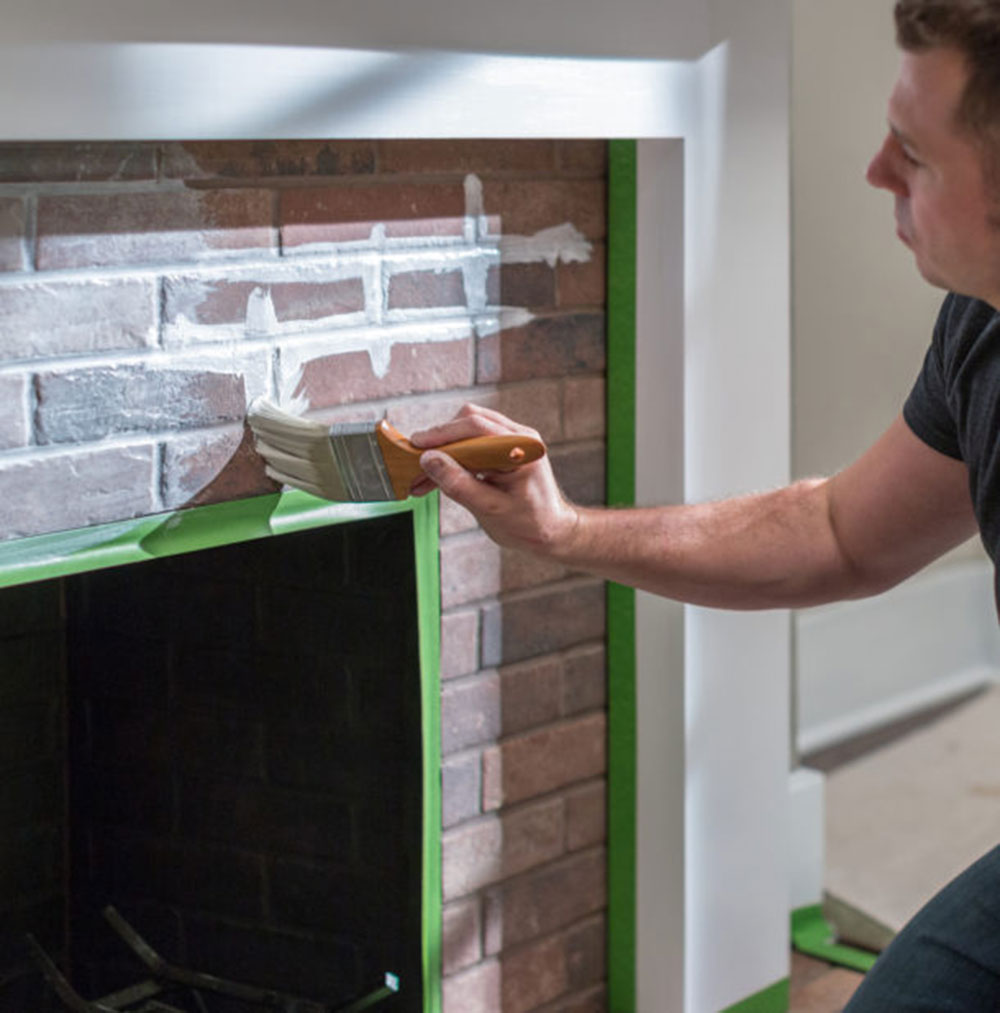
With the brush, cover the area to be cleaned little by little with the remover. Do not exaggerate with the amount as it can be harmful to the wall. Once it is well covered, let it rest for approximately 10 minutes before cleaning.
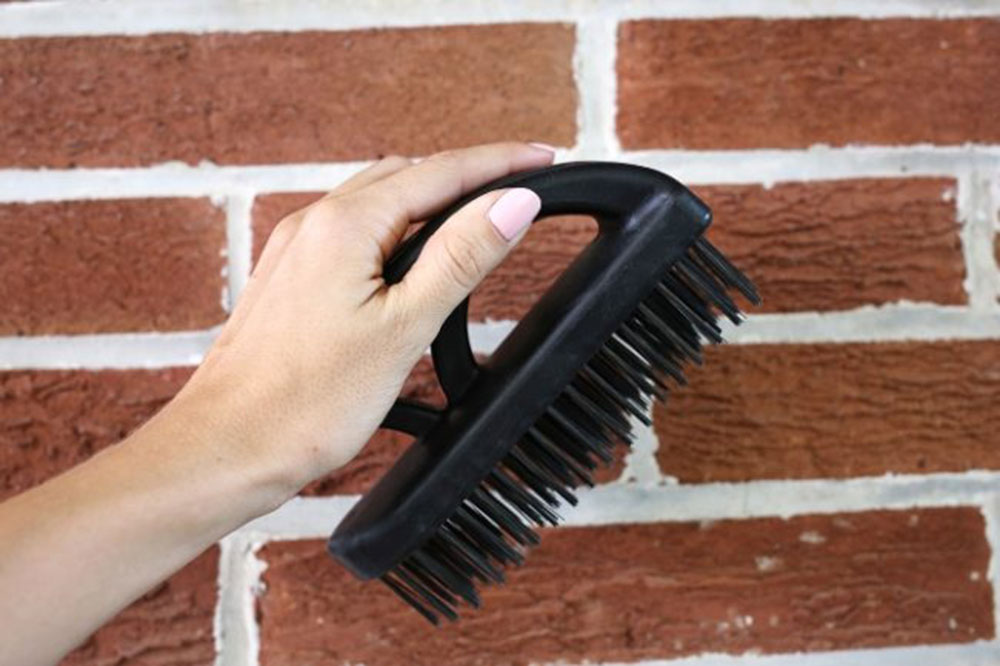
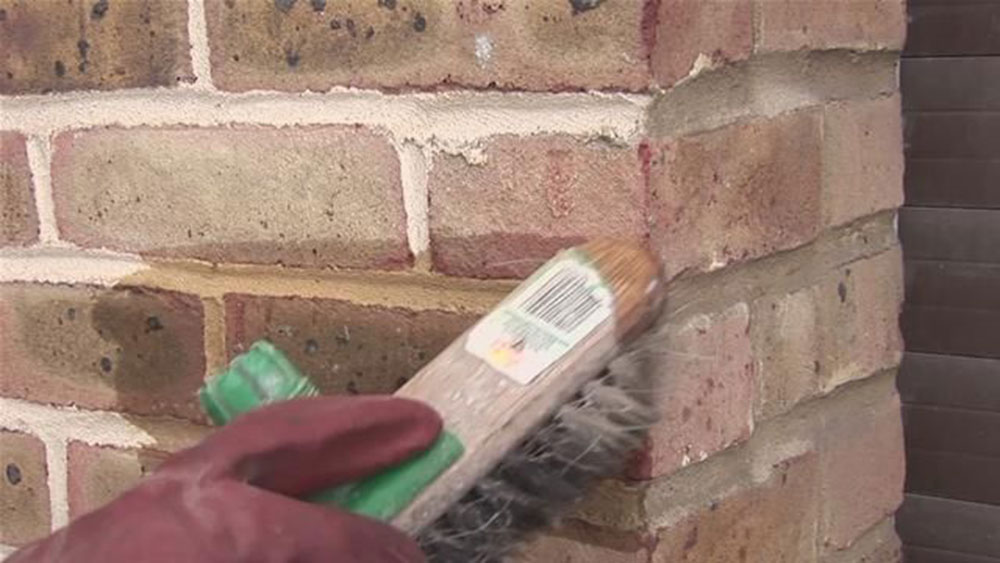
To remove excess product, use a hard brush, preferably steel. Rinse the area to remove any residue. If the paint was removed, then we can continue with the process. Otherwise, we must repeat it.
Be sure to clean with firm horizontal movements, starting from the top to the bottom. Keep the area moist with a sponge, so that it gives you the opportunity to work before it dries.
Remove the paint
When the product finishes its effect, remove both the paint stripper and the paint at the same time with the use of a damp cloth or brush. As indicated above, if it was not removed effectively, repeat the process of applying the remover and cleaning until the paint falls.
Repair cracks with paste or gel
If cracks were created (or they were already there and simply came out), we should cover them with some material like paste or gel.
First, finish scraping the paint if any remained after applying the remover. Now, and with the help of a palette, prepare and apply the mixture to cover the leaks and cracks. If there is any crack, it can compromise our work when painting.
Use masonry paint to protect your work
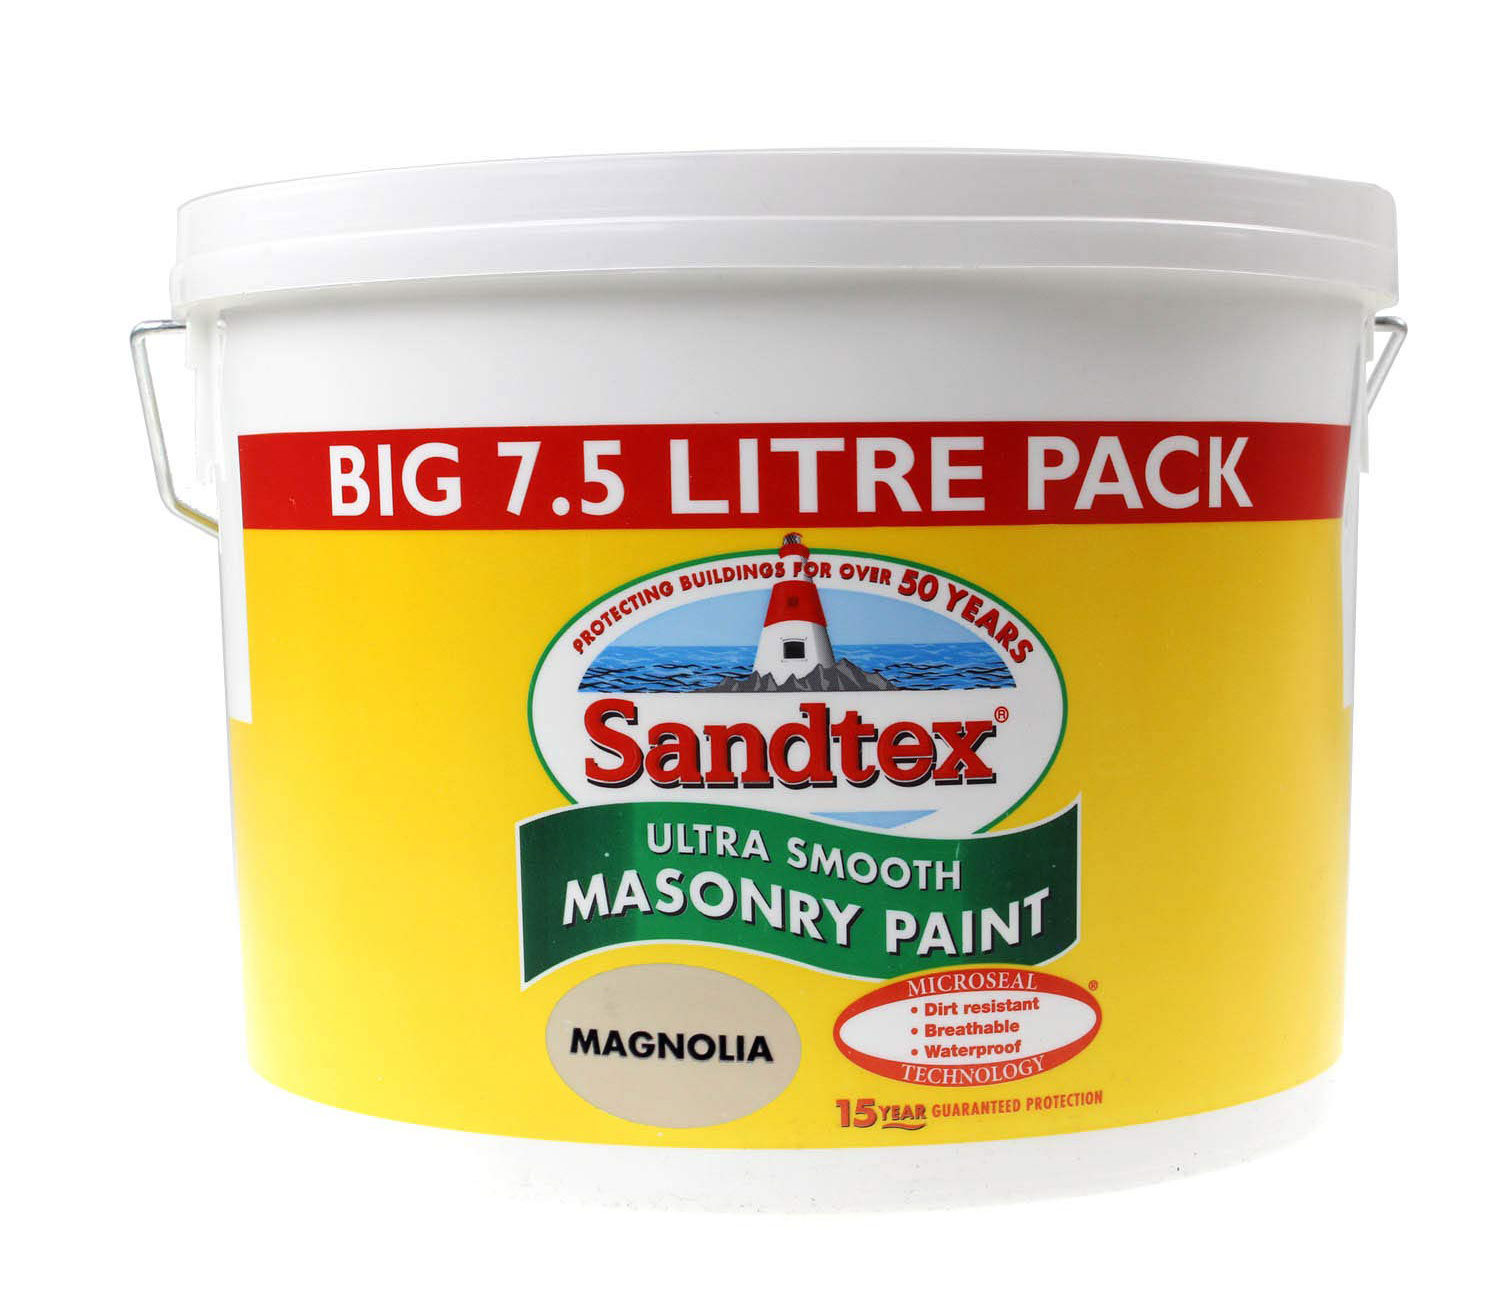 If we are done with both removing paint and repairing the bricks, we can finish the work with an additional layer of protection based on masonry paint. However, you should consider masonry paint is difficult to remove, so if we are not sure of using it is better not to risk.
This painting is designed especially for brick walls, as it easily adheres to the porosity of the clay.
Although you should consider that in general, any masonry paint will be difficult to remove due to the texture of the brick. This type of paint can only be removed with aggressive chemical agents, so it is not recommended in older homes.
The best thing you can do with this type of paint if you notice any imperfection, such as an air bubble, is to remove them with a spatula little by little, scraping the surface. Whenever you can, avoid using sand jets.
If you enjoyed reading this article about how to remove paint from brick, you should read these as well:
- How long does it take to paint a room? Info to know before starting
- Basement apartment ideas: Décor, paint, lighting, and more
- Beautiful And Spacious Penthouse In Paris With A Painted Ceiling
The post How to remove paint from brick: A useful guide appeared first on Impressive Interior Design.
source https://www.impressiveinteriordesign.com/how-to-remove-paint-from-brick/



No comments:
Post a Comment