The bathroom is a room in the house that needs adequate ventilation to get rid of bad odors. Although it is recommended to use a window to ventilate it naturally, many times it is necessary to install a fan to help this task. The problem is that the fan also needs to have a path to remove residual air. Usually, this is located towards the attic, but in case this is not possible, you will have to know how to install a bathroom fan without attic access.
Although it seems complicated, the process is very similar to that of any other installation. The route that the connections will follow will be somewhat different, but this will not prevent it from connecting to the outside.
Humid air is a big problem, especially in the bathroom. Because this is a place where there is constant water, the humidity begins to accumulate until damaging walls and furniture. It goes without saying that this room is also prone to the most unpleasant odors in the entire home.
In case your bathroom ventilation isn’t optimal and you see mold growing on the walls or smells not disappearing, then it’s time to install or replace its fan.
Preparations to replace the bathroom fan
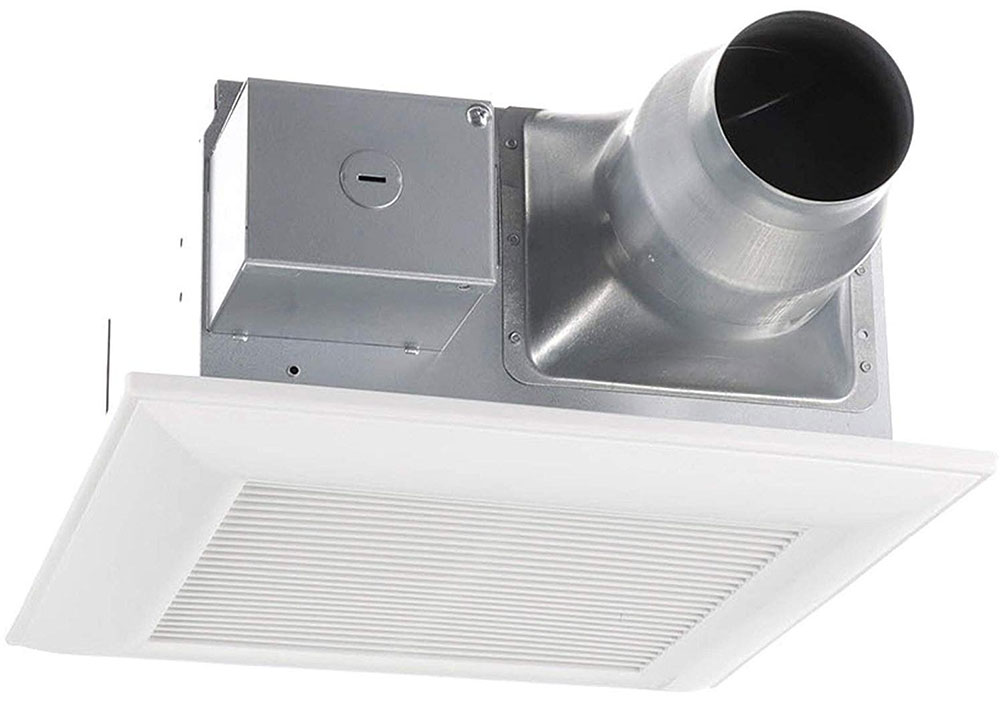
Get the right extractor
This aspect will depend on the budget that you are willing to invest in. Basic fans won’t need additional electrical installations if you’re replacing an old one.
There are also options on the market that improve the usefulness of the extractor, such as those that include lights or heaters. In these cases, it becomes expensive to install a bathroom fan without attic access, since you will have to consider the additional wiring of these accessories.
To give you an idea, the traditional extractor uses a 15-amp circuit breaker and 14-gauge wire (the common one for electrical systems). If this includes a heater, since it will need more electricity, you will need a 40-amp circuit breaker and 12-gauge wire, which is much thicker and more expensive.
Measurements are important
When installing a bathroom fan without attic access, it is very important to consider the size you have available for the extractor. For this, it is recommended to remove the housing that protects the fan and measure it. If you select a fan larger than the one you had installed, you will need to trim the wall, which could be tricky depending on the type of construction.
One way to save a lot of work is by installing a fan of the same dimensions as the one you are replacing. This way you don’t have to invest in new cables, screws or bolts.
Choose the right extractor
You may not need a huge fan for your room. How to install a bathroom fan without attic access largely depends on the type of extractor you use. Fan power is determined in CFM (cubic feet per minute), which is the amount of air it can process. If you know your bathroom measure, you can buy the one you need to avoid additional expenses.
Determine the extractor output
The extractor will not be able to work if it is not connected to the outside. There is no point in moving air to another room, much less when it comes to the bathroom.
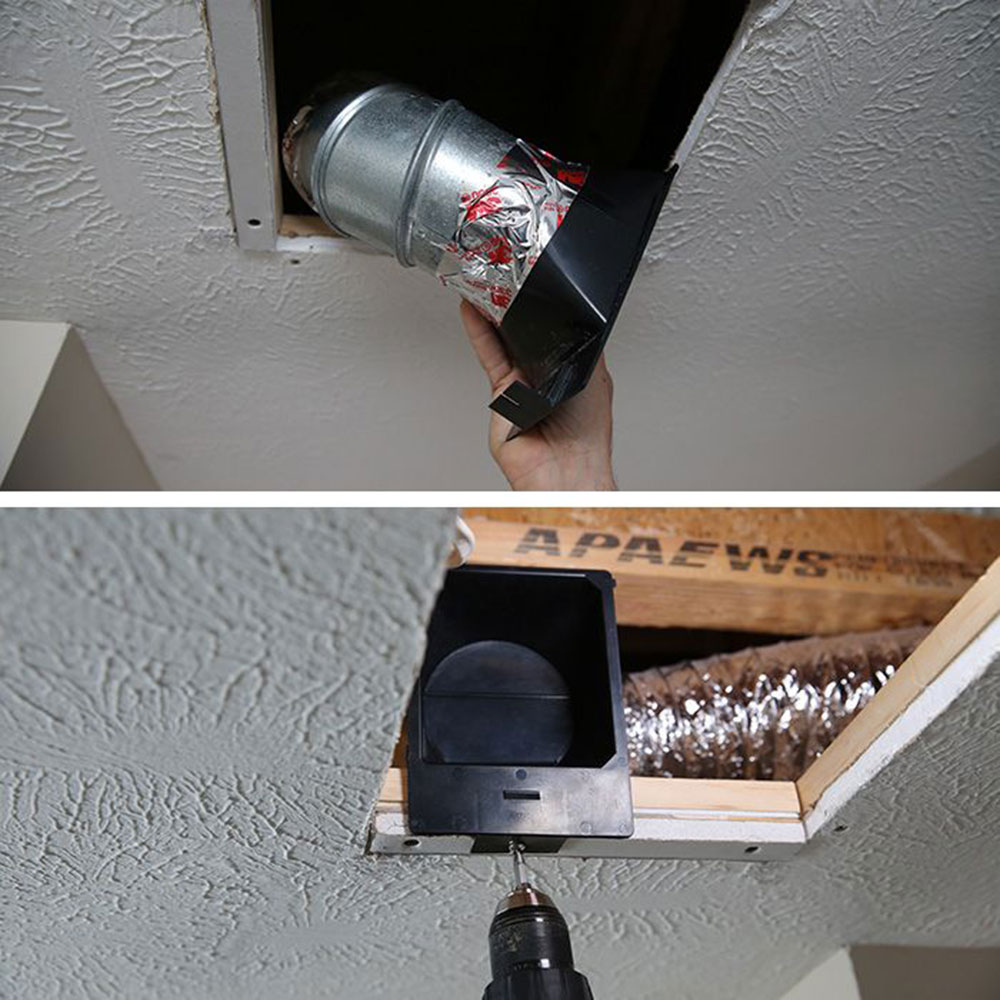
You will need the installation of ducts through which air and moisture can be directed. These are already installed if you are going to replace your old extractor fan.
If you do not have the pipelines, you must plan a route to the outside. When the bathroom is close to the ceiling, simply build superior ventilation.
In the case of a bathroom on an intermediate floor, you will have to direct it through the wall. This last alternative has the advantage that it will not compromise the roof integrity, which could experience leaks or other problems through the gap.
Many possibilities
In the market, you will find ingenious solutions to everyday problems that can be installed in your bathroom fan. For example, if you don’t want to turn it on every time you visit the room, you can purchase a sensor that does the job for you.
Again, before purchasing these accessories, remember that your installation will require additional wires.
How to install a bathroom fan without attic access
You should know that the main difference between a home with or without an attic is in the difficulty of the installation process. The fan casing is easier to remove when done from above.
It does not mean that it is impossible to do it from below, but you will have to take some additional steps.
Adjust the space for the installation
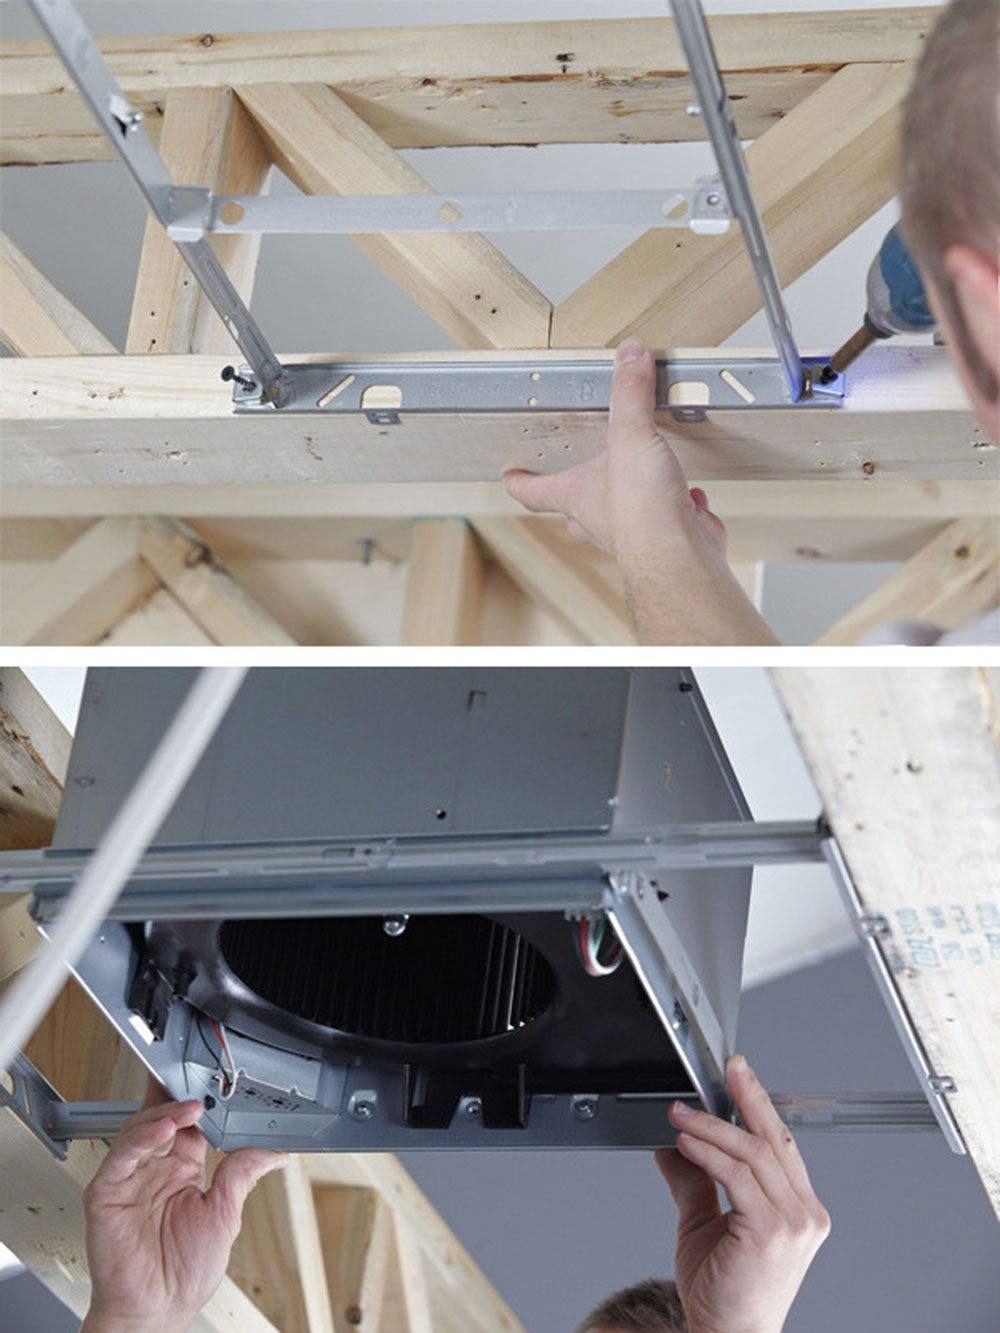
If you have already purchased the extractor, the first step to install it is to prepare the hole where it will be located. The optimal thing is that it rests on a beam to be able to screw it. If this is not your case, then you should install the beam first and then continue the process.
Now that you have support for the extractor, you should verify that it has the correct dimensions to place it. Fans that are larger than the hole are easier to install because all you need to do is cut out parts of the wall so they can fit.
Otherwise, when it comes to a fan smaller than the available space, you will have to fill in the excess so that it does not move from its place. Some inexpensive ways to do this include filler materials such as foam or plaster, but the final decision will depend on the type of wall or ceiling you are accommodating.
Prepare the cables
When space is no longer a problem, it will be time to do the preparatory electrical installation. Most of these devices have a similar installation between them, but some may need additional cables for accessories.
Most bathroom fans come bundled with a lamp so that the wires that light the lamp can be used for the fan. This is one way to make the device more practical.
If you do not want the fan to use the same switch as the lamp, you will have to install a different box that allows you to divide the connections into three so that you can use a dedicated cable for the extractor.
There are more extreme cases where the bathrooms do not have electricity. In this situation, you must install an electrical line that reaches the house main switchboard, or else the extractor will be useless.
It’s time to fit the ducts
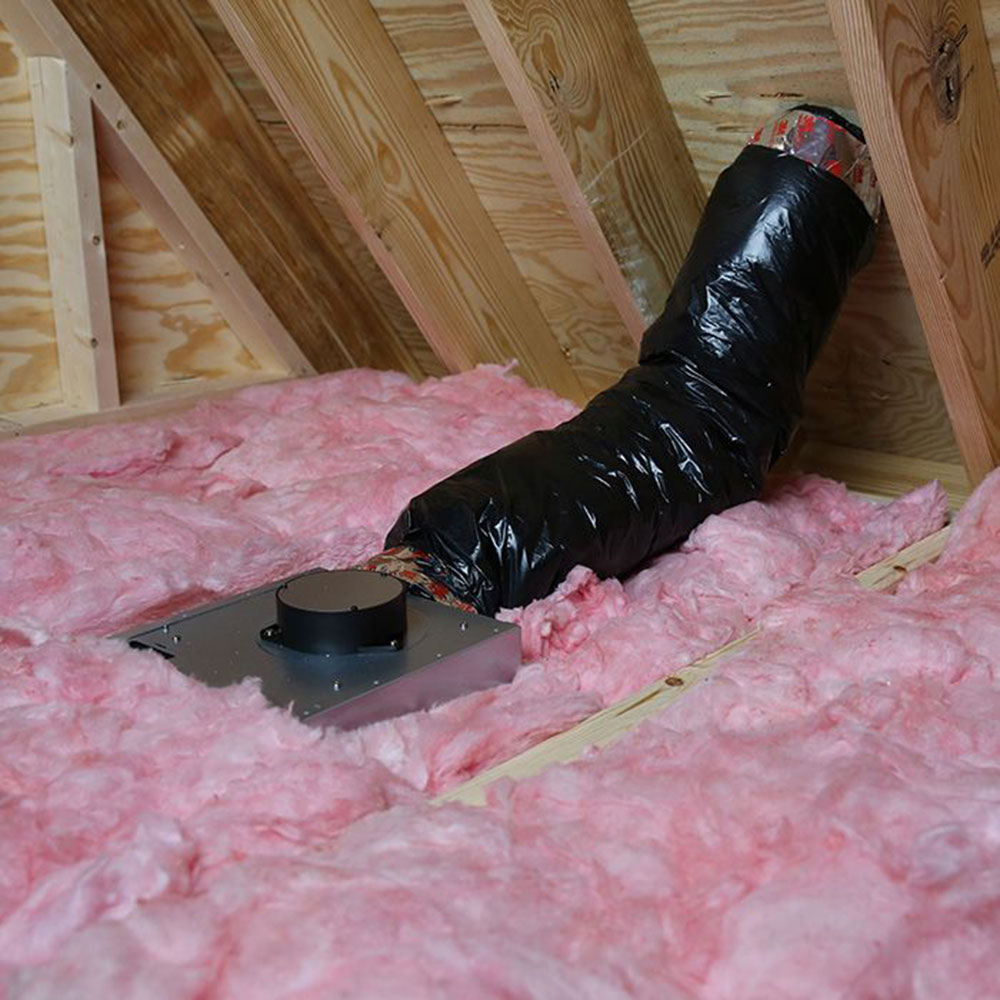
Now that you have the fan installed, it is time to connect it to the ventilation duct so that it can extract air. If you are replacing an old bathroom fan, it may already have the direction in which you should put the fan, but if it is a new installation then you need to be careful that the housing is pointing in the direction of the ducts.
The connection will be made using special HVAC tape or according to your extractor manufacturer.
It is time to make the electrical connection
An important part of how to install a bathroom fan without attic access is knowing how to incorporate wiring into the system. These should be located inside an electrical box in the housing.
Attach cables to the wall or ceiling to prevent them from being damaged by sudden movements; the best for this is a pair of clamps. In this way, you can keep them tidy and it will be easier to join them to the house wiring.
Keep a screwdriver handy as you will need to screw cables to plugs and other items.
Finish the installation by accommodating any cables that may have been loose. If possible, place them inside the fan housing. To avoid future problems, it is recommended that you adhere everything to a wooden beam or column, or to a plaster wall if there is no alternative.
Make the final test
Now you just have to test your new extractor to find possible failures. Although these devices are simple, there is always a chance that it might come defective. Before installing it, you can test it to avoid having to disassemble it.
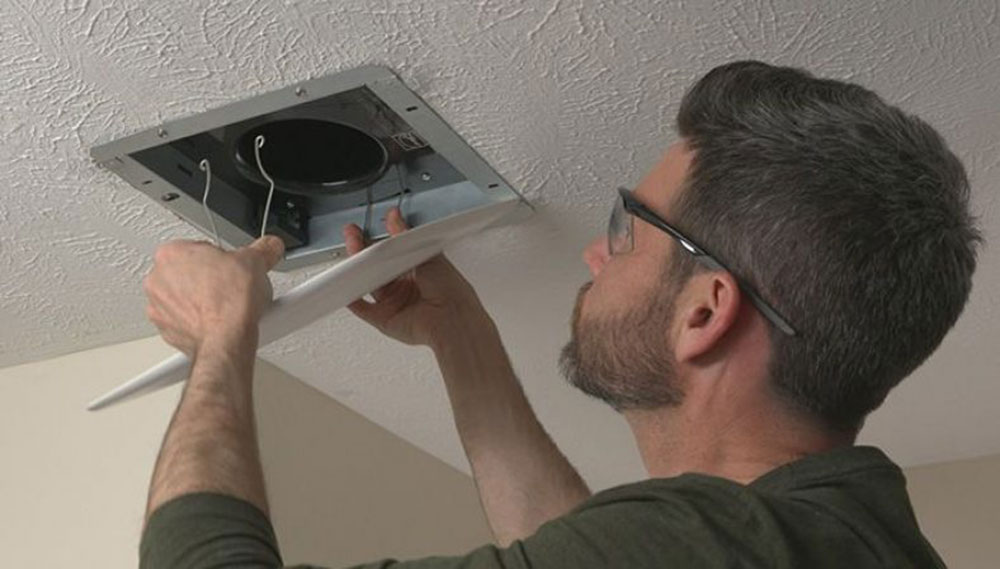
Checked that the fan works, place the protective grid in the corresponding space to avoid accidents with the blades.
If the construction process was rustic and caused damage to the surroundings, touch up the imperfections with paint and masonry paste.
If you enjoyed reading this article on how to install a bathroom fan without attic access, you should read these as well:
- How to remove bathroom tile and not make a big mess
- How to paint a bathroom properly (Images inside)
- Neat corner bathroom vanity ideas you will find useful
The post How to install a bathroom fan without attic access appeared first on Impressive Interior Design.
source https://www.impressiveinteriordesign.com/how-to-install-a-bathroom-fan-without-attic-access/





No comments:
Post a Comment