Wednesday, August 5, 2020

How much does it cost to paint kitchen cabinets? (Answered)

Is your kitchen in really bad shape, or are you tired of the cabinets you have right now? Are you looking for professional cabinet painting, or would you enjoy a little DIY project? If so, you’re probably wondering: how much does it cost to paint kitchen cabinets?

These are questions you have to answer for yourself. For everything else, we are here to help! Let’s start with the average cabinet painting cost.

The average cost of painting your kitchen cabinets in the US is between $1,200 and $7,000. There is a big difference between just above $1,000 and almost $10,000. The total depends on a variety of factors we will discuss below. For now, let’s focus on breaking down the average costs.

How much does it cost to paint kitchen cabinets? Let’s find out

Paint and primer
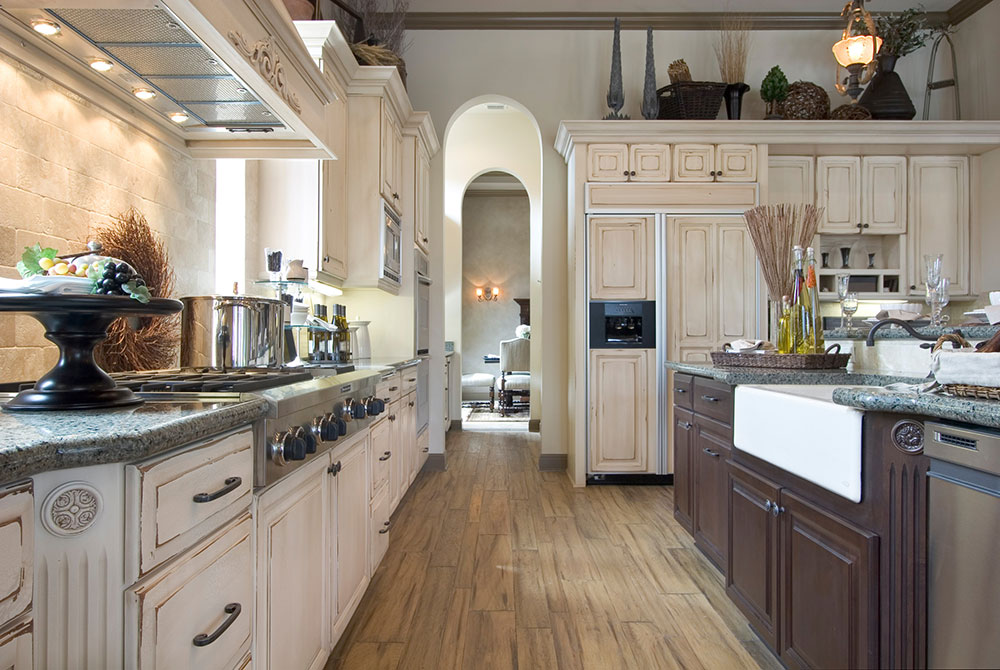
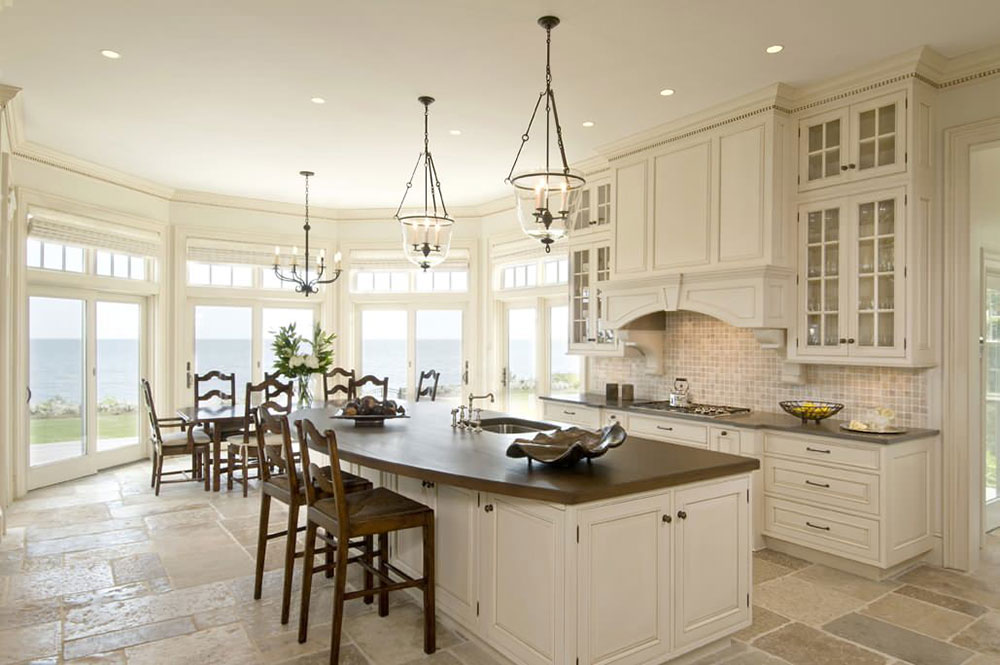
Traditonal-Kitchens-by-Cabinet-Encounters How much does it cost to paint kitchen cabinets? (Answered)
Image source: Cabinet Encounters

The average cost of a gallon of paint or primer is between $20 and $50. One gallon is enough to cover 300 to 400 square feet. Of course, it is recommended to opt for higher quality paint and primer. While these will cost you more, they will also last longer, resist stains, and provide a more even coverage.

Cabinet paint kit
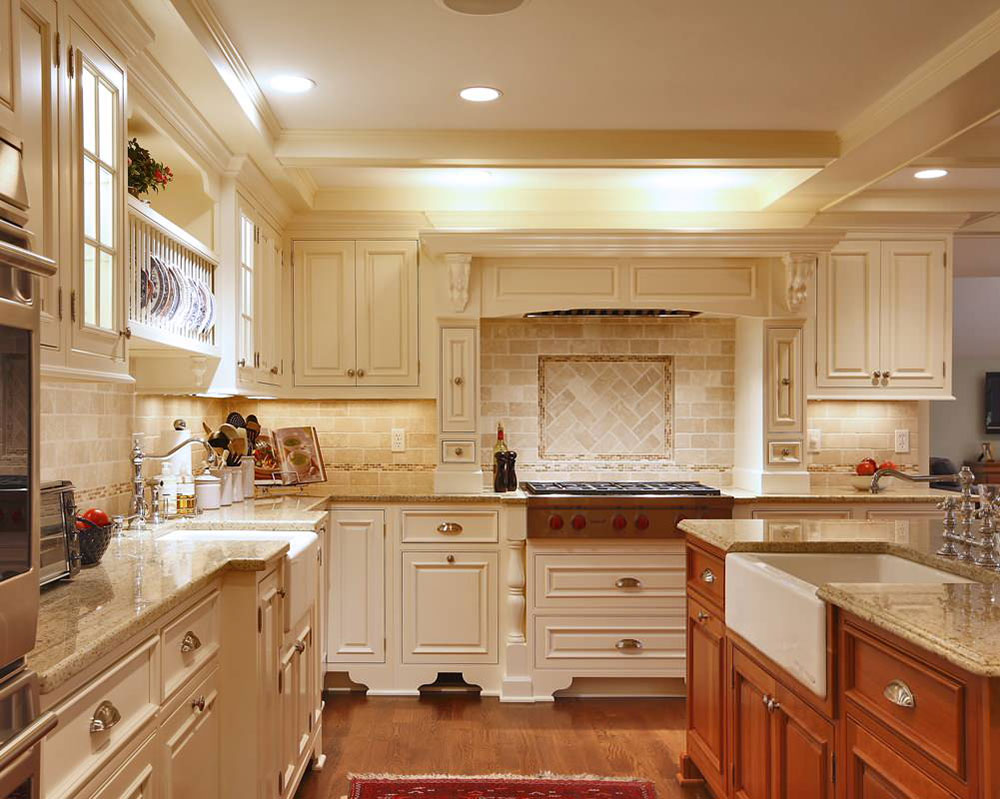
Premier-by-Venegas-and-Company How much does it cost to paint kitchen cabinets? (Answered)Image source: Venegas and Company

A cabinet paint kit is perfect for beginners and DIY enthusiasts. One kit costs between $50 and $100, and it contains masking tape, brushes and a roller, paint, and instructions. You can buy everything separately if you prefer, but this might just make the job easier.

Glazing
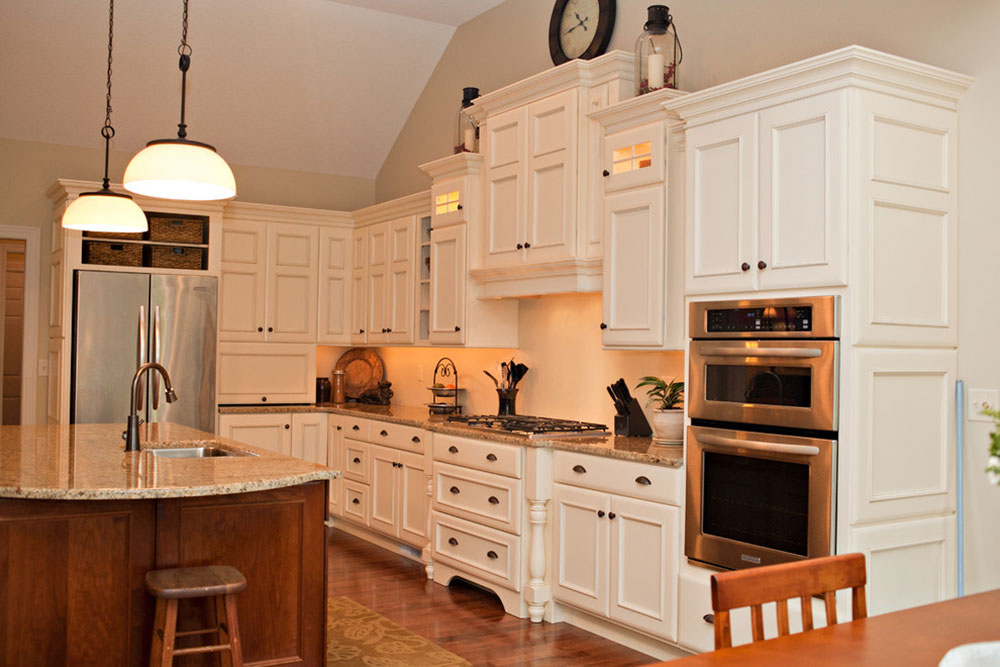
Darien-Res.-by-Cugno-Architecture How much does it cost to paint kitchen cabinets? (Answered)Image source: Cugno Architecture

Glazing involves adding a transparent coat over the wood. It makes the wood look more polished. On average, it costs between $10 and $25 to glaze 1 square foot. If you hire a professional, you will be charged between $1,500 and $3,500 for the whole kitchen (on average).

DIY-ing this step will save you a lot of money.

Labor
Traditional-and-Timeless-Kitchen-in-Illinois-by-Village-Home-Stores How much does it cost to paint kitchen cabinets? (Answered)Image source: Village Home Stores

Materials are something you will have to pay for anyway, whether you choose to hire someone or paint your cabinets yourself. Ultimately, it all comes down to labor costs.

Labor generally costs more than materials, as materials tend to range between $200 and $600.

A professional can charge you per cabinet door, square foot, or linear foot. Keep in mind that the worse the condition of the cabinet, the more you’ll be charged.

What affects the cost?

The cost to repaint kitchen cabinets depends on a variety of factors. Here are some of them:

The cabinets are in really bad shape
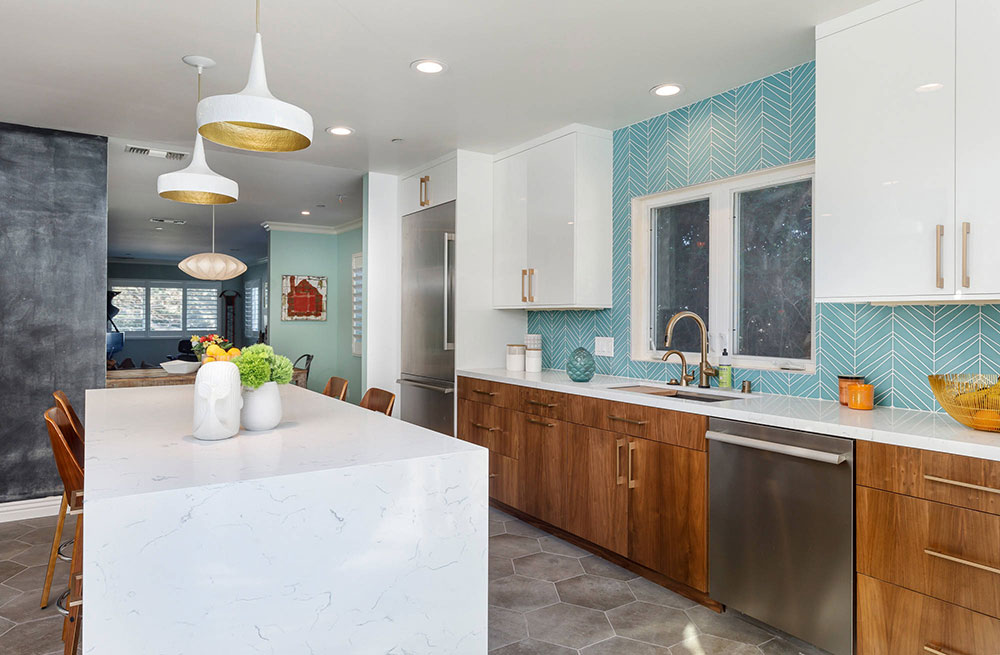
kitchen-126-by-Savvy-Kitchens How much does it cost to paint kitchen cabinets? (Answered)Image source: Savvy Kitchens

If the cabinets are in rough shape, it will take much longer to get them to the desired result. You will likely have to apply several coats of primer and paint. That results in higher material costs and longer hours.

You can do it by yourself, but it’s easier to hire a professional.

Your kitchen is bigger/smaller than the average
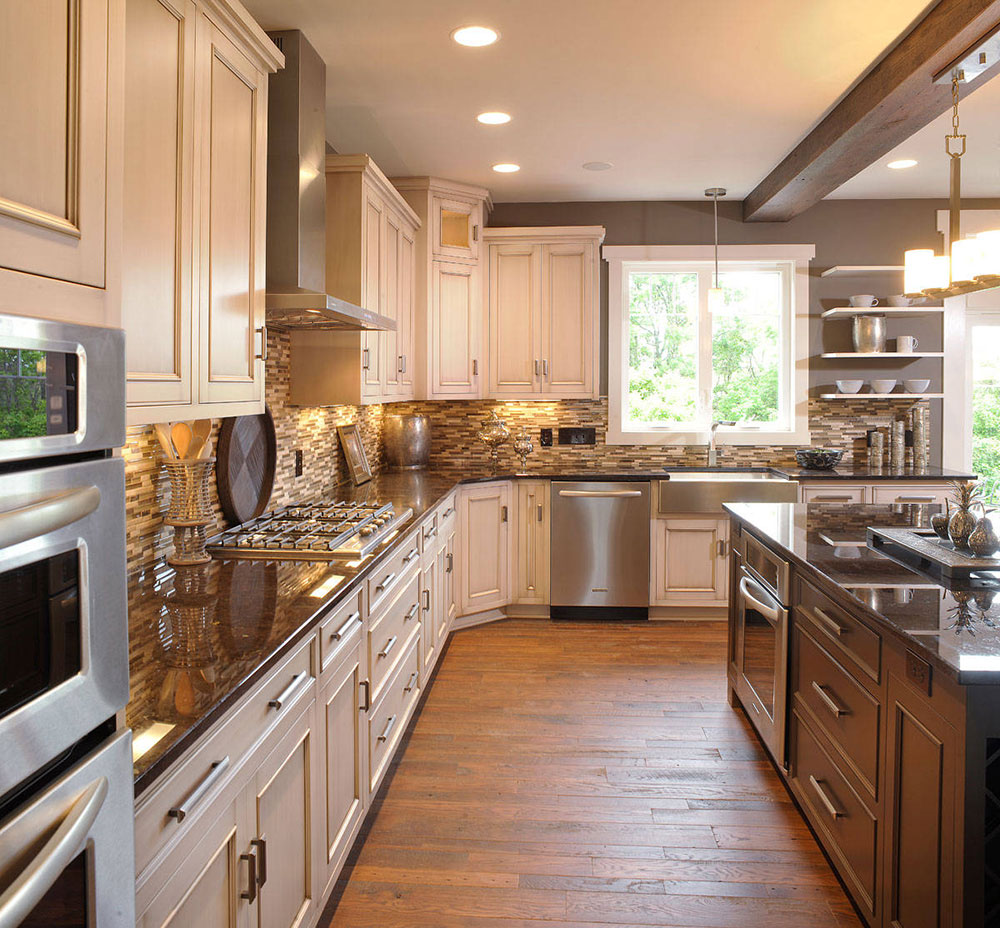
Olentangy-Falls-Delaware-OH-by-Weaver-Custom-Homes How much does it cost to paint kitchen cabinets? (Answered)Image source: weaver Custom Homes

Square footage of the area gives an idea of the size of the cabinets. Some contractors charge by the linear foot, so naturally, a bigger cabinet will cost more.

Bigger cabinets will also require more materials and lead to higher labor costs.

The surface of the cabinet requires more/less priming
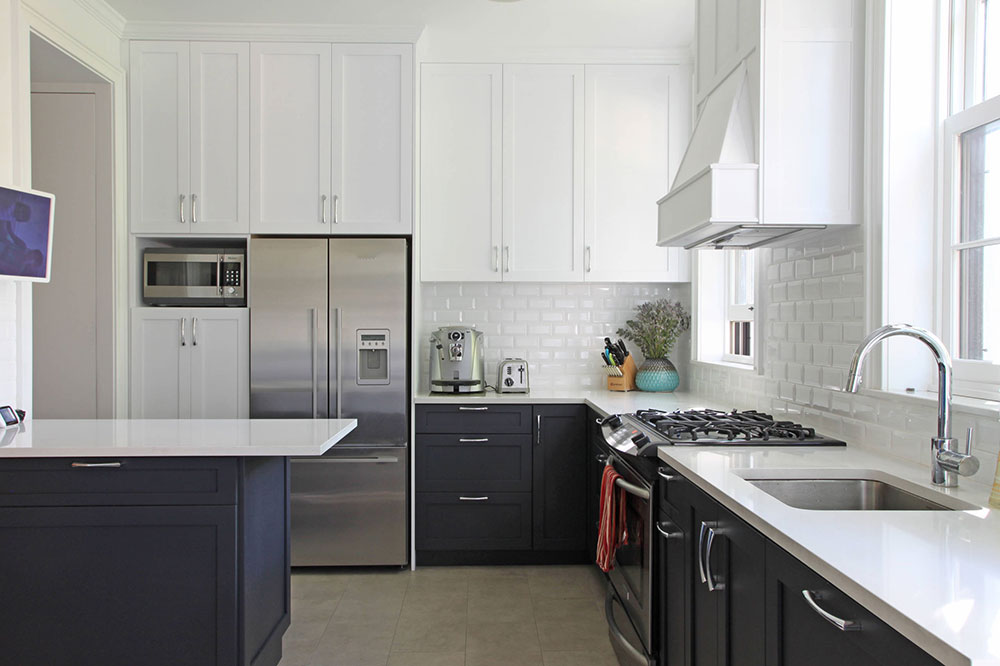
Bergen-Street-town-house-by-Maletz-Design How much does it cost to paint kitchen cabinets? (Answered)Image source: Maletz Design

Your cabinets will likely need some preparation before the first coat of paint can be applied. That includes cleaning, sanding, bond priming, and, finally, applying primer.

You might even need several coats of primer, depending on the surface. Primer helps the paint adhere to the cabinet and last longer.

You chose to spray/roll
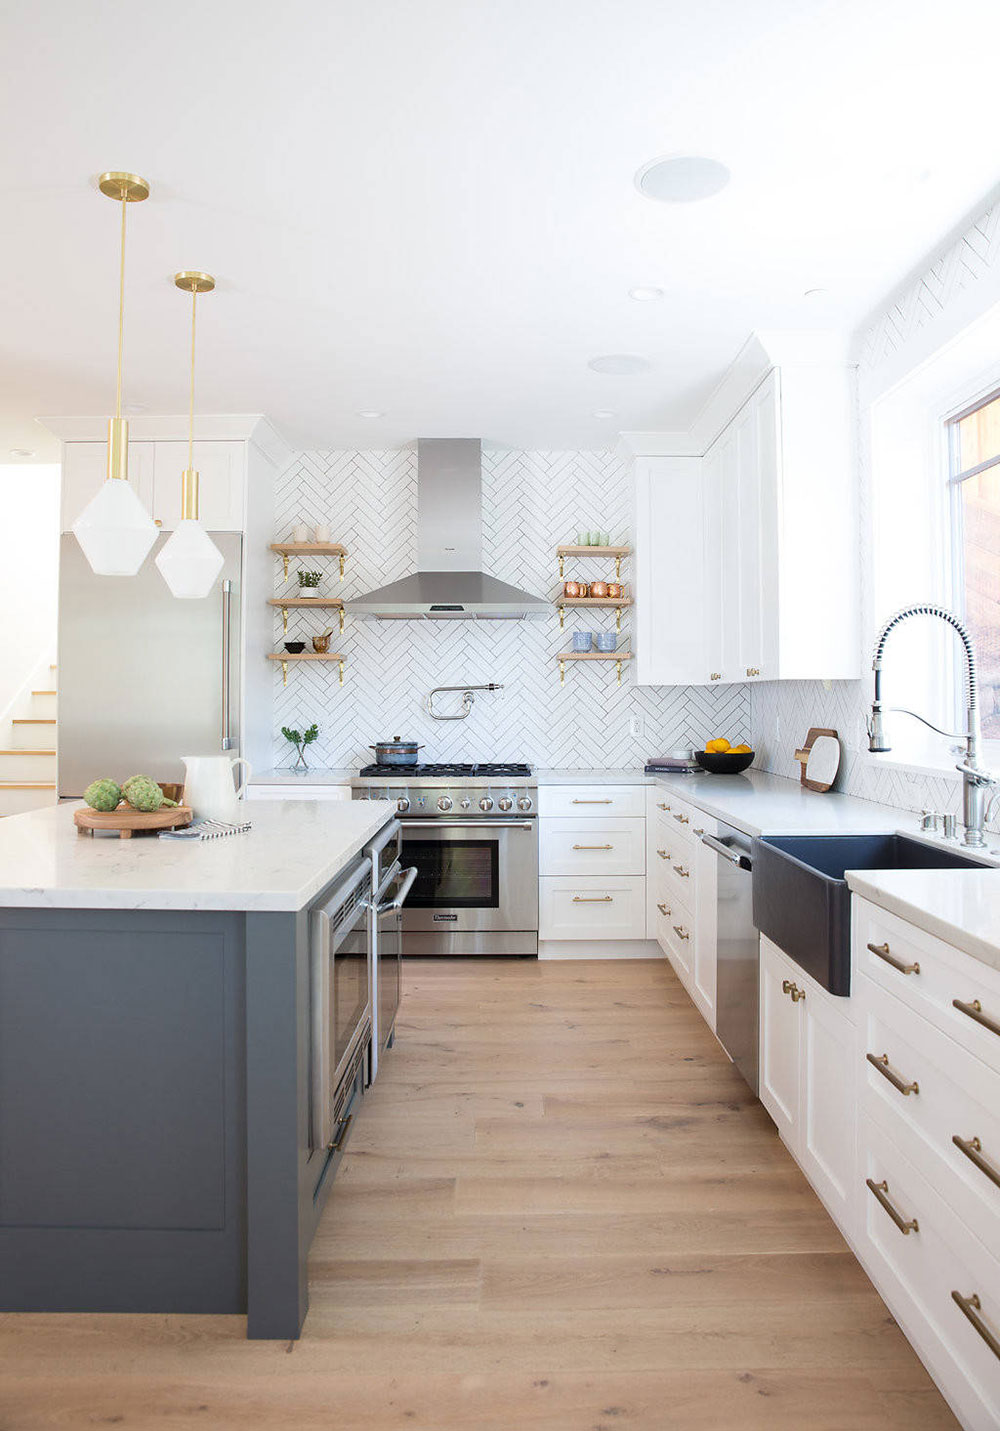
Berkeley-Modern-Craftsman-by-Love-Interiors How much does it cost to paint kitchen cabinets? (Answered)Image source: Love & Interiors

Two common ways of painting kitchen cabinets include spraying and rolling. Spraying is generally more effective and the preferred way. Both spraying and rolling require preparation of the surfaces.

Ask your contractor what kind of paint they are planning on using and how many coats they will apply. Check the quality of the paint. It’s always better to opt for high-quality paint, even if it’s more expensive.

Materials
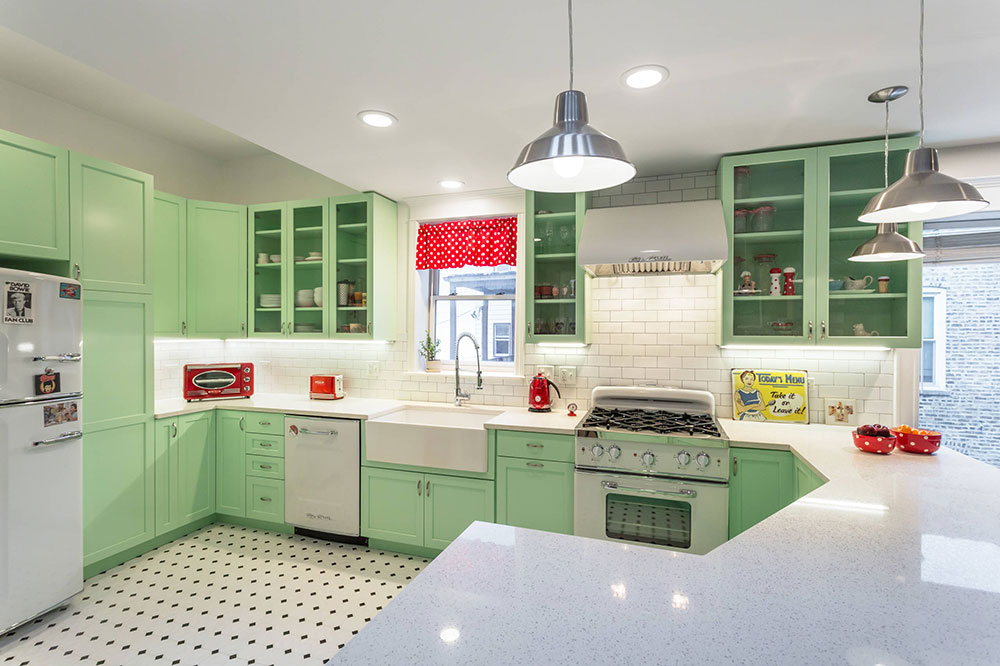
Retro-Kitchen-Remodel-in-Humboldt-Park-Chicago-by-Chi-Renovation-Design How much does it cost to paint kitchen cabinets? (Answered)Image source: Chi Renovation & Design

No matter if you choose to paint your cabinets yourself or hire a professional, you will need to spend at least $200 on materials. That includes paint with brushes, rollers, drop cloths, and painters’ tape, among other supplies.

The price will also depend on the brand you choose and the quality of the materials.

Should you spray or roll?

Both spraying and rolling have their advantages and disadvantages. How much does it cost to paint kitchen cabinets using one or the other method? Here is a quick overview of both.

Rolling:
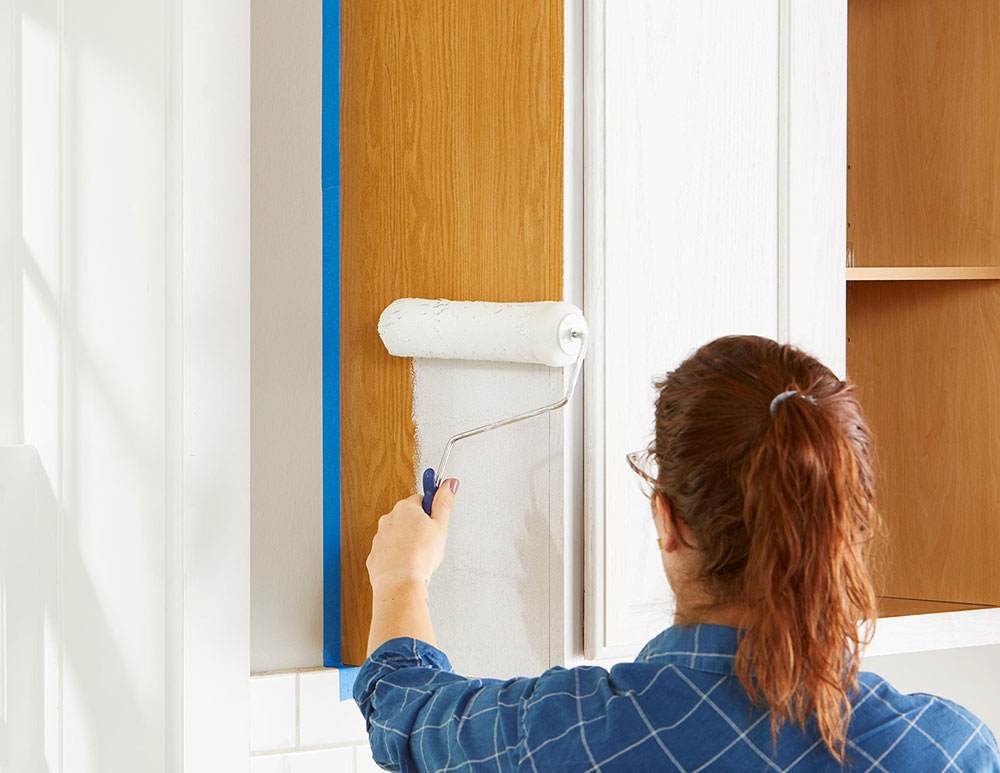
roller How much does it cost to paint kitchen cabinets? (Answered)

  • Rolling creates a thicker and more consistent layer of paint.
  • It is often used to cover dark stains or the color of the cabinet.
  • Rolling is easier to do.
  • It leaves small drops, drips, and pools of paint.
  • The result won’t be as smooth as after spraying.

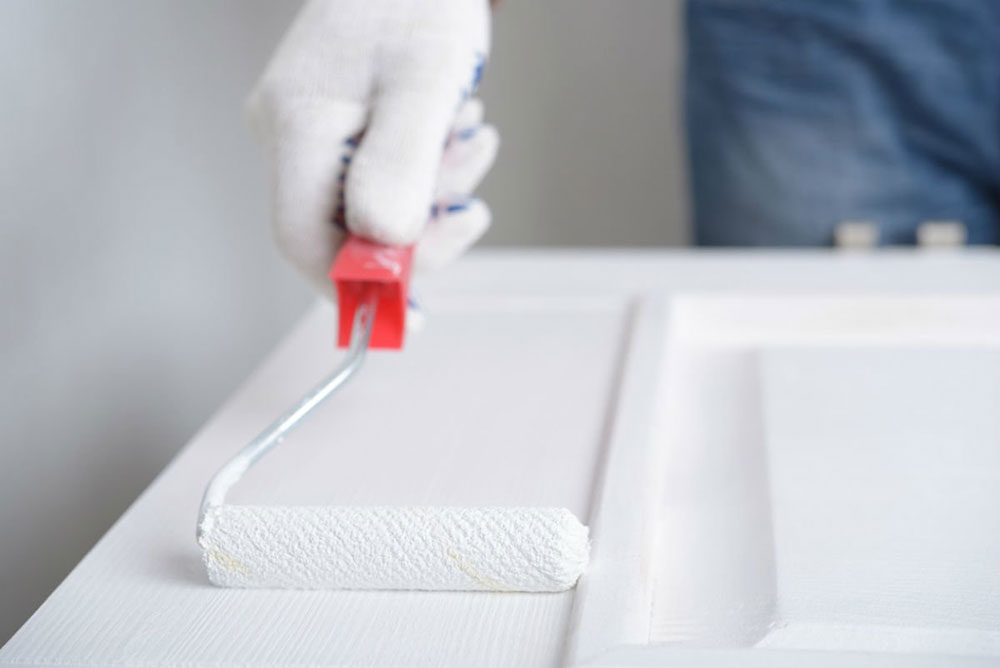
Opt for rolling if you have a small kitchen or want to paint your cabinets yourself. Use a painting brush to get all the small crevices the roller will miss.

Spraying:
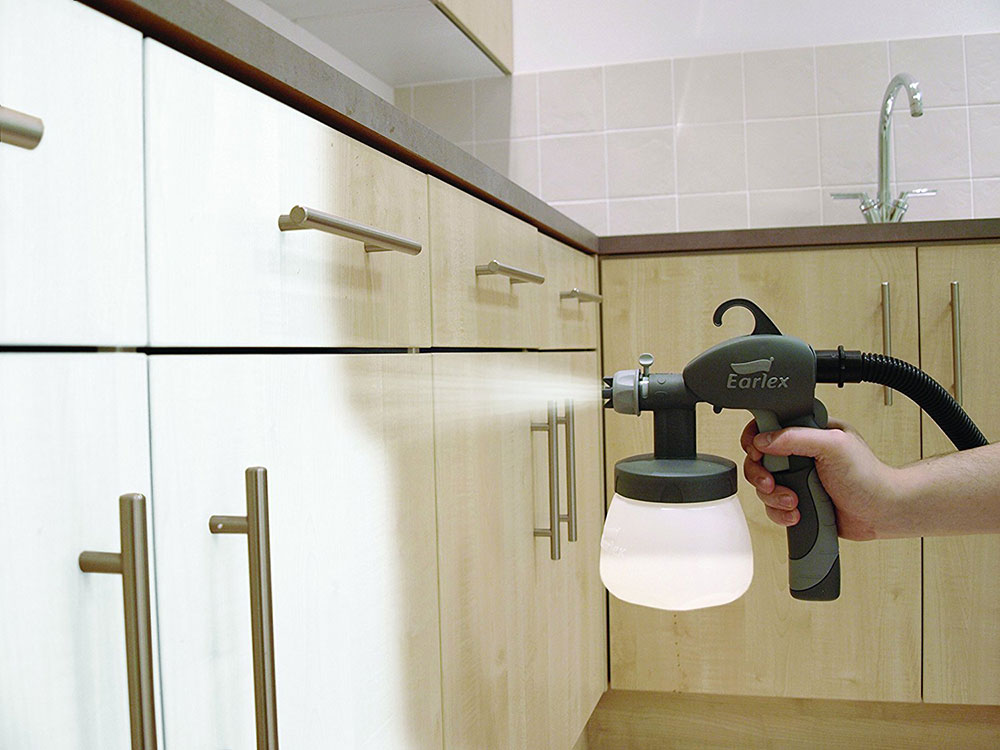
spray How much does it cost to paint kitchen cabinets? (Answered)

  • Spraying gives you a smoother and more even coat of paint.
  • There will be no drips.
  • Spraying allows you to cover even the most narrow crevices.
  • It also covers all textures.
  • Spraying is more expensive, as you need to rent a gun. Renting a gun costs between $40 and $120 per day.
  • You will also need to remove doors and drawers.

Spraying is more common among professional kitchen painters. If you hire someone to paint your drawers, they will probably use spray.

On average, you will pay between $400 and $1000 to hire someone to paint your kitchen drawers. Prepare to not use your kitchen for a few days to let the paint dry.

Why you should paint your cabinets

Now that we’ve answered the question “How much does it cost to paint kitchen cabinets?” we want to tell you why you should do it.

For starters, it is a fun way to transform your kitchen. You can use lighter colors to brighten it up and make it look bigger. Darker colors will make your kitchen look more polished and interesting.

Either way, there are many benefits to painting your kitchen cabinets. Here are some of them:

  • It’s an affordable makeover for your kitchen.
  • It’s cheaper than replacing all of your cabinets.
  • It’s a quick fix that will only take a couple of days. Dismantling the kitchen and installing a new one can take months.
  • The new paint will last you a long time, especially if you choose high-quality paint.
  • You can choose any color and make it look the way you want. Match the new cabinets to the furniture in the kitchen.
  • Painted cabinets make your kitchen look more polished, which increases the value of the house. If you’re planning on putting you house up for sale, revamping your kitchen will help.
  • Painting is way more eco-friendly than replacing the cabinets. Imagine the amount of waste that would bring!

If you enjoyed reading this article about how much does it cost to paint kitchen cabinets, you should read these as well:

The post How much does it cost to paint kitchen cabinets? (Answered) appeared first on Impressive Interior Design.


source https://www.impressiveinteriordesign.com/how-much-does-it-cost-to-paint-kitchen-cabinets/


Tuesday, August 4, 2020

Do I Need a Permit to Build a Gazebo? (Answered)

Permits are a bit of a taboo topic. Many people try to avoid getting a permit at all costs, as it seems like too much of a hassle for them.

Most books about construction try to brush over the subject by telling the readers to check with their local governing agency. That is solid advice, but it doesn’t really answer the question “Do I need a permit to build a gazebo?”

For some reason, it can be very hard to determine whether you need a permit to build something. Any seasoned DIY lover has asked themselves “Do I need a permit to build a bedroom?” or “Do I need a permit to hang drywall?”

Luckily, we are here to help and answer some frequently asked questions. If you’re looking to build a gazebo this summer, keep reading!

So, What Exactly is a Gazebo?

Water-Mill-House-by-DHD-Architecture-and-Interior-Design Do I Need a Permit to Build a Gazebo? (Answered)
Image source: DHD Architecture and Interior Design

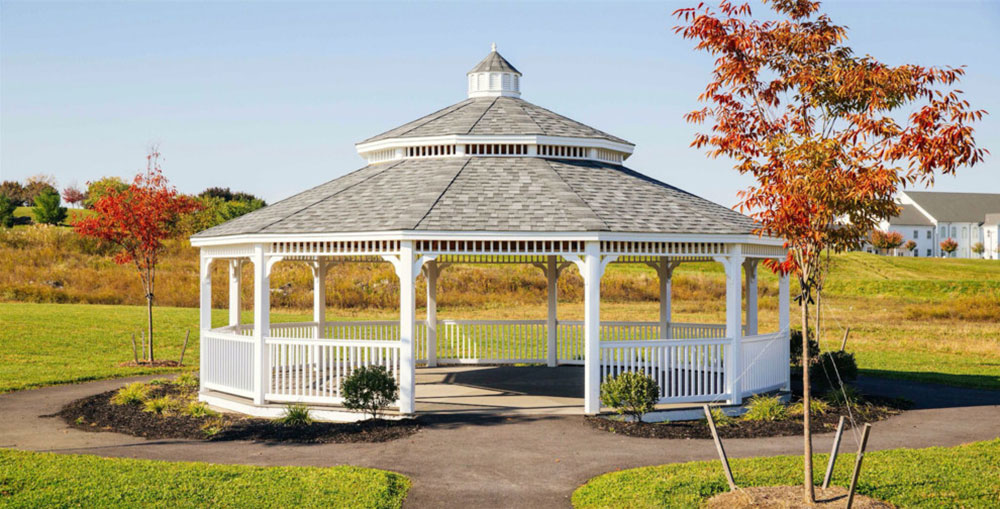
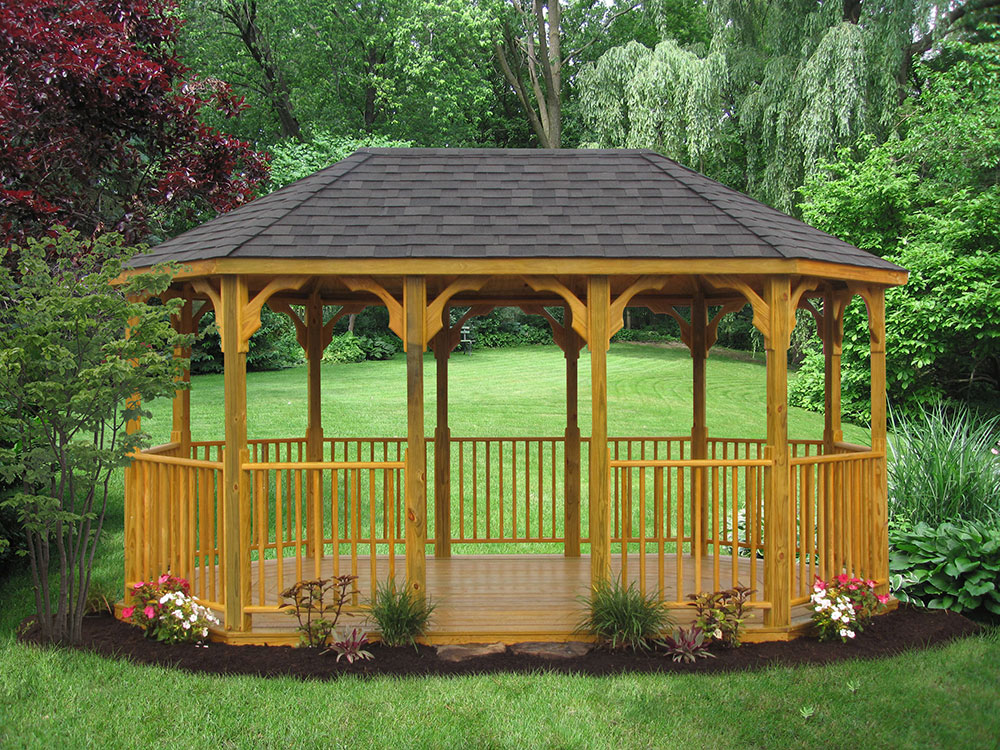
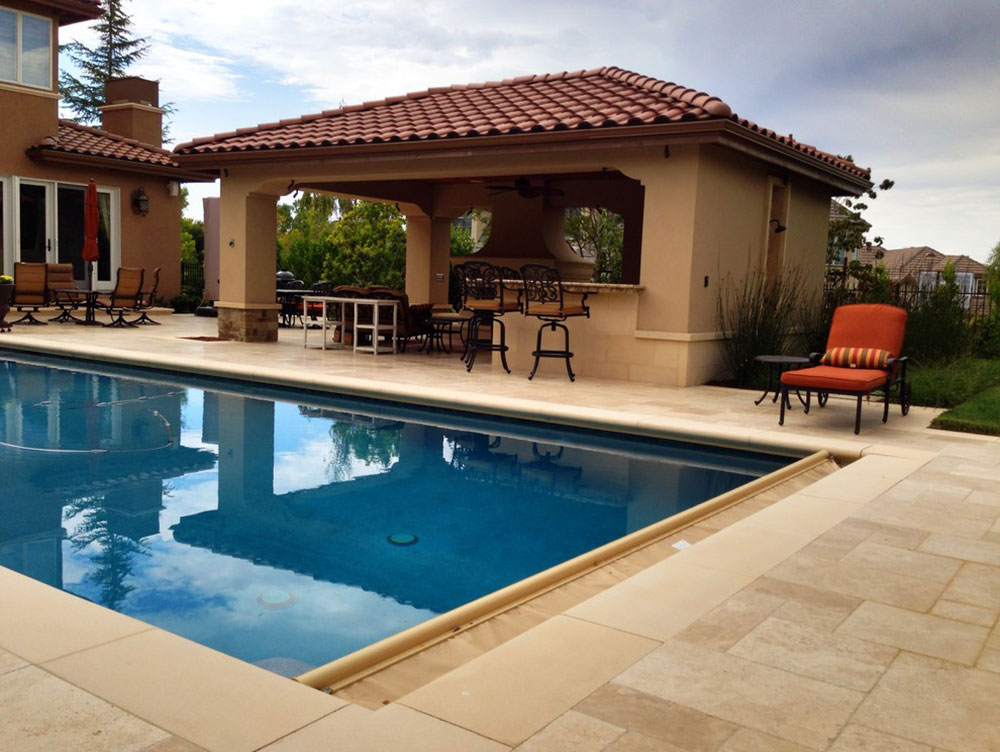
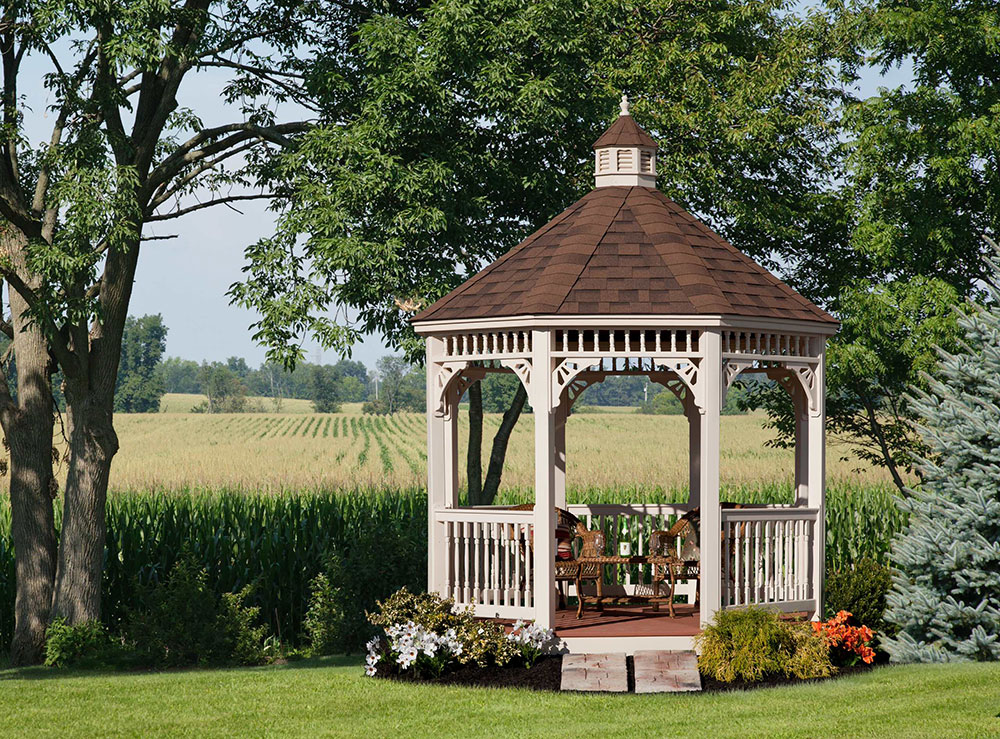
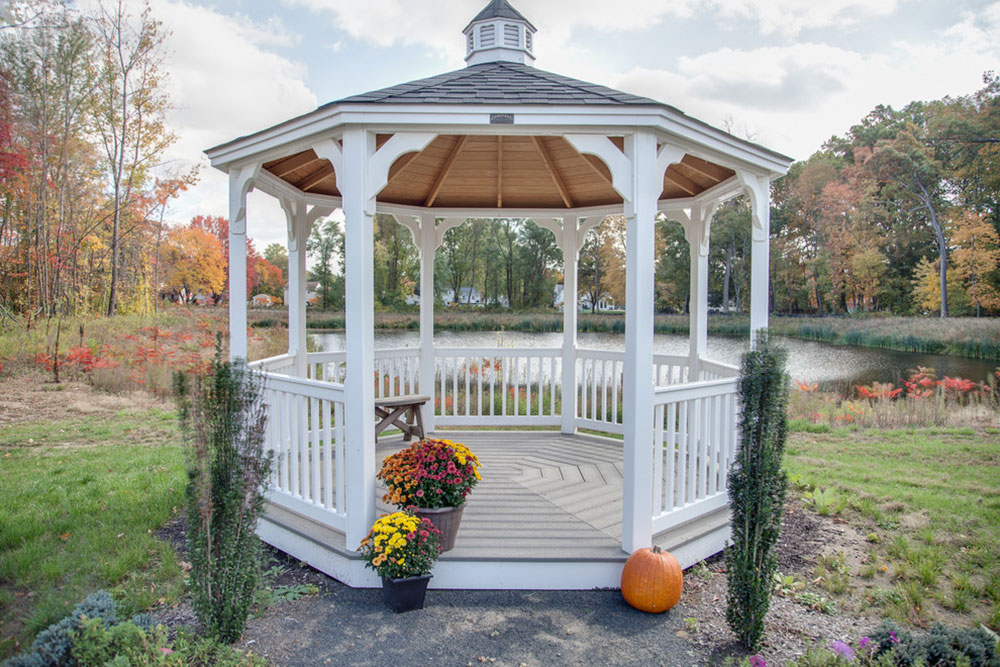
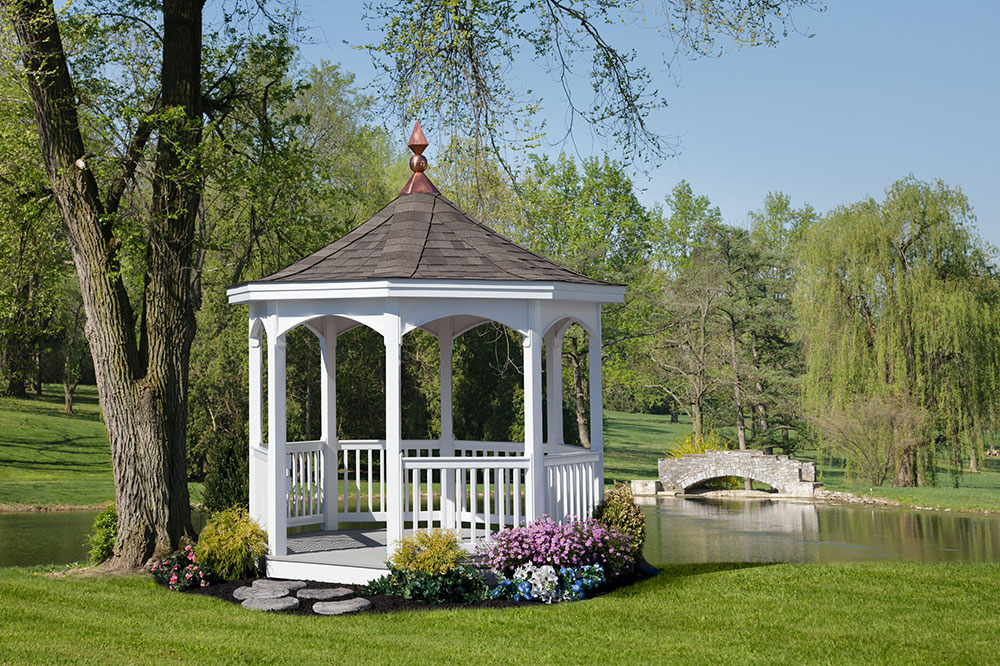
To put it simply, a gazebo is a small open-air deck with a roof. It is not attached to the main building and often has a railing around it. A traditional gazebo has 6 sides, but we’ve surpassed these rules many years ago. A wide variety of outside constructions can be considered gazebos!

A gazebo can also be referred to by a variety of names. Some of them include pagoda, rotunda, shed, summerhouse, tea house, pavilion, kiosk, belvedere, or alhambra. Surely, you’ve heard at least one of these names!

Before you get to designing and building your gazebo, there are some things you need to consider.

Do I Need a Permit to Build a Gazebo?

Vinyl-Gazebos-by-American-Landscape-Structures Do I Need a Permit to Build a Gazebo? (Answered)Image source: American Landscape Structures

To answer your question in shortly, you probably do.

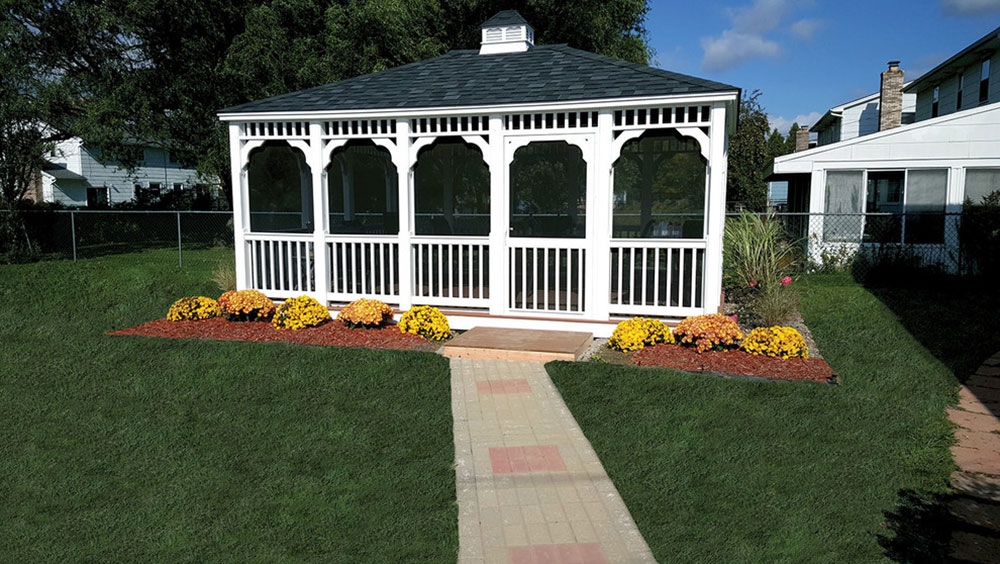
Gazebos don’t have walls, so they are not technically considered buildings. A gazebo that is smaller than 10 by 10 feet doesn’t even require a permit at all. However, a gazebo of that size might be unrealistic for most, as 100 square feet is a tiny space.

When building a gazebo, there are different permits you need to obtain. If you want your gazebo to have electricity for lights, a TV, speakers, or a grill, you will need a permit. If you’re looking to have running water in your gazebo, you will need a permit.

Gazebos-by-Liberty-Storage-Solutions-of-SC Do I Need a Permit to Build a Gazebo? (Answered)Image source: Liberty Storage Solutions of SC

Try to build your gazebo close to your house for the greatest convenience during and after the construction process.

Generally speaking, it is safe to say structures under 100 square feet don’t require a permit. However, it would be even safer to check with your local permit office anyway.

Permits are not very hard to get. Reach out to your local office via telephone and describe your situation. The office can mail you the form you will need to fill out.

What Are the Permit Requirements?

Pleasanton-Entertainers-Paradise.-by-TD-Construction Do I Need a Permit to Build a Gazebo? (Answered)Image source: TD Construction

Construction projects can be confusing. In some cases, you’re allowed to build without a permit, while in other cases you need several permits for one construction. For example, you don’t need a permit for a small deck or a low fence. A small gazebo that doesn’t exceed 100 square feet should be fine too.

Additionally, every town is different. Some municipalities will let you build without a permit, while others will require one even if the construction is minuscule.

Here are some factors that affect whether or not you will need a permit:

Your area

Gazebos-by-Creative-Gazebos Do I Need a Permit to Build a Gazebo? (Answered)Image source: Creative Gazebos

Building codes differ from one place to another. It makes sense since different places also have different weather conditions. For example, some places are very windy and require a strong base, while others are snowier and call for a stronger roof. Some places will be more prone to floods, thus requiring more water-proofing. Other places suffer from tornadoes and hurricanes. These conditions require completely different ways of construction.

Always contact your local permit office to find out what exactly you need to complete your construction safely and lawfully. If you call the office and ask for advice, chances are the clerk will be very helpful.

Your intentions for the gazebo

South-Windsor-Woods-by-T-M-Building-Co.-Inc. Do I Need a Permit to Build a Gazebo? (Answered)Image source: T & M Building Co. Inc.

Before you apply for a permit, think about your intentions for the gazebo. You can start by asking yourself the following questions:

  • How big will the gazebo be?
  • How many people will be using the gazebo?
  • What kind of furniture do I want in the gazebo?
  • Where shall the gazebo be located in regards to the main building?
  • Will I need plumbing and/or electricity in the gazebo?
  • Will the gazebo have an AC unit or will it run on solar power?

If you want electricity or running water, you will need a special permit for that. If you want to host grill parties, you need to build the gazebo that will hold all of your guests, along with the furniture.

How Do I Apply for a Permit?

Open-style-Majestic-Gazebo-by-Creative-Gazebos Do I Need a Permit to Build a Gazebo? (Answered)Image source: Creative Gazebos

Contact your local municipality to find out what they need from you. Here are some things to consider:

  • Is there heavy snowfall in my area? If so, will the roof be able to hold it? How often should I clean the roof and how will I manage the cleaning process?
  • Will the gazebo be located on a hill?
  • Is my area very windy? The gazebo should not be in use when the wind is especially strong.
  • How often do I need to tighten the screws, doors, and windows? Make a regular maintenance plan.
  • How many people will the gazebo be able to hold?

build-gazebo Do I Need a Permit to Build a Gazebo? (Answered)

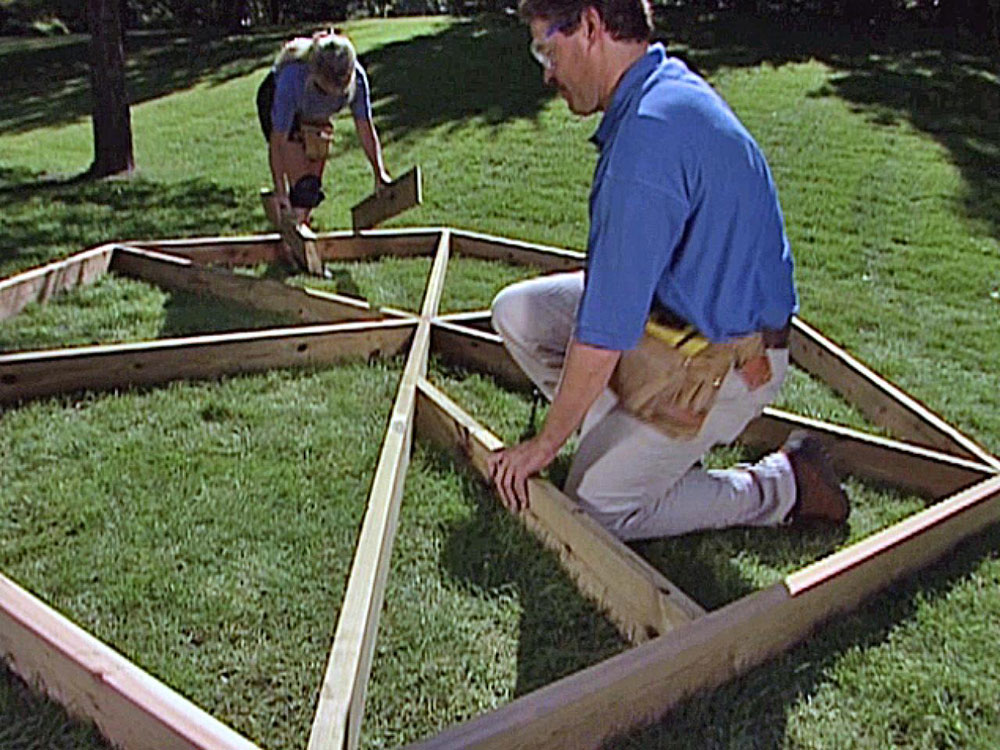
The first step is the foundation, of course. The foundation needs to hold the gazebo and not let it sink into the ground. The best thing to do is to hire a professional that will do the work for you.

Think of how many inspections you will need. Some structures don’t require any inspections at all, while others require several. Complicated structures can rank up several visits from different city inspectors. Each visit serves to approve one phase of the projects and allows you to move on to the next phase.

Ending thoughts on “Do I need a permit to build a Gazebo?”

Vinyl-Gazebos-byAmerican-Landscape-Structures Do I Need a Permit to Build a Gazebo? (Answered)Image source: American Landscape Structures

Gazebos can make a beautiful addition to your garden. You can hold barbecues and garden parties with family and friends. A gazebo will provide a lovely space for relaxation, and shelter you from rain or excessive sunshine.

You can build a multipurpose gazebo but bear in mind that you might need to obtain more than one permit. Naturally, the more high-tech your structure will be, the more work will need to be done.

In short, gazebos are very nice, but you need to fulfil the requirements. Each state and municipality has its own laws, so you need to do a fair bit of research before you get to the building process.

Keep your location and weather conditions in mind. These differ greatly from state to state. Also, don’t forget to consider the purpose of your gazebo and the amount of weight you need it to hold.

Don’t get discouraged! Building codes are there to protect you and your guests. There is nothing wrong with embarking on a little construction adventure, as long as you do so safely. Do your research, and get to building your dream gazebo!

If you enjoyed reading this article about do I need a permit to build a gazebo, you should read these as well:

The post Do I Need a Permit to Build a Gazebo? (Answered) appeared first on Impressive Interior Design.


source https://www.impressiveinteriordesign.com/do-i-need-a-permit-to-build-a-gazebo/

What to Consider When Deciding on a Loft Door

A modern loft is an excellent idea to decrease clutter and finally use the space between the living area of your house and the roof. When designing your loft, the most important decision you will have to make is what kind of loft hatch to choose. This decision will affect the comfort of using your loft space and determine the level of insulation and drought-proofing in your house. There are plenty of different factors to consider when deciding on the right loft doors; here are things you should consider before making a purchase.

Ease of Access

It is crucial to choose a hatch that facilitates ease of access to the new storage space. Dropdown loft doors come in a variety of different types and sizes and making sure that your hatch is within the National House Building Council requirements is the first step you should take, as they are designed to guarantee safety and ease of use. Once you have narrowed down the list of potential hatches, it is time to check whether the process of opening and closing the loft doors run smoothly. If the hatch you like checks both of the boxes, it’s potentially the one you should go for.

Insulation and Draught-Proofing

The perfect loft doors are fitted with draught seals and proper insulation. These additional features may cost a little extra, but they are worth the investment. Having insulation and draught-proofing will help you save a lot of energy, increase the thermal performance, and turn your loft area into an eco-friendly place. These features are even more significant when you want to make use of the loft space in an older building, as the insulation will directly affect your energy/heating bills.

Types of Loft Doors

At the moment, there are two types of loft doors available on the market, push up and hinged. The hinged loft hatch is essentially a lid that hinges down. The push up loft door, on the other hand,  is a two-piece hatch where the frame is separate from the lid. Opening it requires you to lift the door up into the loft space. The differences between the two are the design and the opening method, so all you have to do is decide which type is more comfortable for you and matches your loft space better.

Quality

There is no surprise that there is a difference in quality between manufacturers, brands, and loft hatches themselves. You can find anything from a standard inexpensive hatch to custom loft doors with a unique design. You should look for a hatch that is made from high-quality materials, has been tested, and comes with two years of warranty, at least. If you can, consider investing in steel hatches rather than plastic ones.

Ease of Installation

The final factor that you should take into consideration when looking for the right loft door is the ease of fitting it into the wall. Most of the available hatches on the market use a method of screw fixing, which is the easiest method and one that you can perform by yourself. If you can, buy a hatch that uses this particular method.

You simply insert the inner frame into the opening of your loft and screw fix into the wall. The placement of the holes should be highlighted on the frame and the fixing screws provided with the door. You can try to fit it yourself or hire somebody else to do it for you, but generally speaking, it is a simple and straightforward process.

Conclusion

When you are trying to make use of your loft, choosing the door is the most crucial element of the whole process. Consider all of the factors mentioned above and choose the loft hatch that will not only fit perfectly but also provide the functionality you are looking for. Do your research and find the ideal loft door for your house.

The post What to Consider When Deciding on a Loft Door appeared first on Impressive Interior Design.


source https://www.impressiveinteriordesign.com/what-to-consider-when-deciding-on-a-loft-door/

Monday, August 3, 2020

How to add oil-based paint over latex (Quick guide)

Is it possible to use oil-based paint over latex? Although the real answer to this question is that oil-based paint does not go well directly over latex paint, it is possible if there is a sealing coat between the two layers, since they don’t go well.

Due to the flexibility that latex paint already has and the hard finish of the oil paint, the two are not ideal, especially if the base is latex. Another factor to the issue is if the latex paint is relatively new, which makes achieving a good result more complicated.

Nevertheless, by sanding the latex surface and applying a sealing coat and separating the two layers, you can use an oil-based paint over such a surface.

When to Use an Oil-based Paint?

oil-vs-latex How to add oil-based paint over latex (Quick guide)

There are two types of paint available on the market right now – oil-based paint (less commonly known as alkyd paint), and acrylic latex paint. Water and an acrylic resin binder make up the latter. On the other hand, mixing a hydrocarbon-based solvent and alkyd resin creates oil-based paint.

Finding specific materials for different paint jobs, and deciding what type of paint to use may confuse you. Most painters favor oil-based or latex paint when updating and painting over the interior of homes.

Both paints are suitable for different objects, surfaces, etc. For example, latex paint most commonly covers interior walls, while oil-based paint is more fit on objects with surfaces that tend to wear & tear.

Advantages to Oil Based Paint

door-paint How to add oil-based paint over latex (Quick guide)

  • Oil-based paint dries with a hard veneer that is progressively impervious to scratches fingerprints, recoloring, unlike latex-based paint.
  • Oil-based dries much more slowly, and subsequently, it proffers a smoother and glossier finishing result.
  • They are easier to wash off when making a mistake due to their hard surface.
  • Oil paints are all the more synthetically repellent to confront washing cleansers than latex.
  • Wall flaws are easier to hide with oil paints since they are much thicker.
  • Oil-based paint offers a less clear refractive file contrasted with latex paint because the linseed oil contains smaller particles than latex paint does. In this manner, the paint film gives a sentiment of more profundity and warmth than latex paint.
  • The surface provided by oil-based paints is much smoother to the touch, and thus more pleasing.
  • Some argue that oil-paint is better when comparing it to latex paint since it is more visually pleasing, smoother, and firmer.

Even though it may require extra work if you decide on it, using and applying oil-based paint is possible in nearly every situation. Below are projects which are very fitting for it:

  • doors
  • cabinets
  • full-gloss finish surfaces
  • trims
  • rooms with high levels of moisture, like the bathroom

When using a faux finish, you can easily manipulate and play with it however you may like, due to the extended drying period of oil-based paints

How to Apply Oil-Based Paint Over Latex Paint

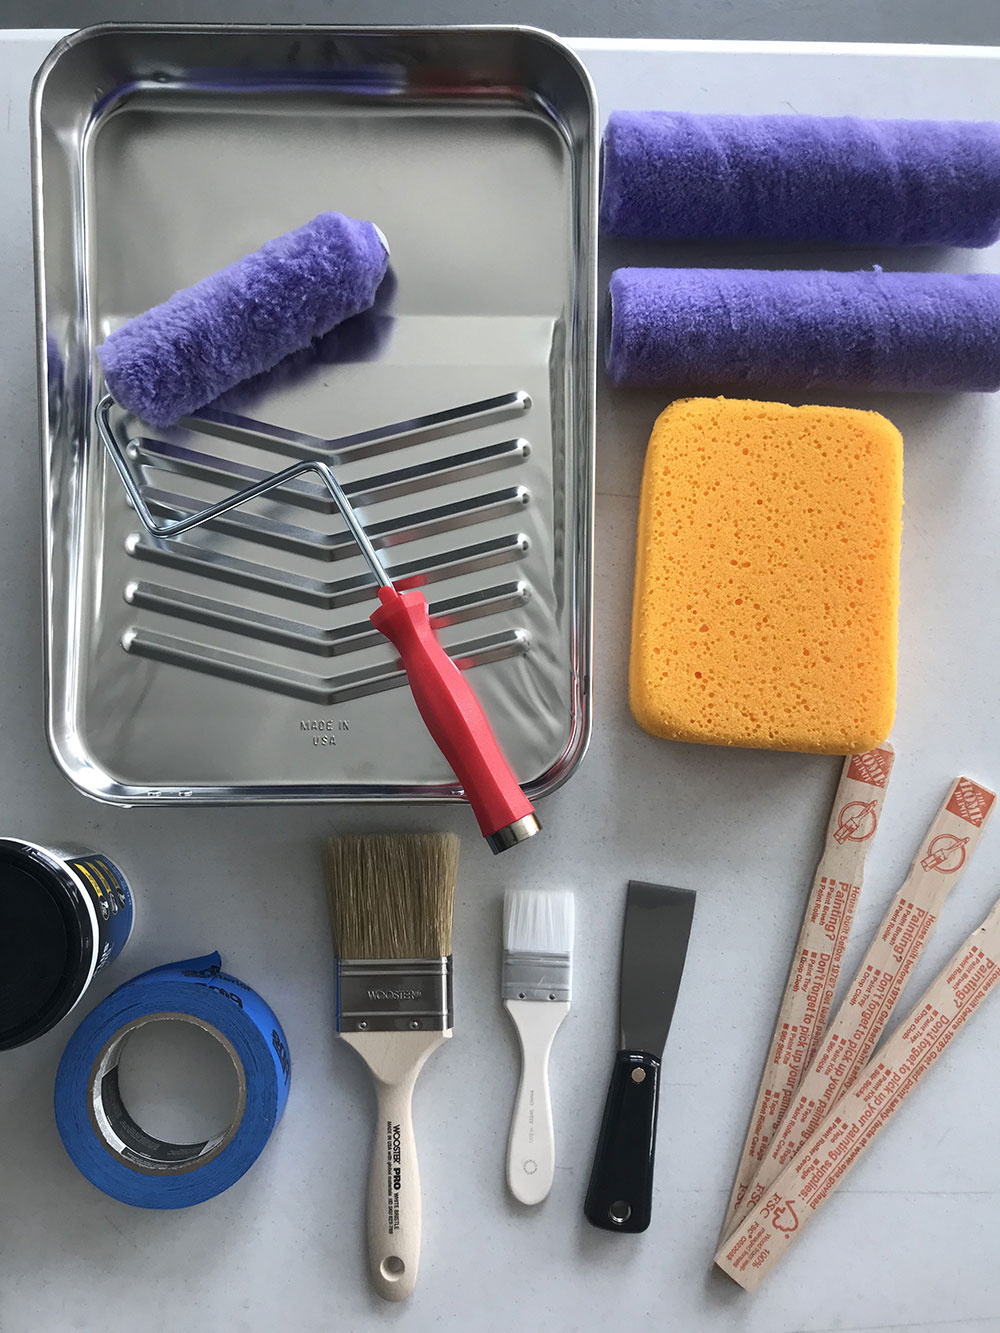
tools-3 How to add oil-based paint over latex (Quick guide)

When applying oil-based paint over latex paint, a sealing coat separating the two is crucial due to the different and even contrasting characteristics of the paints.

For this very task, you need the following materials:

  • Oil-based paint
  • Water-based or acrylic-based primer
  • Paintbrush
  • Paint roller
  • 80-grit and 150-grit sandpaper
  • Sanding block
  • Masking tape
  • Cloth
  • Water
  • Mask or respirator

You need to be highly prepared for this process. To successfully put oil-based paint over latex, follow these steps:

1st Step: Sanding the surface

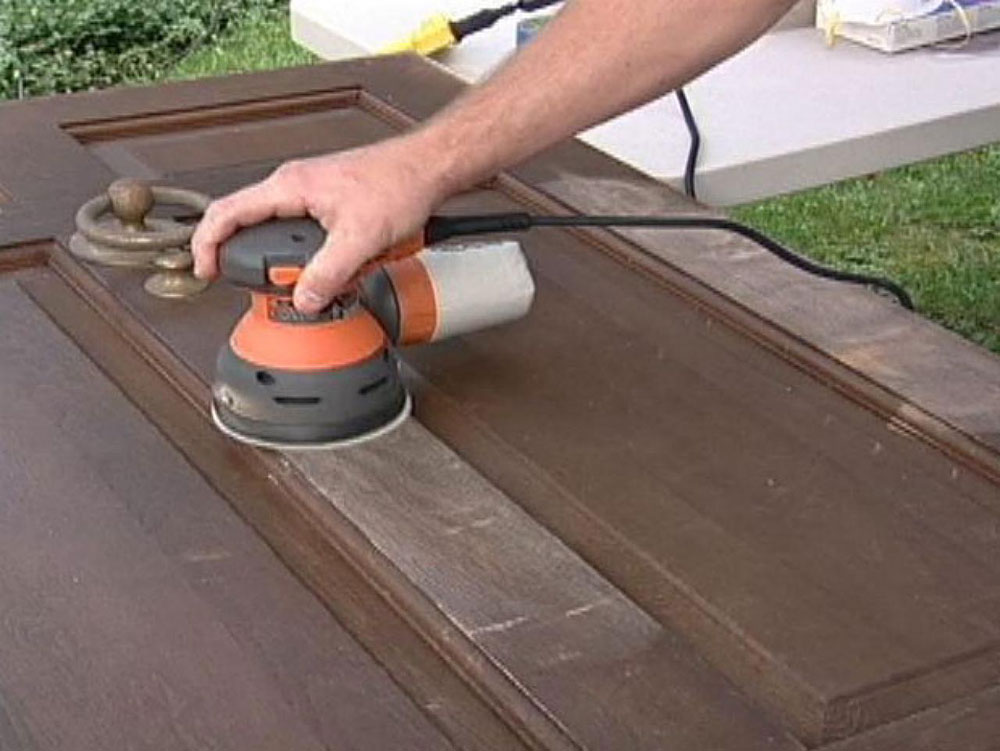
sanding1 How to add oil-based paint over latex (Quick guide)

Latex is flexible, as mentioned above. If you don’t sand the surface and add primer between each layer, the oil-based paint won’t stick to it. Equipping yourself with p80 grit sandpaper and removing as much of the latex from the surface as you can is a solid start to the process.

By doing this, the surface will even out, and the oil-based paint will stick properly. Don’t stop sanding until the surface appears matte.

2nd Step:  Second stage of sanding

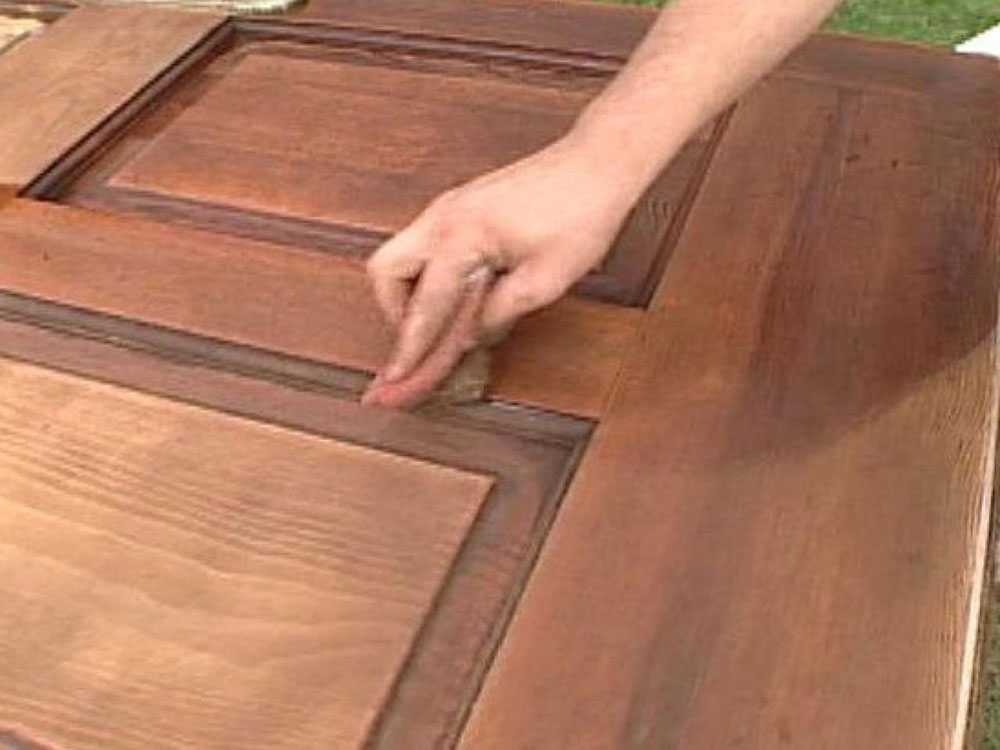
re-sadning How to add oil-based paint over latex (Quick guide)

Before putting an oil-based paint over latex, you should continue sanding with 150 grit sandpaper until you achieve a smooth and matte cover. The sandpaper will smoothen the surface layer by getting rid of smaller flaws on every exposed layer. When done, get rid of dust by sweeping it away. Go through the area with a damp cloth and wait for it to dry.

Afterward, using a brush attachment, vacuum over the surface to remove any dust that is left laying around. With warm water and detergent you have at home, wash the surface. Rinse with clean water, and once again, wait for it to dry.

3rd Step: Masking the area

paint-tape How to add oil-based paint over latex (Quick guide)

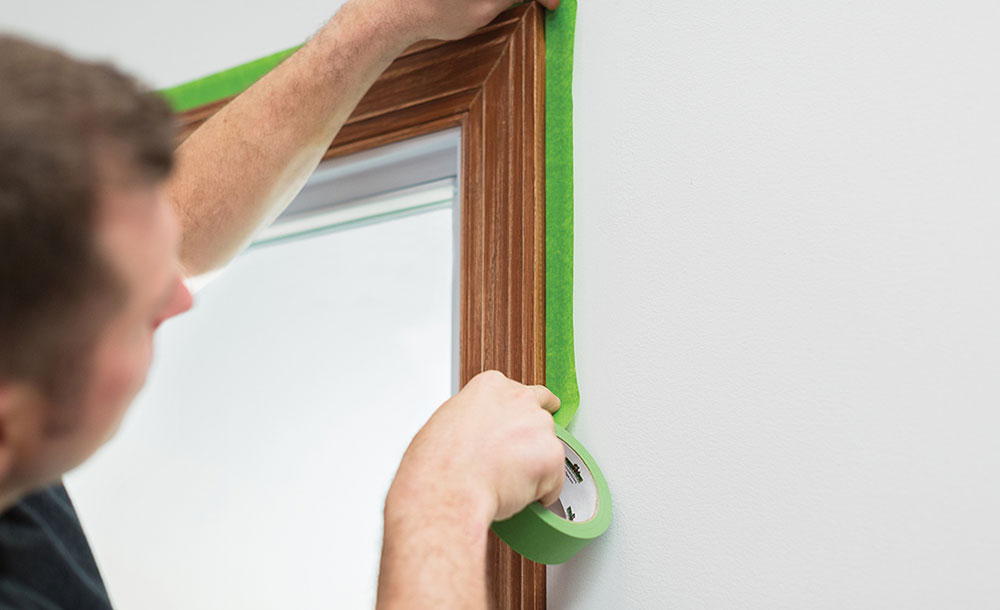
Seal the edges and any neighboring areas using masking tape to protect them from the paint and no mess. This includes the edges of walls, cabinets, light switches, or anything else in the way. Moreover, the masking tape helps to achieve a clean, sharp look after all is done.

4th Step: Applying the primer.

primer-1 How to add oil-based paint over latex (Quick guide)

With a small brush, go along edges of walls with a high adhesion primer. This includes the join between the wall and the ceiling, the sides of the wall, and the baseboard’s top.

Afterward, apply one coat of a water-based or acrylic primer. Both are suited to work fine with both types of paints and create an ideal separating surface for them. The primer should be positioned between both layers of paint.

When the first coat is dry, apply another one to achieve the isolating effect further. Make sure that all traces of the latex paint are entirely covered with the primer.

Before applying the primer, make sure that most of the latex paint is removed.

5th Step: Applying a topcoat

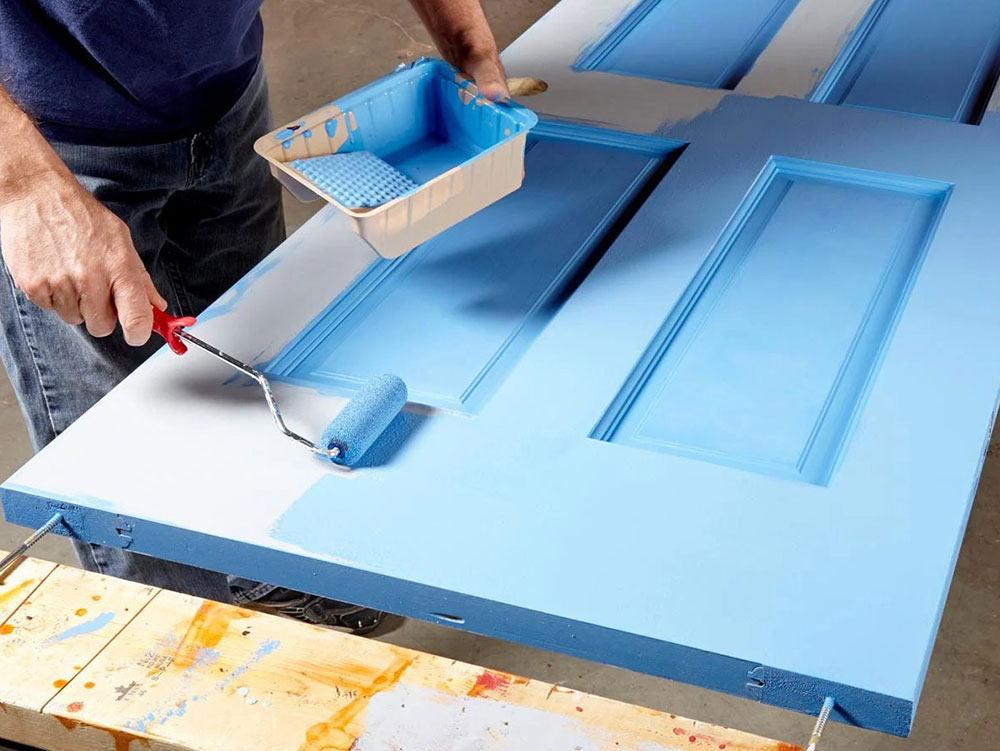
paint-2 How to add oil-based paint over latex (Quick guide)

Apply a thin coat of your chosen oil-based topcoat. Once again, use a small brush to cut in if you are painting a wall. Apply paint to the rest of the wall with a larger brush or a roller.

Use an appropriately sized brush if you are painting a smaller area. Allow the paint to dry thoroughly before sanding it lightly and applying a second coat. The extra layer provides maximum coverage and protection on the surface.

paint1 How to add oil-based paint over latex (Quick guide)

When this is dry, appraise the situation. If need be, apply a further coat to ensure maximum coverage. Remove all masking tape while the paint is still tacky to avoid tearing the paint.

Extra Tips on putting oil-based paint over latex

Here are several tips on how to put oil-based paint over latex:

 Remove any unwanted oil-paint splatter immediately with cloth dipped in brush cleaner

  1. Ensure that you paint in an air-conditioned area to help diffuse the fumes and allow the paint to dry correctly.
  2. For the paint to dry correctly and diffuse fumes, make sure that the area you’re painting in is well-ventilated.
  3. Make sure to use a mask when doing the task, due to the chemical fumes coming from the paint and its extended drying period.
  4. Clean any oil-paint from brushes with a brush cleaner. If there is latex on them, they can be easily cleaned with water.
  5. Isolate yourself from paint particles when dusting by wearing a dust mask

If you enjoyed reading this article about oil-based paint over latex, you should read these as well:

The post How to add oil-based paint over latex (Quick guide) appeared first on Impressive Interior Design.


source https://www.impressiveinteriordesign.com/oil-based-paint-over-latex/

Sunday, August 2, 2020

What Causes Chimney Fires and How to Avoid Them (Answered)

Chimney fires are a very common problem all around the world. There are over 25,000 chimney fires per year, and they account for over $120 million in damage to property. They cause thousands of injuries and even deaths!

If you want to continue to enjoy your fireplace or wood stove, you can do so safely. Focus on chimney fire prevention by following the tips below. Think of the threat a chimney fire can cause to your well-being, health, family members, and property.

We will tell you what causes chimney fires and what you can do to prevent them.

So, What Causes Chimney Fires?

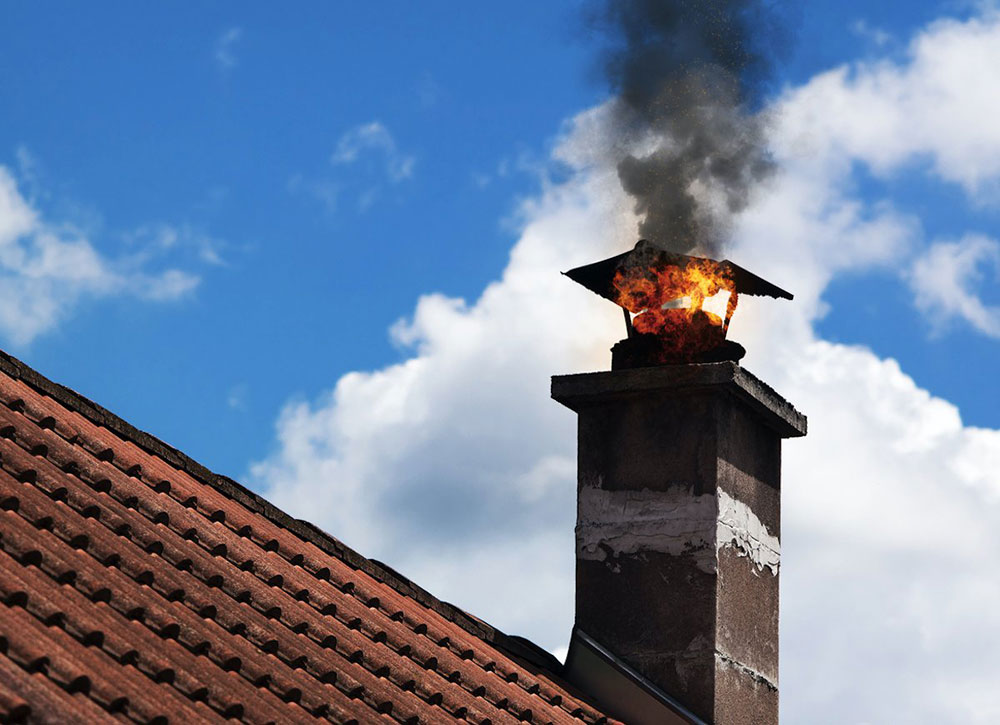
chimney-fire What Causes Chimney Fires and How to Avoid Them (Answered)

To put it simply, chimney fires are caused by creosote buildup in the flue lining of the chimney. Creosote is a by-product of combustion, and it is highly flammable. If there is enough of it in the chimney, and fire sparks reach it, it can easily set on fire.

This substances changes form with temperature. When the temperature in the chimney drops below 250 degrees Fahrenheit, it becomes sticky and condensed, and easily sticks to the walls of the chimney. Then, once the temperature drops below 150 degrees Fahrenheit, creosote becomes dark and flaky. If it catches on fire, it can burn the whole house down.

Here are some signs of a chimney fire:

chimney-fire1 What Causes Chimney Fires and How to Avoid Them (Answered)

  • Loud cracking and popping noises coming out of the chimney
  • An extraordinary amount of dense smoke along with an intense, hot smell
  • Deformed creosote with pops of color that looks different from normal creosote
  • Warped metal on the chimney or parts of the chimney
  • Cracked flue tiles with big chunks missing
  • Discolored rain cap
  • Creosote flakes coming out of the chimney
  • Damaged roof

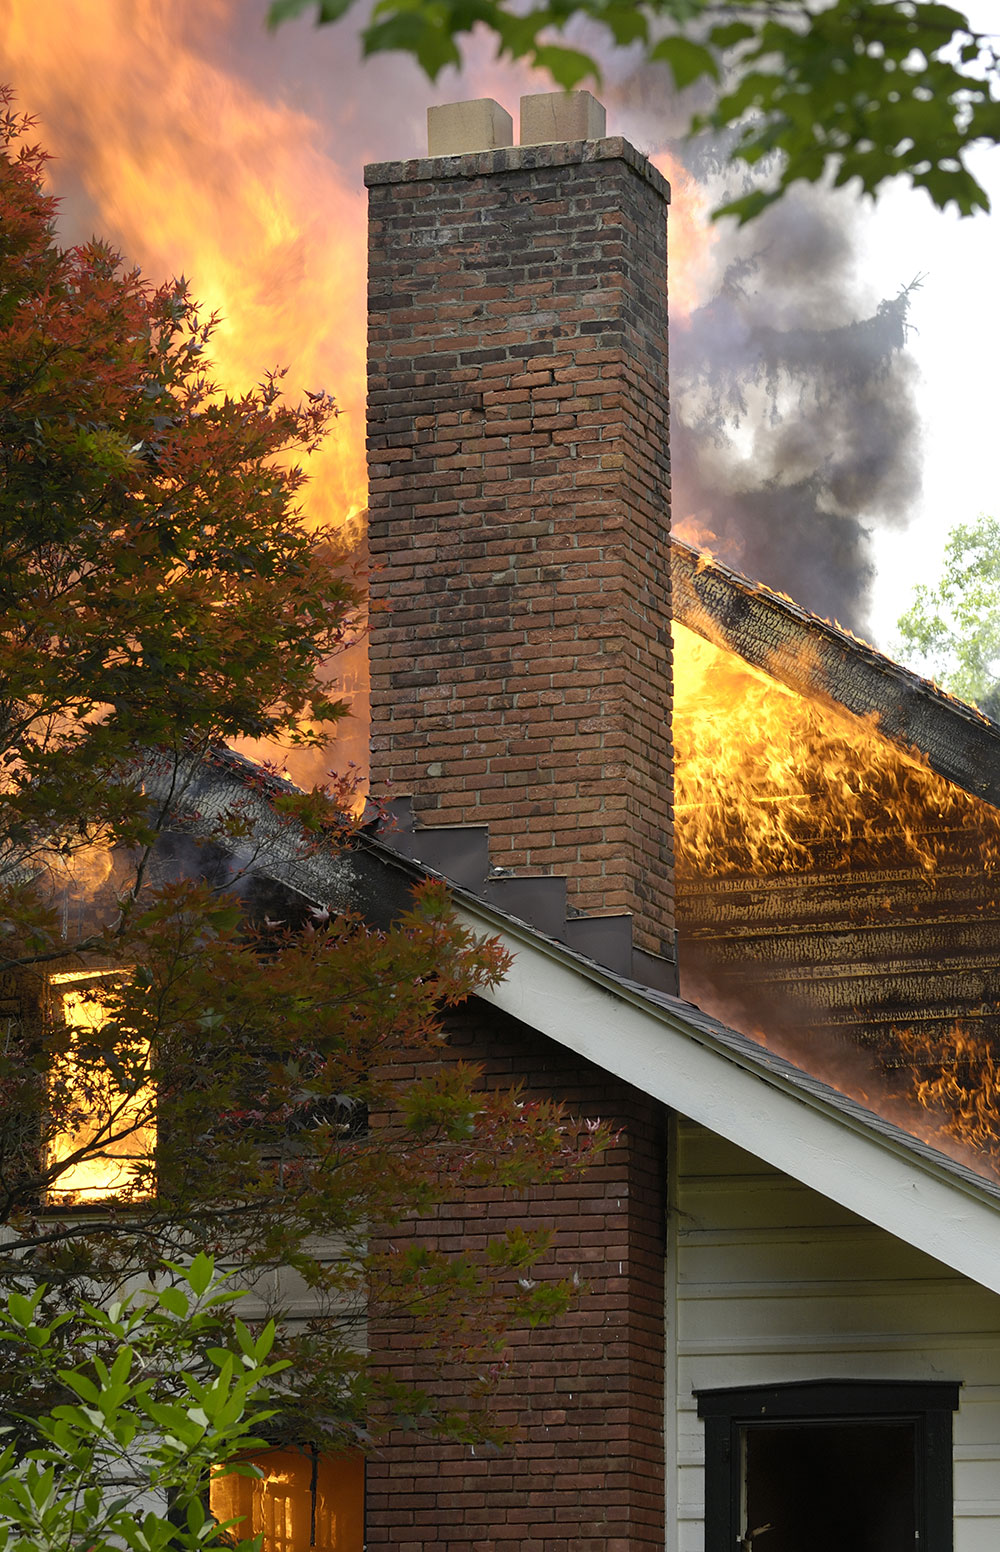
Chimney fires don’t always come unannounced. Sometimes, they can be explosive and loud. So much so, that even your neighbors and passers-by will notice. A chimney fire can be so loud that you might think a plane is flying right by your house, or you’re under a passing train.

Ways to Identify a Chimney Fire

There are two different types of fires. Both of them are very dangerous.

Free burning

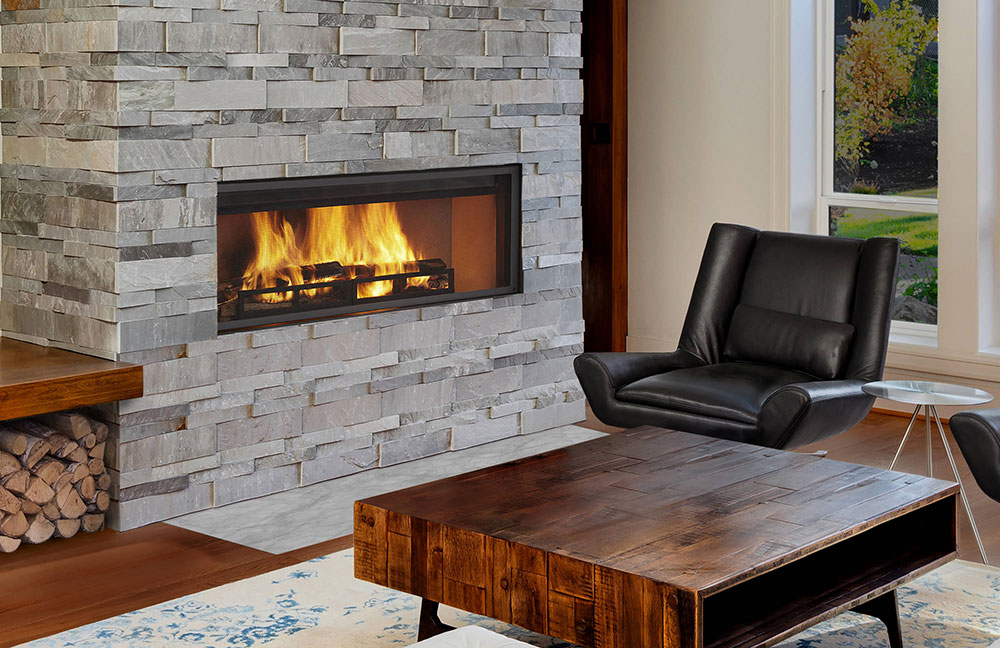
Heatilator-Design-Gallery-by-CR-Gas-Logs-Fireplaces What Causes Chimney Fires and How to Avoid Them (Answered)
Image source: CR Gas Logs & Fireplaces

A free burning fire takes in lots of oxygen, so it grows very big and loud. It can sound like a plane taking off on the roof of your house. There is a chance that you will hear it before you can see it. Free burning fire is so loud that even your neighbors would be able to hear it. If that’s the case, that’s quite lucky, as they can call the fire department or help you evacuate the premises.

Either way, the fire won’t wait long before expanding. Flames will come out of the chimney or even the top of your house. It is accompanied with lots of smoke.

Slow-burning

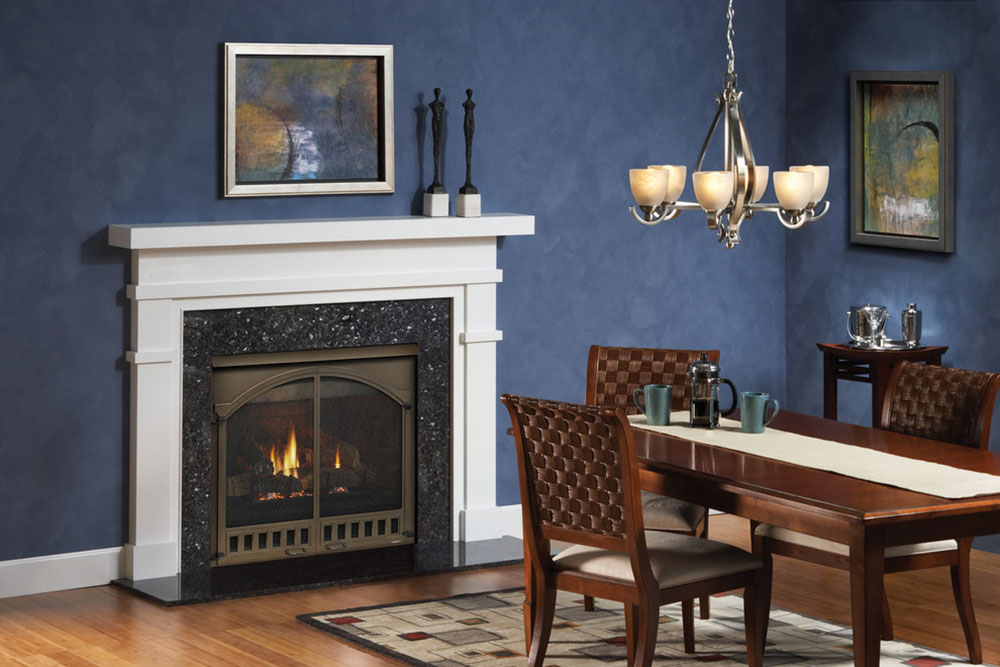
Heatilator-Design-Gallery-by-CR-Gas-LogsFireplaces What Causes Chimney Fires and How to Avoid Them (Answered)Image source: CR Gas Logs & Fireplaces

This type of fire is called slow-burning for a reason. It doesn’t take in as much oxygen, so it takes a while before the fire takes over your house. Unfortunately, it is also more difficult to detect.

A slow-burning fire is incredibly dangerous. The temperature of the fire can get up to 2000 degrees Fahrenheit!

There is no accompanying sound, like in a free burning fire, so you might not even recognize when the fire starts. It could be burning for a while, before setting your whole house on fire.

How to Prevent Chimney Fires

Less creosote

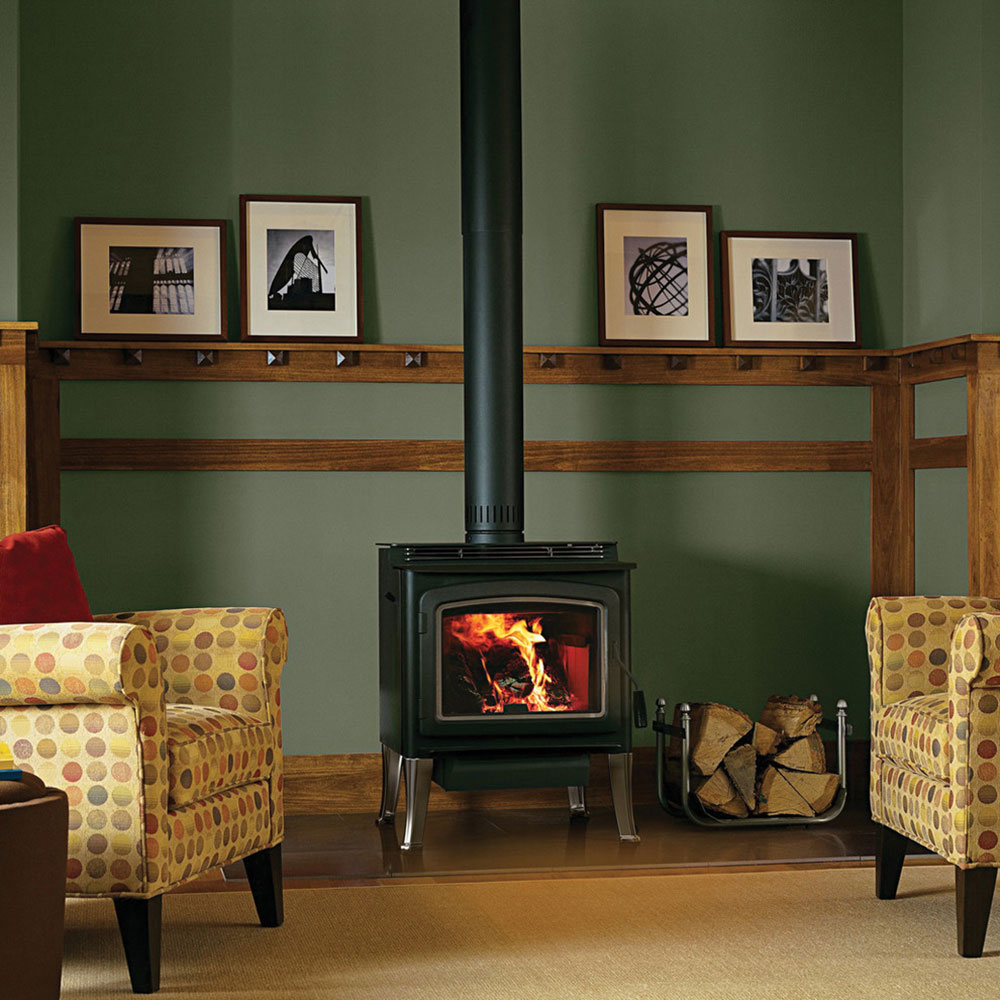
Grandview-230-Wood-Stove-by-IronStrike-by-IronStrike-Stoves-Inserts What Causes Chimney Fires and How to Avoid Them (Answered)Image source: IronStrike Stoves & Inserts

Control the production of creosote in the chimney. Catalyst a very clean wood stove that produces less smoke and soot than a regular wood stove. It’s so clean, it even won several prizes and awards! On top of that, it’s more eco-friendly, as it has lower emissions.

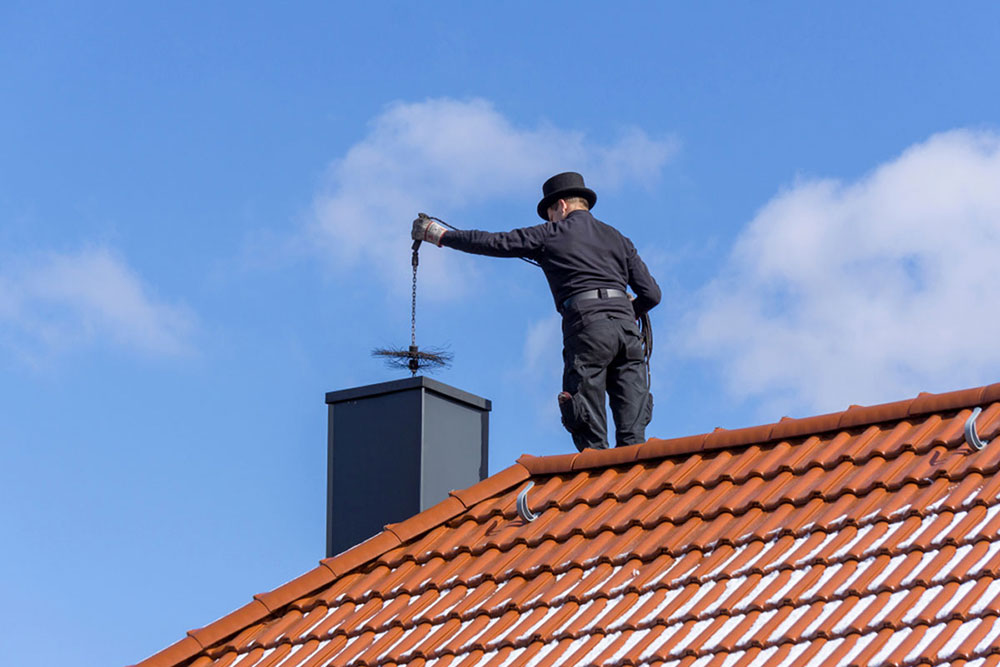
Schedule an annual chimney inspection

annual-inspection What Causes Chimney Fires and How to Avoid Them (Answered)

Get your chimney checked out and professionally cleaned at least once a year. A few more times wouldn’t hurt! If the chimney is in use very often, you should clean it more often too!

A professional chimney cleaning can cost anywhere between $125 and $250 on average.

The reason for getting a professional to check your chimney is that there could be defects that would not be apparent to an untrained eye. You need someone with experience to identify these defects and report them to you.

The specialist you hire can remove soot and creosote from the chimney and tell you about all the damages done to the chimney. In that case, you can also ask them to repair these damages.

Install a chimney cap

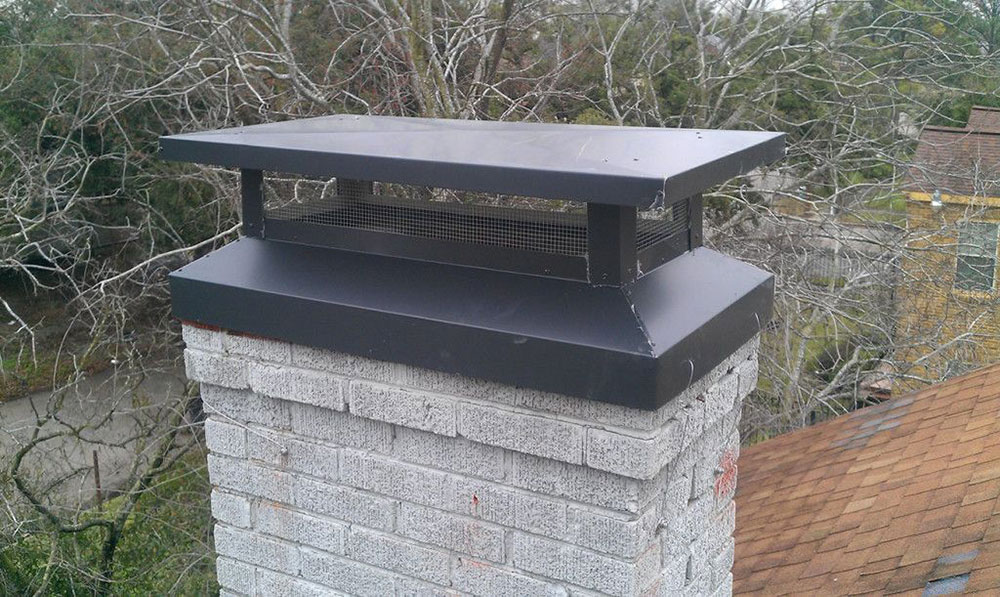
Install-a-chimney-cap What Causes Chimney Fires and How to Avoid Them (Answered)

Lots of things can get into your chimney through the top. Leaves and bird nests can fuel a chimney fire if they’re reached by loose embers from the fire.

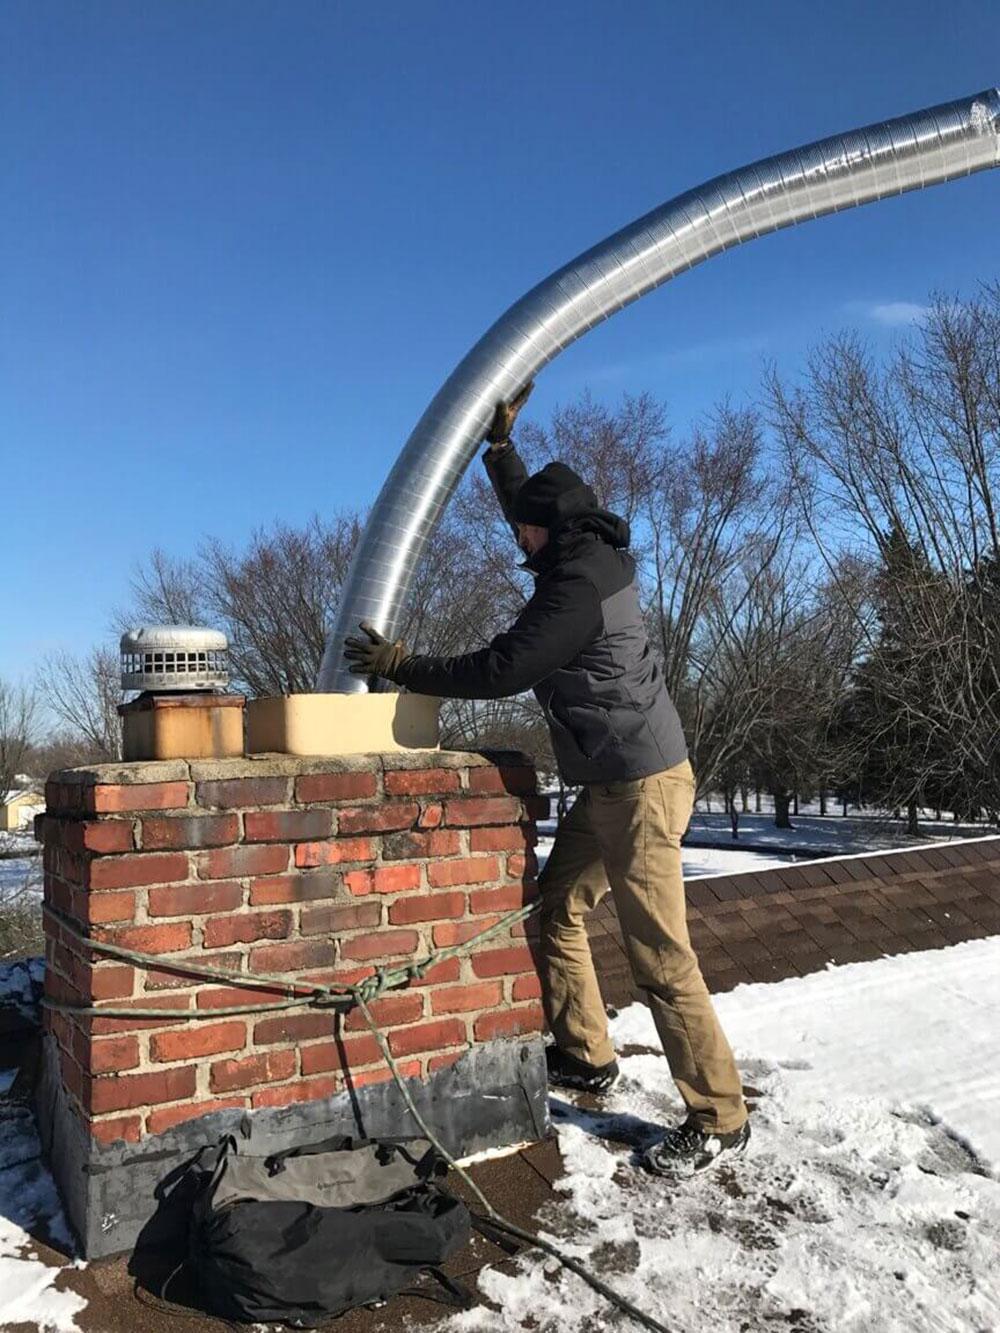
A chimney cap on the crown around the outside opening of the chimney will keep debris and critters out. It will also prevent escaped smoke from reentering the chimney and getting into your house.

In addition to that, a chimney cap will prevent acidic rainwater from entering the chimney and corroding it.

No over-fire

Traditional-Brick-Fireplace-American-Hearth-by-American-Hearth-Empire-Comfort-Systems What Causes Chimney Fires and How to Avoid Them (Answered)Image source: American Hearth – Empire Comfort Systems

Many people are guilty of over-firing their stoves at times. It seems that a bigger and stronger fire will heat the stove faster. That happens when there is too much wood in the fire, or the fire receives too much oxygen.

It’s quite dangerous, as it can damage the stove and warp the metal. On top of that, the gas from the stove can reach the creosote buildup, which can, in turn, start a chimney fire.

It’s much safer to start a small fire that burns well instead of a big fire that will burn slowly. A bright fire produces less smoke and soot, so it keeps the creosote buildup in the chimney to a minimum.

Small fires are also much safer and much easier to control.

Use a chimney liner

Use-a-chimney-liner What Causes Chimney Fires and How to Avoid Them (Answered)

A chimney liner introduces better airflow and exhaust passage for the gasses. It also protects the chimney from overheating and exhaust fumes. This way, the chimney is much easier to keep clean.

Burn “clean” fires

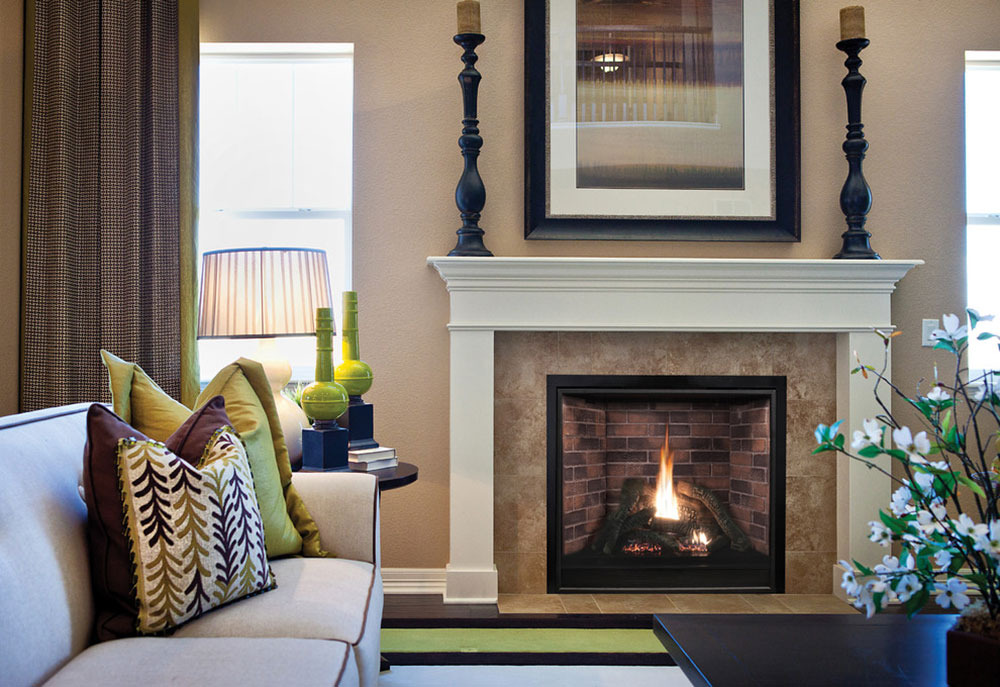
4237-Clean-Face-Gas-Fireplace-by-Fireplace-Xtrordinair What Causes Chimney Fires and How to Avoid Them (Answered)Image source: Fireplace Xtrordinair

A “clean” fire refers to a fire that has a bigger flame and produces less smoke. In order to achieve that, you should only burn seasoned or dried out wood.

Perfectly dry wood sounds hollow when you hit it against another piece of wood. It is dark in color. It takes approximately 6 months for the wood to dry enough to be used in a fire.

Many people make the mistake of burning any paper they come across. You should avoid burning glossy pages, wrapping paper, and cardboard. They can release toxic chemicals through the fire.

You should also be careful when throwing paper into an active fire. For once, never put paper on top of the fire. Instead, put it under the fire. This way chunks don’t rise up and clog the chimney.

Ending Thoughts on “What Causes Chimney Fires?”

Fireplaces and wood stoves are designed with safety in mind. They’re meant to heat your home and pose no harm.

The job of the chimney is to get rid of all the by-products of combustion. These include smoke, water vapor, gasses, unburned wood, hydrocarbon, tar fog, and assorted minerals.

When these by-products exit the fireplace into a colder chimney, condensation occurs. Creosote sticks to the chimney walls. This residue is usually black or brown and has a sticky, flaky, or hard consistency. Creosote is highly flammable in all of its forms.

If there is a lot of buildup in the chimney and the flue temperature is high, you can have a chimney fire.

If you enjoyed reading this article on what causes chimney fires, you should read these as well:

The post What Causes Chimney Fires and How to Avoid Them (Answered) appeared first on Impressive Interior Design.


source https://www.impressiveinteriordesign.com/what-causes-chimney-fires/
Saturday, August 1, 2020

How to get crayon off walls using these solutions

Children’s creativity has no limits, and this sometimes means trouble. For them, no place does not work as a canvas, this includes the walls. A crayon can become a nightmare for a dining room or living room, but as long as it is not a permanent marker, there is nothing to fear, as it will be possible to remove it. Today we will teach you how to get crayon off walls with different techniques that will adapt to your home without problems.

Most crayons should not pose a drastic cleaning problem. Because they are wax-based, they do not stick as ink to walls. A damp cloth should be enough for cleaning. Sure, there are some crayons whose composition is more resistant, but there will always be a solvent for them.

Choosing the right cleaning method depends exclusively on the type of wall you want to clean, as there are options that could damage it.

There are some basic aspects to consider, such as the type of paint used on the wall (if it is oil or water-based), if it is textured, and even if it is wallpaper. It is always recommended to apply on a small section of the wall the method you want to use to test if it is harmful or if it can remove crayon from wall.

The list below are some of the most common processes, but your hardware store may be familiar with additional methods.

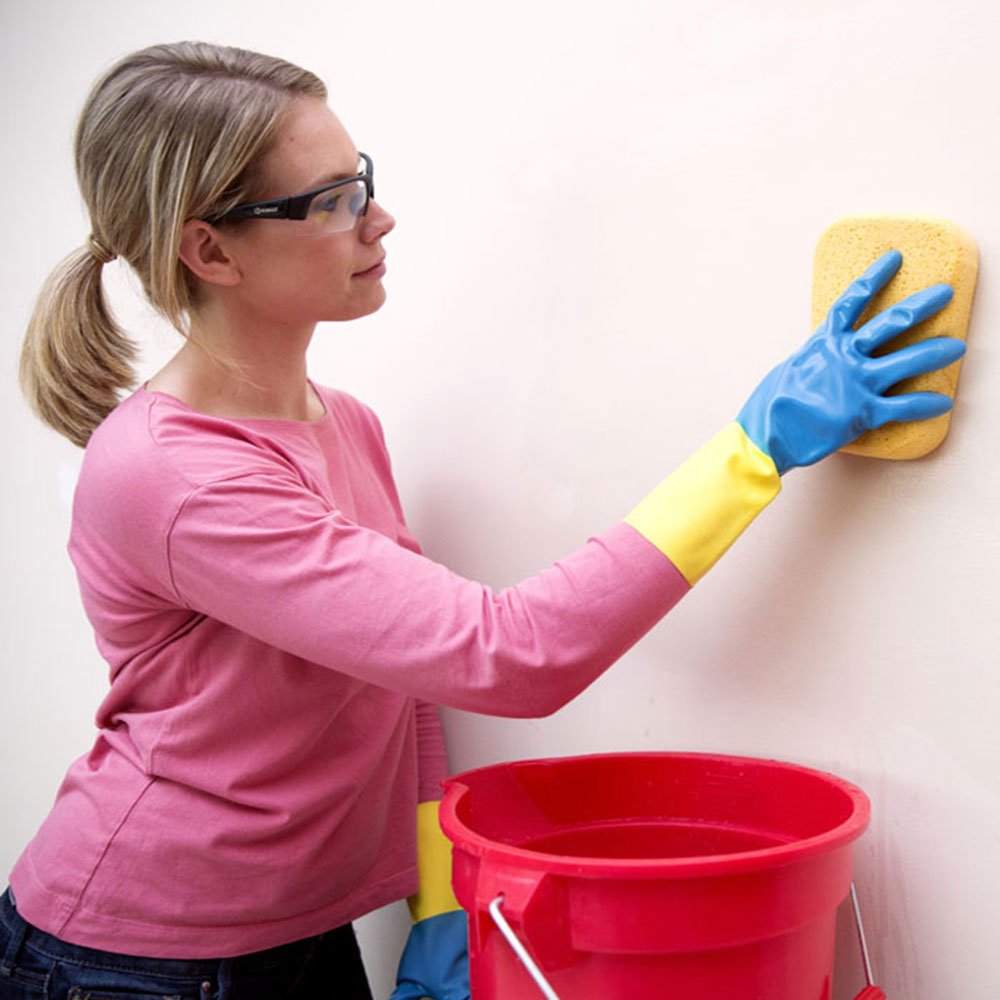
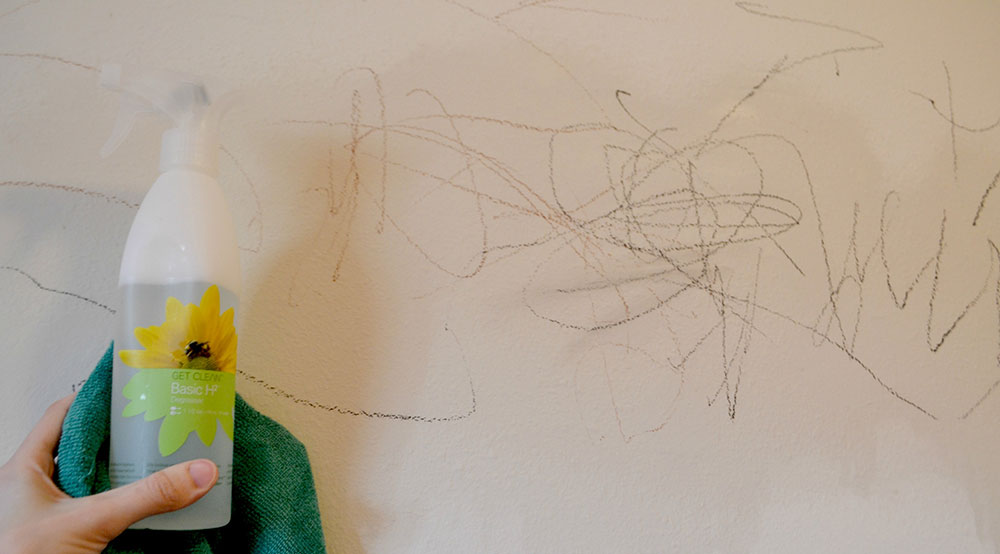
Try soap and water first

soap-n-water How to get crayon off walls using these solutions

Before you start removing crayon from walls using some harmful and expensive method, the best thing to do is to try to remove the stains with liquid soap and water.

This may not be the fastest and most effective technique, but it is the safest of all. If you see the crayon start to disappear by rubbing a damp cloth over it, then continue until there is no residue left. Rub only with the necessary force, or you could break the wall’s paint.

Baking soda is perfect for cooking and cleaning

backing-soda How to get crayon off walls using these solutions

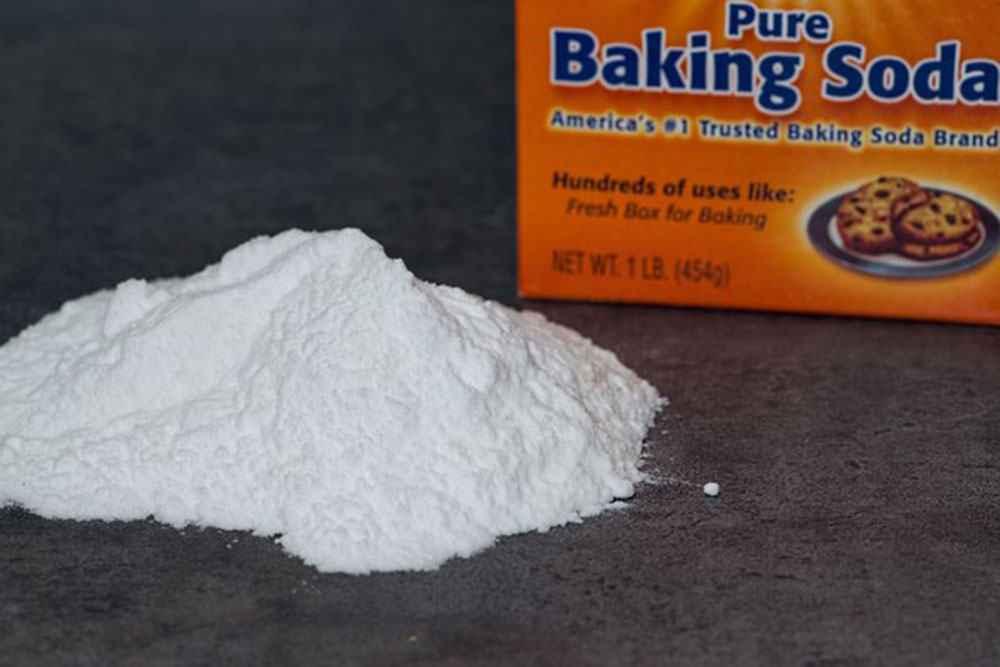
Baking soda is not only an exceptional crayon remover but also this substance works perfectly to clean any stain.

Its method of use is simple: you just have to soak a rag, and then sprinkle baking soda on it. The water will serve for the baking soda to adhere to the cloth.

Rub the wall until the stain disappears. After that, you will have to use another rag or a sponge, but this time clean, to remove any remaining baking soda on the wall.

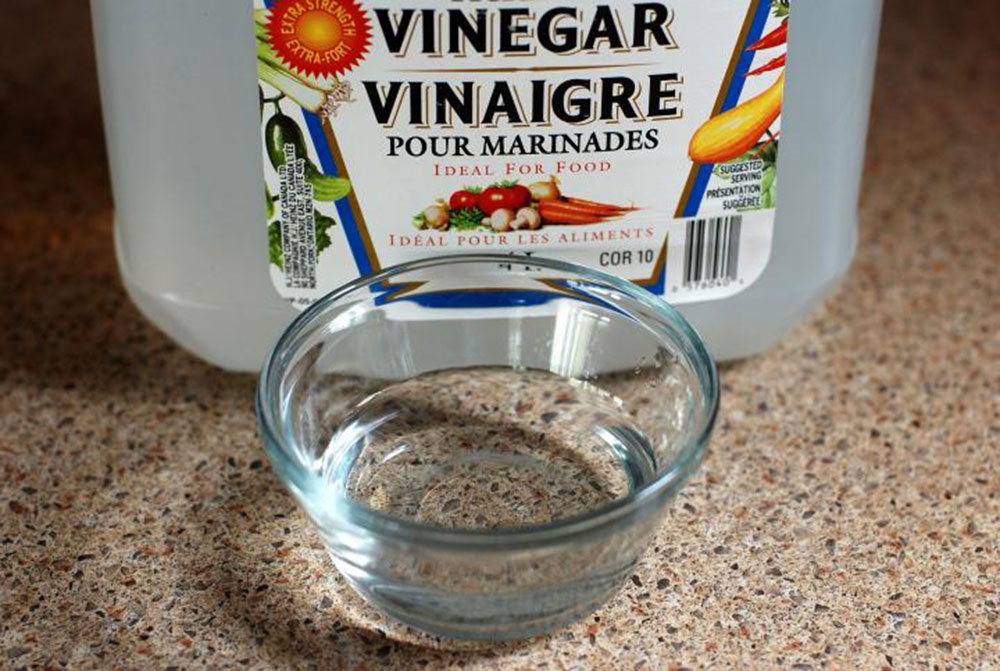
Vinegar is the universal solvent

vinegar-bowl How to get crayon off walls using these solutions

Much like baking soda, there can be no guide on how to get crayon off walls without the mention of vinegar. This, however, can be very strong for some walls, so it must be carefully applied.

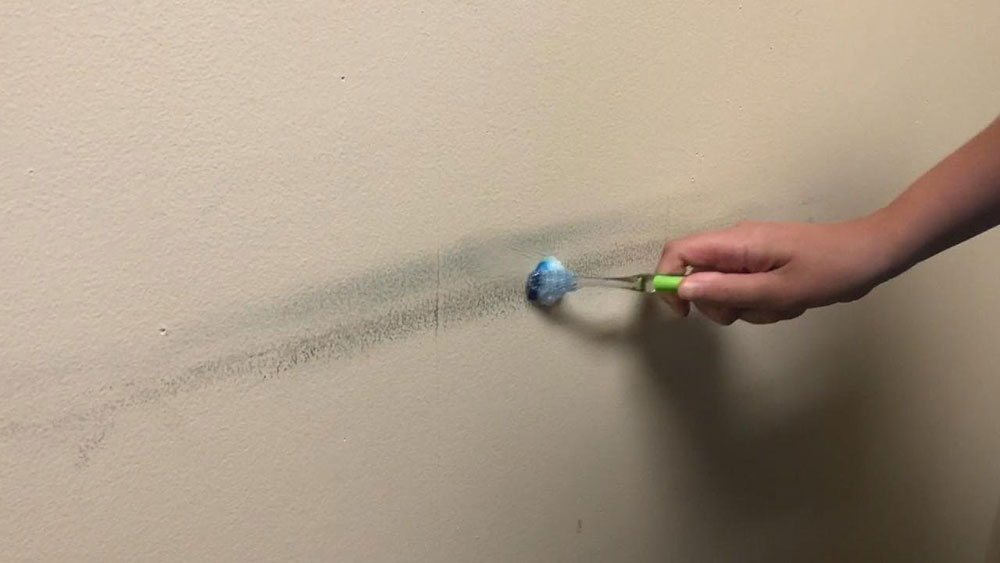
In order not to overdo it, you can use an unused toothbrush and soak it lightly with vinegar.

The stiff bristles of the brush can damage wood surfaces if you use random strokes when rubbing. Be sure to always clean in the wood’s direction.

When the stain is gone, wipe the area clean with a cloth.

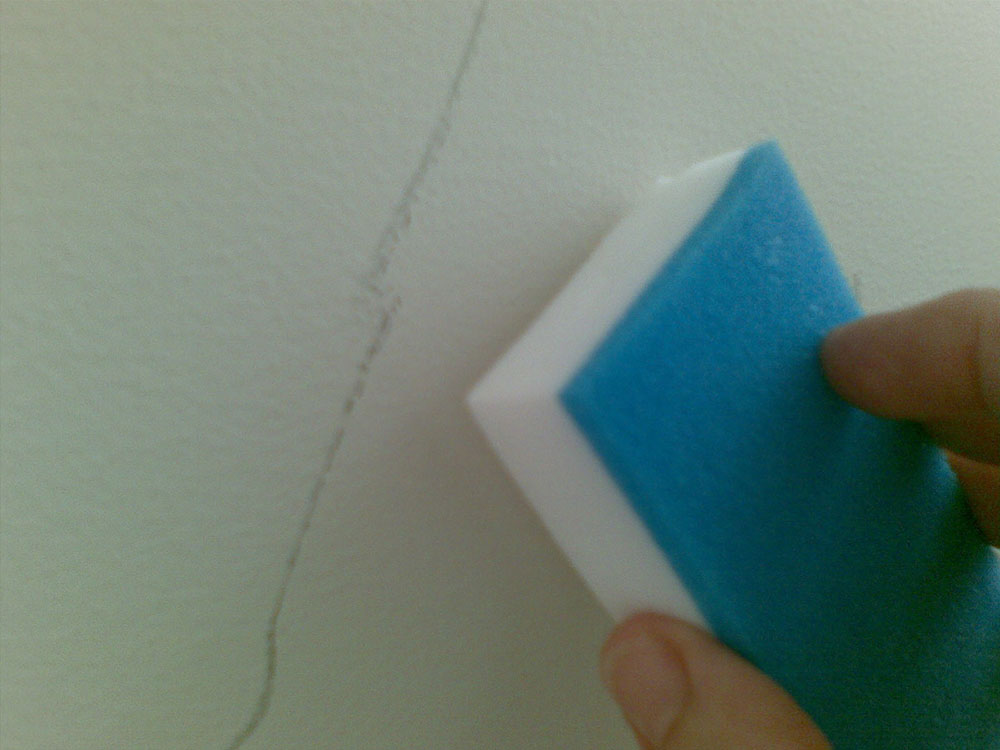
Professional cleaning with disposable cleaning erasers

cleaning-erasers How to get crayon off walls using these solutions

If you don’t want to try homemade methods, you can go directly to professional options like disposable cleaning erasers. These are not very expensive, they only require water to work, and there are many presentations on the market.

However, please note that this crayon eraser does not work for all walls. Its power is so strong that it can damage surfaces with shiny finishes and walls made of wood.

Matte finish walls will not experience any drawbacks, and you can even apply more pressure if it is a textured wall to reach holes where the crayon may have penetrated.

How to get crayon off walls using toothpaste

toothpaste How to get crayon off walls using these solutions

Creamy toothpaste (not gel toothpaste) has effervescent properties similar to those of baking soda, so it can be used as a cleaning abrasive.

Just like with your teeth, use a brush to rub the toothpaste on the wall. You can also do the process with a rag, although it may take longer to remove the crayon.

Do not leave any toothpaste residue on the wall or it will gradually corrode the paint. Clean the area with warm water, and then wipe dry.

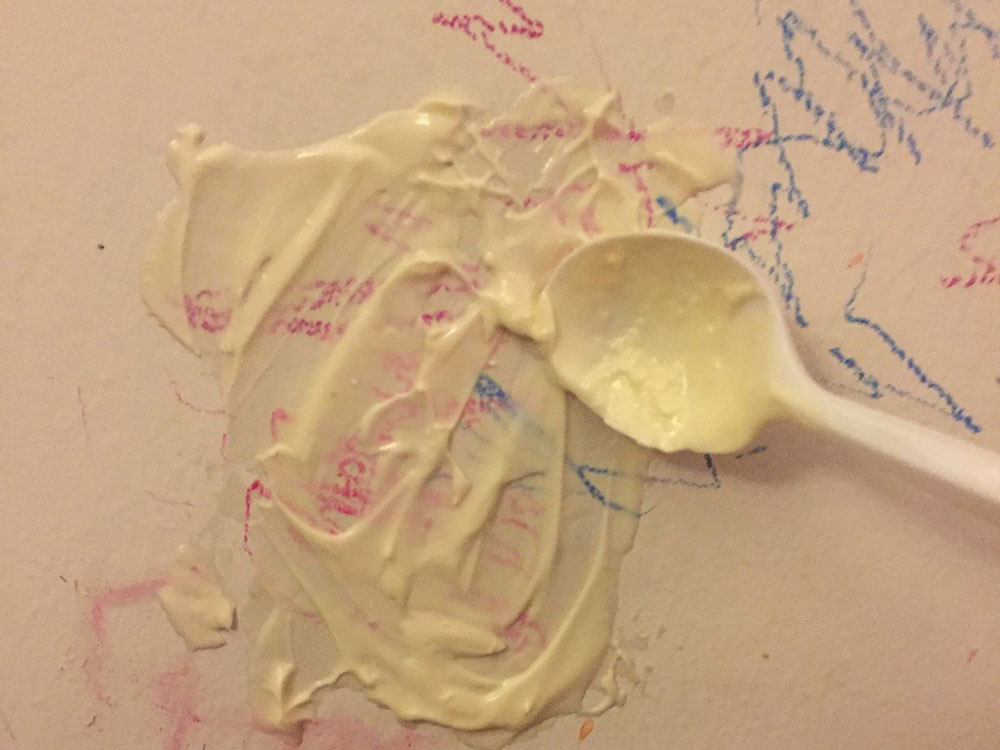
Delicious meals and deep cleansing with mayonnaise

deep-cleansing-with-mayonnaise How to get crayon off walls using these solutions

Another culinary solution for crayon stains is the use of mayonnaise. Although this technique is not as well known as the others, its application is easy. The oily composition of the mayonnaise will make removing the crayon much easier.

How to get crayon off the wall with it? The first thing to do is to get a couple of paper towels with which to apply a layer of mayonnaise to the wall. You will need to leave it for up to 15 minutes resting on the surface with the crayons to remove them, so if you have pets it is better that they are not in the room or they could eat it.

Then, you will have to remove the mayonnaise layer with a cloth, preferably microfiber. To avoid that the sauce leaves any odor in the room, you should clean the surface with a damp cloth and some liquid soap.

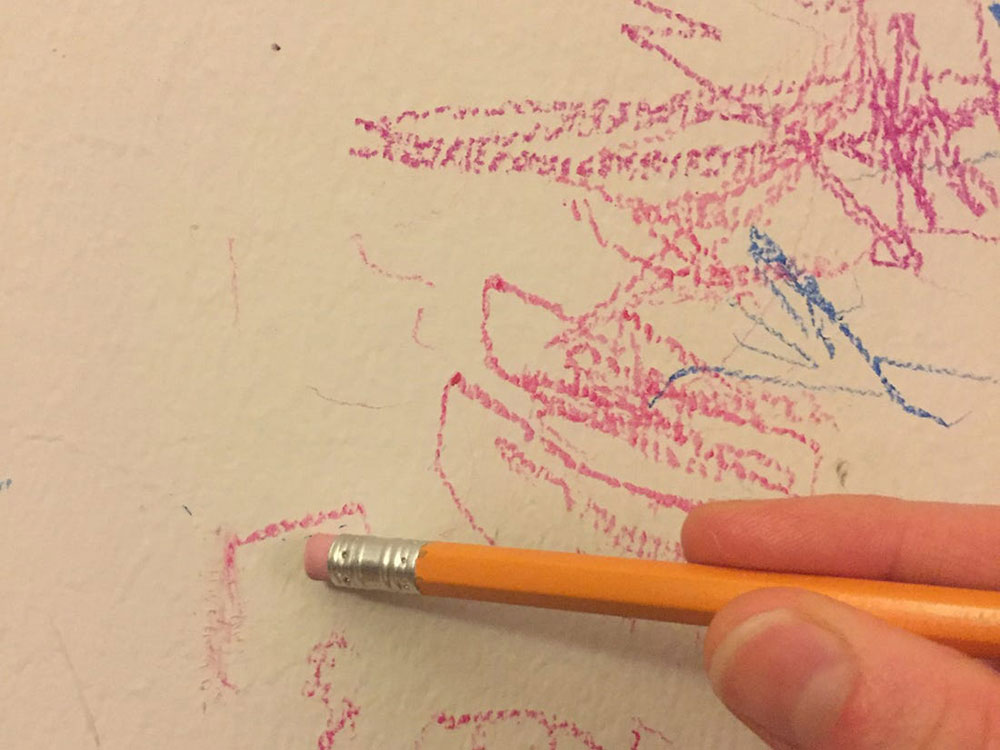
How to get crayon off walls using a pencil eraser

pencil-eraser How to get crayon off walls using these solutions

It may seem like a rustic idea, but in addition to serving to erase graphite from paper sheets, the pencil eraser can also remove crayons from the wall with enough effort.

If the pencil eraser is too small for this job, you can try artist’s rubbing gum, which offers a larger work surface.

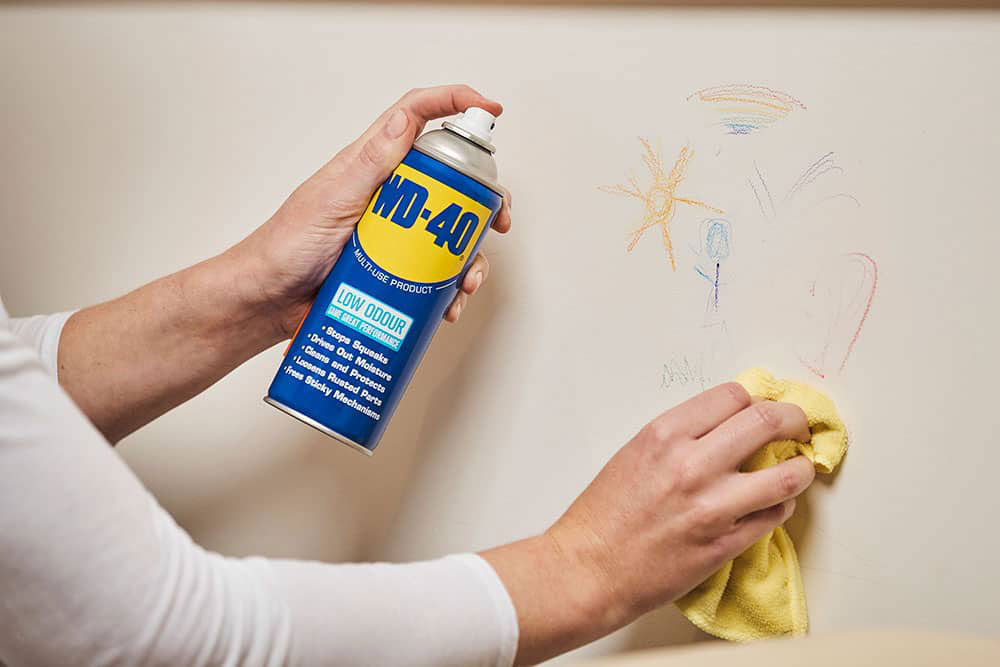
When nothing else works, use WD-40

WD-40 How to get crayon off walls using these solutions

The best way to remove the crayon from a wall is with a powerful compound like WD-40. This spray foam is easy to place in small places thanks to the nozzle in its can.

The WD-40 can be very effective at removing crayon from wall, but it can also be effective at removing the wall’s paint on some occasions. Before applying large amounts of the compound, it is recommended that you test it in a small area to see if it has side reactions on the wall.

Please note that the WD-40 is a universal cleaner, so you can use it in other areas and furniture.

To apply this product, you have to use a mask to avoid inhaling it, and it is recommended to wear gloves so as not to touch it directly.

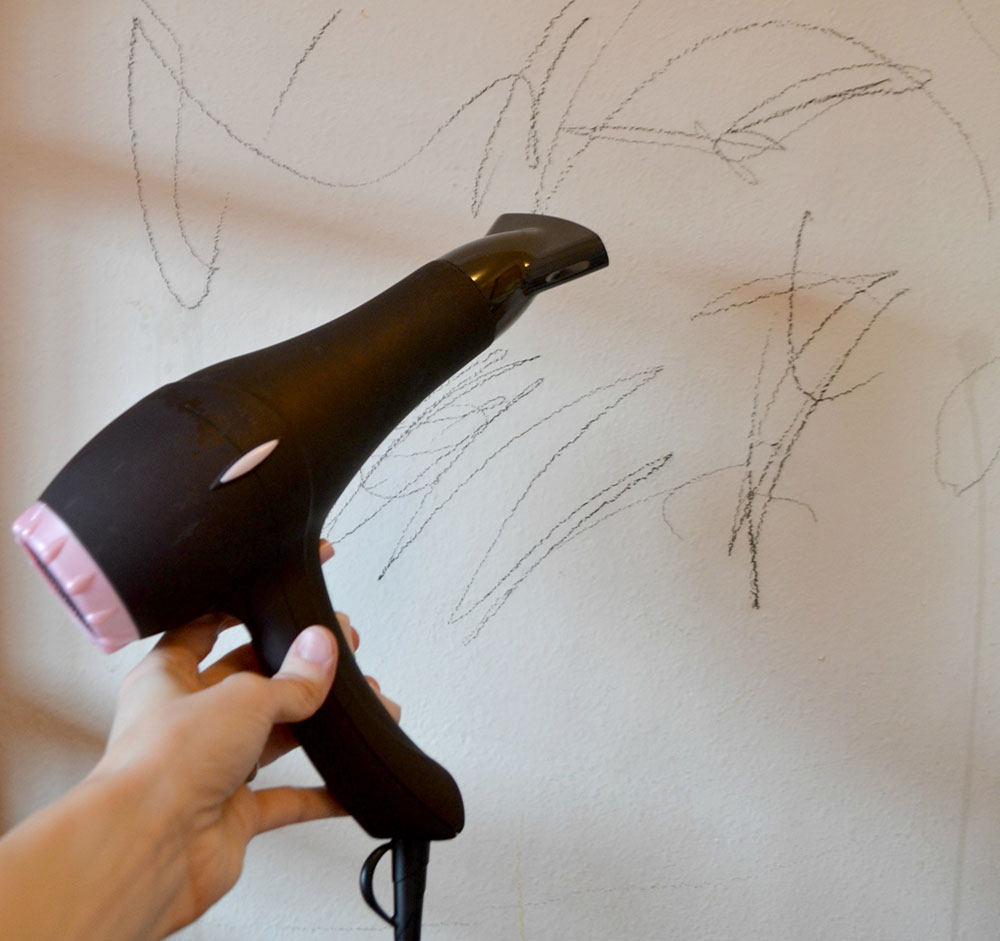
Melt the crayon with the hairdryer

hairdryer How to get crayon off walls using these solutions

After all, heat is the most effective way to remove the wax. Just point the dryer at the stain and it should start to soften.

Have a bowl of hot soapy water nearby which you will use to remove the wax once it is hot. Use a cloth to avoid burning your hands.

Finish removing the crayon from wall by rubbing a cloth on it. Keep in mind that the hot wax will adhere to the rag, so to wash it you will have to do it manually or you will end up with a color mess in the washing machine.

Turpentine is another powerful solvent

turpentine How to get crayon off walls using these solutions

The last method you should know about how to get crayon off walls involves a powerful solvent used to remove paints: turpentine. As with the WD-40, test if your wall can withstand the solvent’s cleaning power.

After the solvent does its job, remember to clean the area with water and a dry cloth.

With this group of cleaning methods, you should have enough options to be able to remove crayon stains from any type of wall. It is best to start with the mildest techniques to avoid accidents, and only resort to the most corrosive if your wall takes no damage from them.

If you enjoyed reading this article about how to get crayon off walls, you should read these as well:

The post How to get crayon off walls using these solutions appeared first on Impressive Interior Design.


source https://www.impressiveinteriordesign.com/how-to-get-crayon-off-walls/