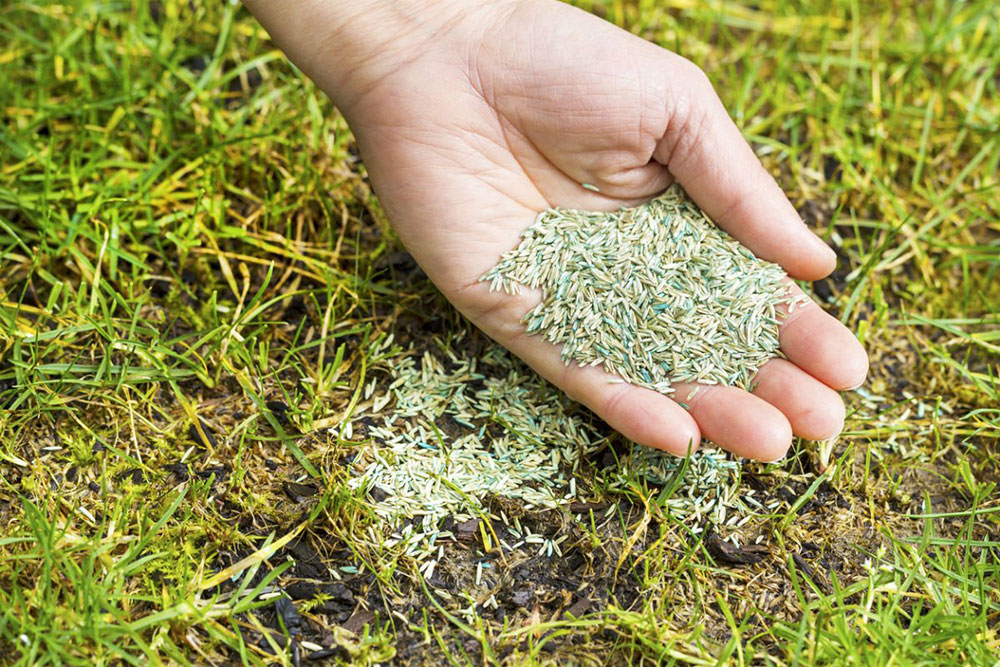
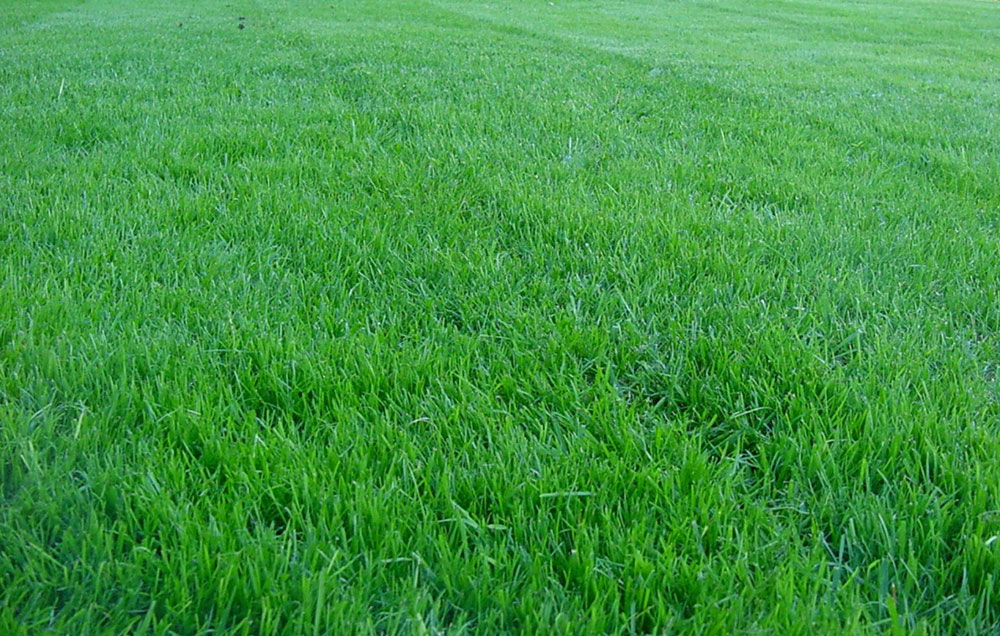
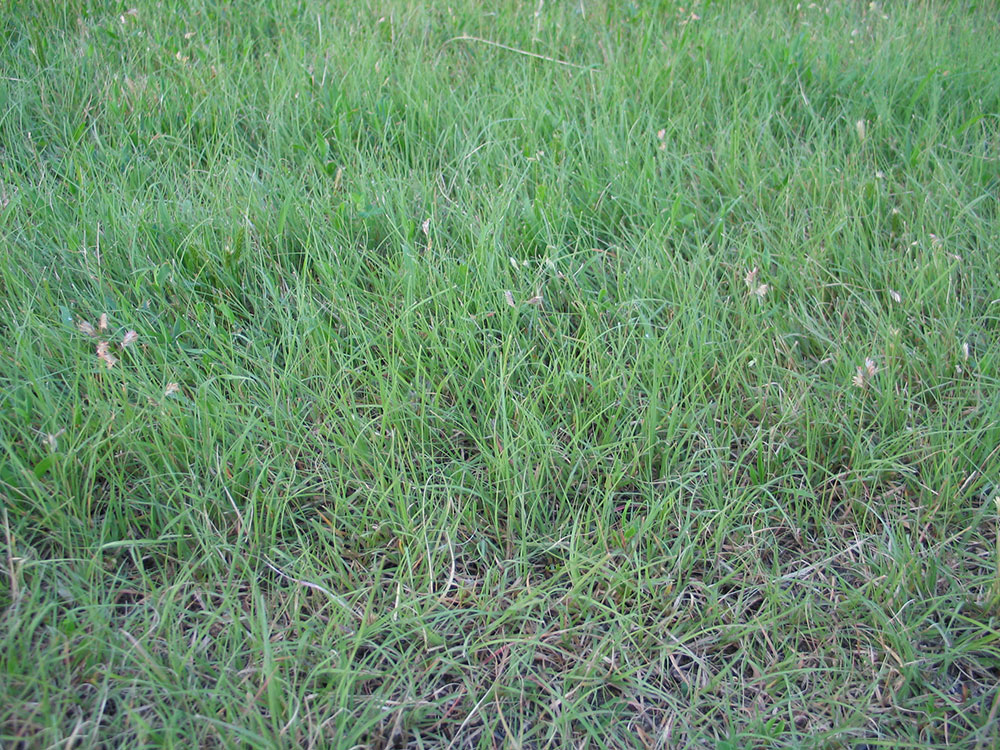
A beautiful, full, green lawn adds to the appeal of your house. It can make it look fresher and greener while providing a place for you to tan or relax at the same time. It also gives nutrients to the soil and retains water.
Growing your own lawn from grass seeds is one of the easiest ways to upgrade your house and make it a more enjoyable living place.
To do that, all you need is a little time and some grass seeds. Depending on your end goal, you can plant a completely new lawn or repair some rough spots on your existing lawn.
The best time to plant some seeds depends on where you live, the climate in your region, and the desired outcome.
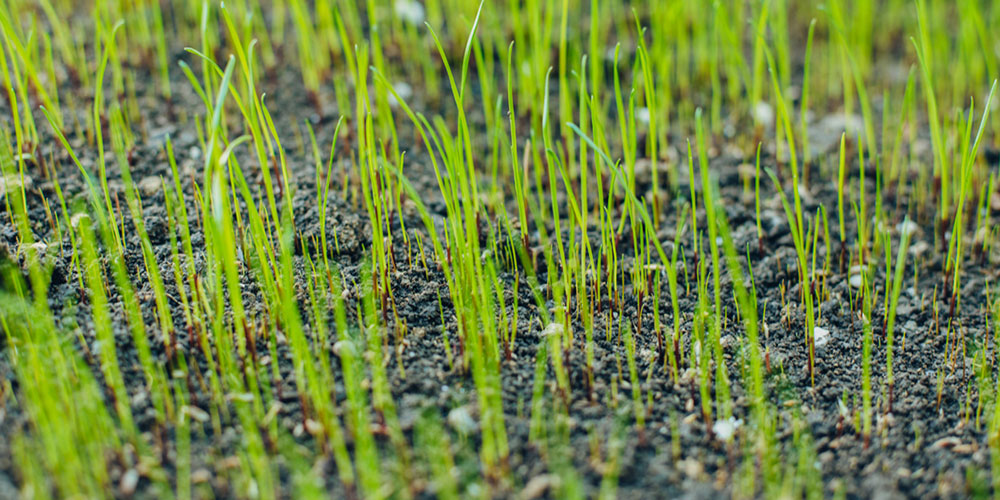
Average grass seeds will take approximately 8 weeks to produce seedlings and turn into a full-blown lawn. However, some grass seeds on the market can do it much faster. So, what is the fastest-growing grass seed?
If you’re looking to grow a lawn fast, here is a good place to start.
Choose the Right Grass Seed
Pick your grass seeds based on your climate zone. If you pick randomly, the grass might grow too fast and disappear, or not grow at all.
Cool-season grass seeds are best for people living in the north of the US. If you live in the south, you should opt for warm-season grass seeds. Those living in the transition zone in the middle of the country can choose a mix of cool and warm-season grass seeds.
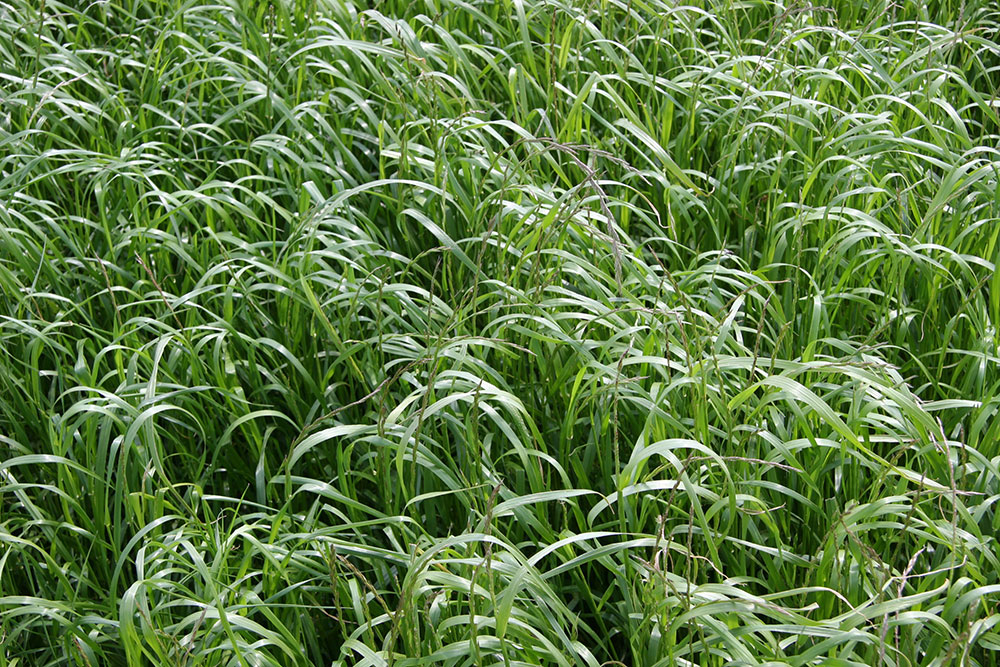
What is the Fastest Growing Grass Seed?
Several different factors go into growing a healthy lawn. You need to use the right variety and blend of seeds for your climate.
Some of the best fast-growing cool-season grasses include:
Perennial Ryegrass

This type sprouts in 10 days or less. Perennial Ryegrass adapts very well to coastal regions with moderate temperatures. The grass will give you a rich green color. It is often used for overseeding winter-dormant lawns. Ryegrass is also commonly used in turfgrass seed mixes because it grows very quickly. It’s perfect for suppressing weeds.
You need to maintain a soil temperature of 50-65 F for the seeds to germinate. We recommend you plant your seeds in the fall when the temperature is perfect.
Annual Ryegrass
This type of ryegrass is upright and coarse. It gives a shiny lime-green color and emerges within 5 to 10 days. Annual Ryegrass has a very low tolerance for droughts. It is often used as a cover for soil stabilization. The best way to grow these seeds is to plant them in the fall. Unfortunately, the grass will turn yellow and die in late spring or early summer. This is not a permanent solution for your lawn.
Rough Bluegrass Seeds
Also known as Kentucky Bluegrass, these seeds grow quickly during the fall, winter, and spring. It takes the grass between 2 and 4 weeks, so it’s best to mix these seeds with other varieties. Rough Bluegrass prevents weed infestations in new turfgrass areas.
The seeds take 7 to 10 days to germinate. The grass fully matures after 5 to 8 weeks from seeding.
Fescues

This grass is drought-tolerant and eco-friendly. It is also shade-tolerant, so it stays green all year round. Fine fescues are best for cold climates in the north of the US. Tall fescues are best for high-traffic areas and residential lawns.
Tall fescue seeds need 7 to 12 days to germinate, and fully grow within 8 weeks from seeding.
Bentgrasses

Bentgrasses are used in areas where cool-season grasses grow well. Colonial and creeping bentgrasses germinate within 10 to 14 days after seeding. Creeping bentgrass is common in tennis and golf facilities. The grass is rather difficult to take care of. It requires frequent watering, mowing, and aerating. The seeds need a lot of fertilizer. This type of grass is impractical for homes, as it’s very high maintenance.
Some of the best fast-growing warm-season grass seeds include:
Bermudagrass
Bermuda grass seeds are the fastest-growing warm-season seeds for lawns. The way the grass grows depends largely on the temperature of the soil. The soil temperature must be above 70 F for the seeds to germinate. If the temperature is right, they will germinate in 7 days. If it’s cooler than that, it can take over 30 days.
Centipede Grass Seed
These seeds grow slower, but they also require less maintenance. The grass will stay green all year round, even if the temperatures are hot. The seeds will need between 2 and 3 weeks to germinate. The grass will mature within 6 to 9 weeks from seeding.
Buffalograss Seed
These seeds are native to North America. The grass doesn’t need a lot of maintenance. It’s drought-tolerant and needs very little care. It will take between 2 and 4 weeks for the seeds to germinate. The grass will mature between 6 and 11 weeks after seeding.
How to Promote Grass Seed Growth
There are things you can do to promote seed growth. For starters, you should water your grass once or twice a day. Fertilizer supplies nutrients to the roots and helps the grass grow.
As you can see, quick germination doesn’t only depend on the seeds, but also on the care you provide to the seeds.
Success with water

All grass seeds need water to grow and prosper. After planting your seeds, water them at least once in 3 days. Keep the soil moist, but don’t flood them!
Once they’ve germinated, you can water them twice a week until the grass is fully grown.
Grass seed mixture
Cool-season grasses grow faster than warm-season grasses. If you live in a warm or transitional climate zone, you might want to add some cool-season grass seeds to your mix. They will aid in growth, and your lawn will be heat resistant!
Ending thoughts on what is the fastest growing grass seed
When choosing your seeds, pick the right blend for your climate. Follow the planting and watering directions carefully, and you will get awesome results!
If you enjoyed reading this article about what is the fastest growing grass seed, you should read these as well:
- Use these Zen garden ideas to create a relaxing outdoor space
- Amazing cactus garden ideas you could try for your backyard
- Rain garden design ideas you can create around your house
The post What is the Fastest Growing Grass Seed? (Answered) appeared first on Impressive Interior Design.
source https://www.impressiveinteriordesign.com/what-is-the-fastest-growing-grass-seed/