Thursday, June 25, 2020

The Best Manual Knife Sharpener

Every good chef, amateur or otherwise, needs a good set of sharp kitchen knives. Unfortunately, knives don’t stay sharp. Every time your blade hits anything solid it takes a knock that slowly dulls the edge. A blunt blade is more dangerous than a sharp one which is why it is worth investing in the best manual knife sharpener you can get.

Types of Manual Sharpeners

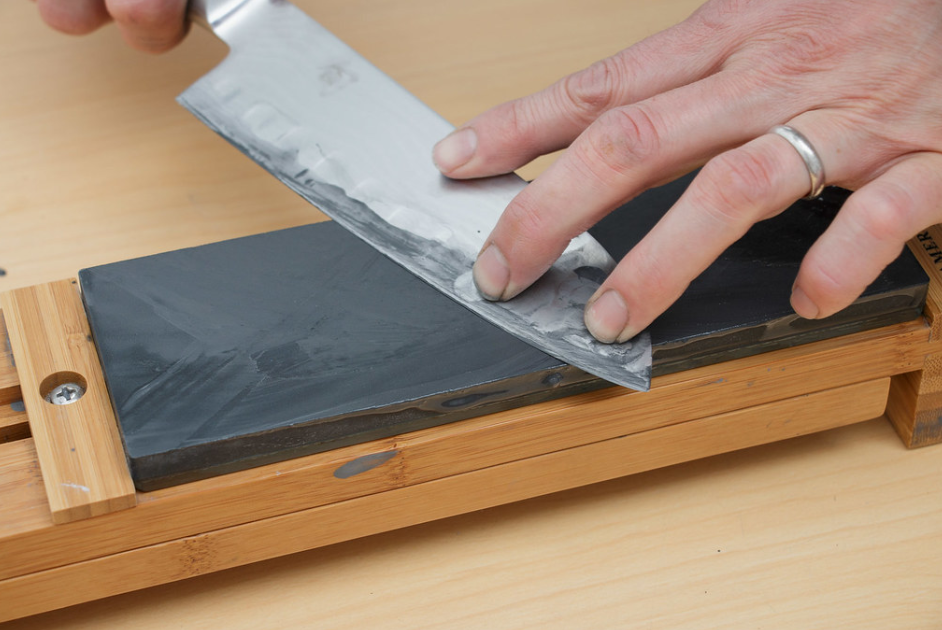
There are several manual knife sharpeners on the market. The whetstone sharpener is one of the oldest, and it does a fine job if you’re skilled in the art of knife sharpening. Without these skills, you could end up permanently damaging the edge of your favorite knives, consigning them to the bin.

Screenshot_9-1 The Best Manual Knife Sharpener

The more modern blade sharpener typically has pull-through slots with varying degrees of fine and coarse grit so that you can sharpen the edge and then smooth it to a fine finish. The coarse grit causes a burr that the fine grit takes it off. Even if you have chosen to use a whetstone, you’ll require more than one to properly finish the edge of your blade.

Manual pull-through sharpeners look just like the electric ones. Many chefs prefer manual sharpeners to the electric equivalents because they are quieter. You can use them just about anywhere since they don’t need an electrical outlet. They take minimal space on the countertop, and can be hung neatly with a hook on the wall or kept in a utensil holder or drawer.

One of the main reasons that manual sharpeners are preferred is that a manual sharpener gives you full control of the process. You decide how much pressure you bring to bear and you decide how quickly you draw the blade through the slot.

When choosing your knife sharpener remember that to sharpen a blade effectively the steel that the sharpener is made from must be stronger than the steel from which the blade is made. Most manual sharpeners are two-stage, but the best offers users three stages.

Manual knife sharpeners are a lot cheaper than the electric sharpeners. A manual sharpener is easy to use. You put your blade into the slot close to the handle and then draw the knife several times through each slot. Wheßn using a three-stage sharpener start with the coarse slot and then work your way to the fine slot.

The Best Manual Knife Sharpener

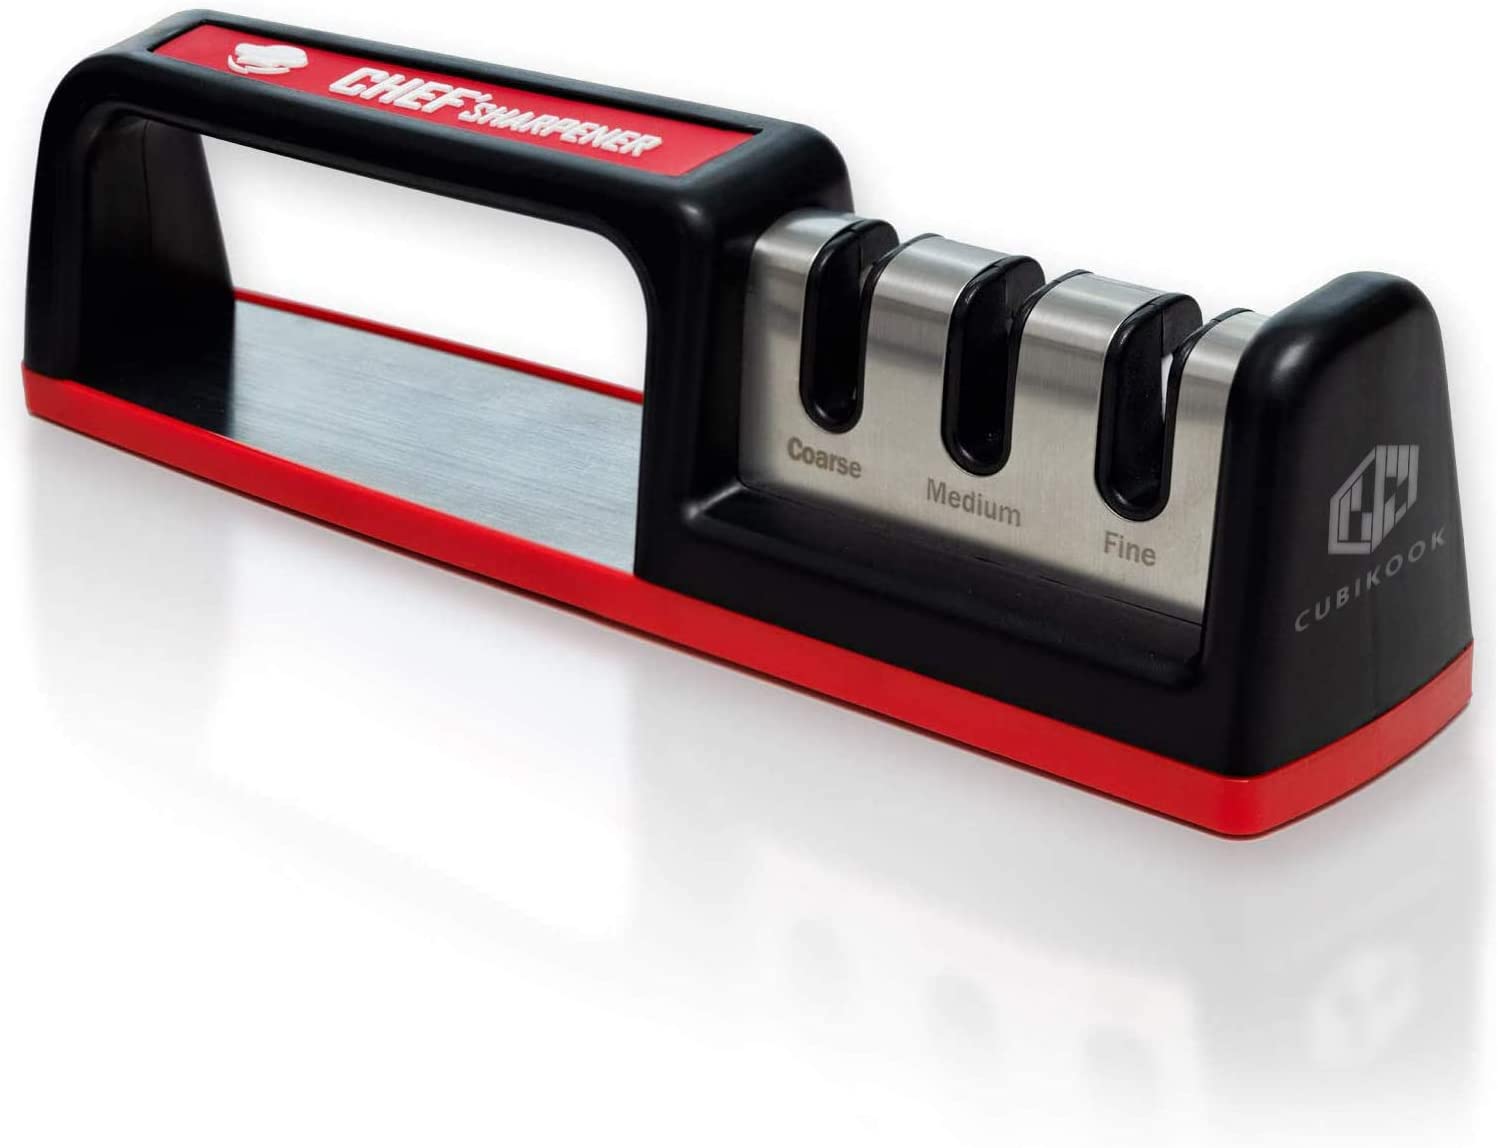
For my money, the best manual knife sharpener currently available is a 3-Stage Knife Sharpener by Cubikooks— the CS-T01.

61WuUGlIXjL._AC_SL1500_ The Best Manual Knife Sharpener

This pull-through knife sharpener is capable of sharpening almost every blade in your home from a pocket knife to utility, Santuko to hunting knife. It boasts three stages. These include:

  • Diamond dusted rods – for straightening the edge and removing burrs
  • Tungsten blades – sharpen the edge to a razor finish
  • Ceramic rods – gently polish the edge after sharpening.

You can use the ceramic rods, between sharpening, to hone the blade. When you sharpen your blades a small amount of steel is shaved off so sharpening will eventually wear the blades down. Honing, on the other hand, simply straightens out microscopic dings along the edge. This gives the edge a new lease on life without removing any steel. Many chefs will hone their favorite knives before and after every use.

The Cubicook CS-T01 is made from solid ABS plastic. The knife slots are protected by a stainless-steel shield to prevent nicks and scratches. It is well constructed and easy to keep clean, a solid piece of kitchen equipment with good heft. This, along with the large, ergonomic handle and non-slip base, ensures that it doesn’t move when in use.

This quality product is backed by a lifetime warranty. It is reasonably priced offering good value for money.

The post The Best Manual Knife Sharpener appeared first on Impressive Interior Design.


source https://www.impressiveinteriordesign.com/the-best-manual-knife-sharpener/

Wednesday, June 24, 2020

How much does it cost to build a fireplace and chimney? (Answered)

Adding a fireplace and chimney to your home adds ambiance. It also provides an inexpensive heat source during cold winter months, but how much does it cost to build a fireplace and chimney? The cost of a fireplace will depend on what type you choose but is generally between $100 to $5,600. There are many different types of fireplaces, such as prefabricated and masonry fireplaces.

In addition to the cost to build a fireplace, you may also need to factor in demolition as well as maintenance. Full demolition and removal of an existing fireplace and chimney can cost $4,000 to $10,000.

Maintenance costs can range from $100 to $200 per year, depending on what type of fireplace and chimney you have. In particular, it is critical to have the chimney flue cleaned every year.

Masonry Fireplaces

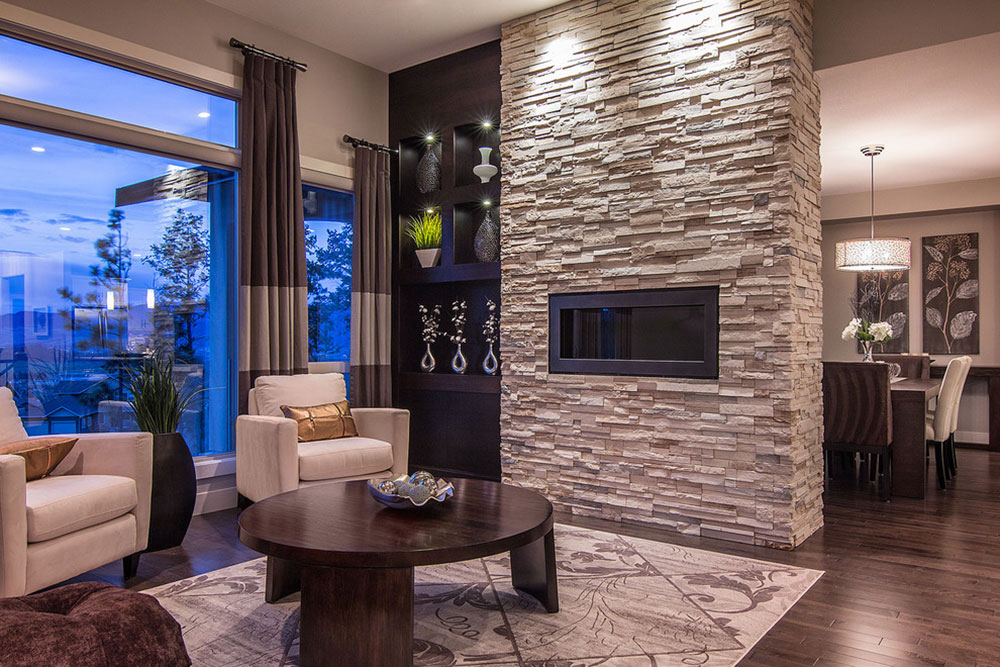
River-Meadow-Estate-by-Brown-Bear-Builders-Inc How much does it cost to build a fireplace and chimney? (Answered)
Image source: Brown Bear Builders Inc

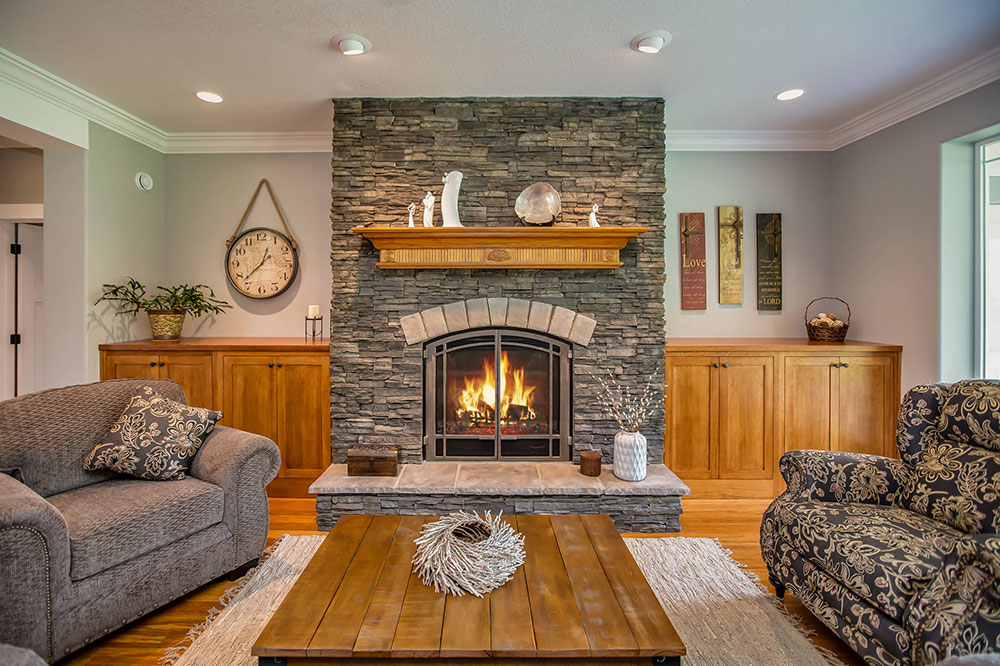
A traditional wood-burning fireplace made of stone is also referred to as a masonry fireplace. Masonry fireplaces are often the most expensive due to the exquisite craftsmanship that goes into building them.

On average, masonry fireplaces cost between $3,500 and $5,600. However, they can cost up to $10,000 or more for larger and more detailed designs built by a stonemason. This includes the firebox, stonework around the firebox, and a mantel.

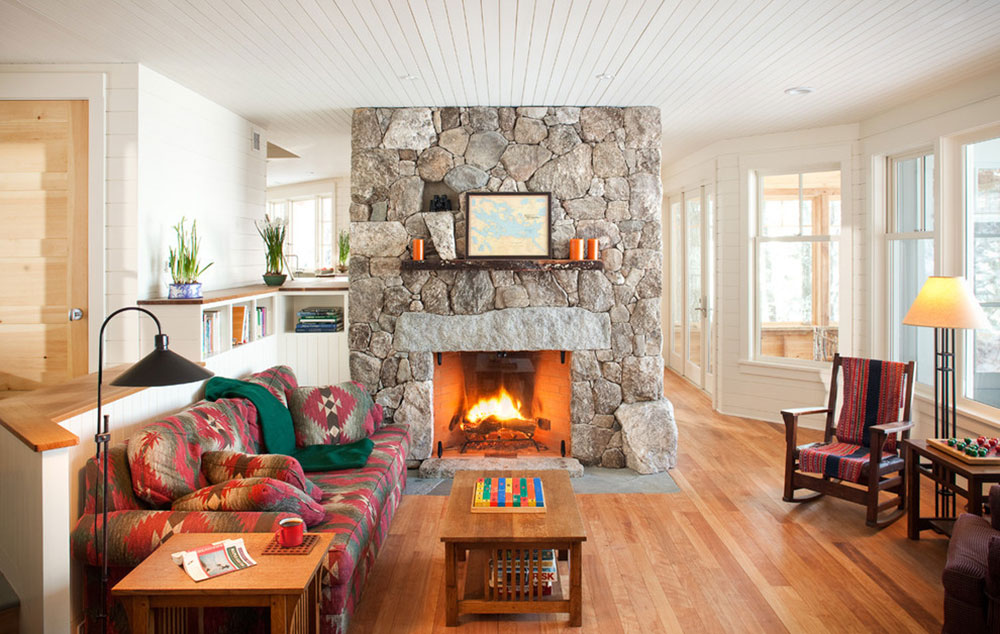
Prefabricated masonry fireplaces installed by a contractor can cost between $2,000 and $3,000. In contrast, the open-hearth fireplaces that you see in a ski chalet are built by a professional stonemason and usually cost upwards of $20,000. The latter is so much more expensive due to the labor costs for a professional stonemason as well as the materials.

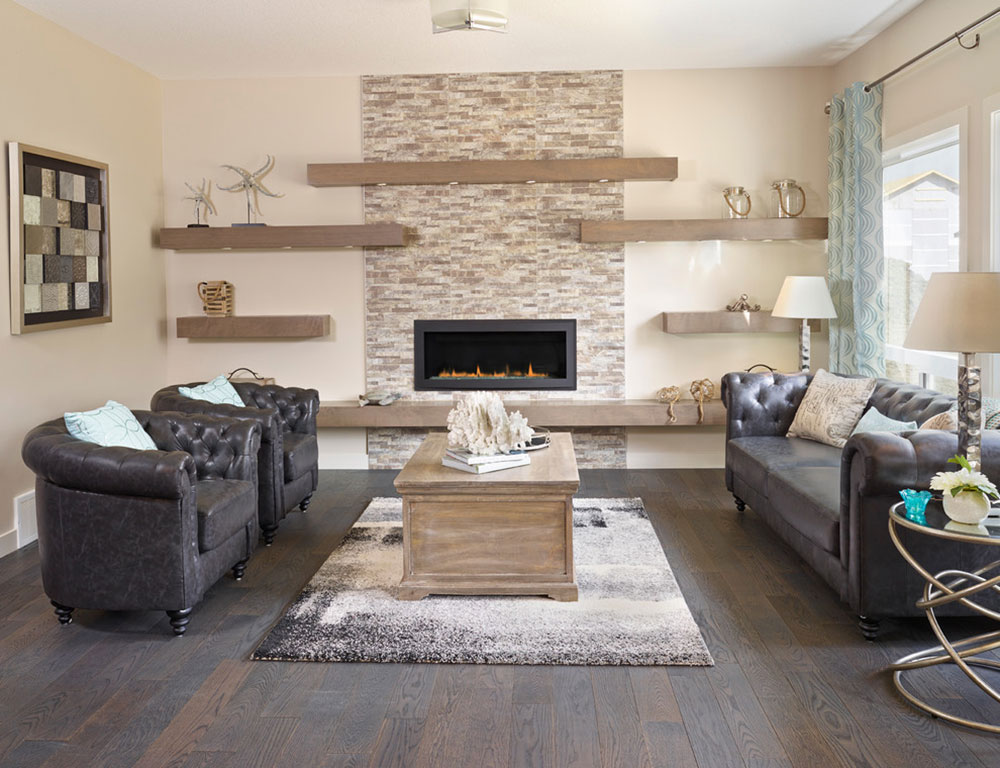
Living-Room-and-Fireplace-by-Whitten-Architects How much does it cost to build a fireplace and chimney? (Answered)Image source: Whitten Architects

A customized stonemasonry fireplace can range from $7,500 to $15,000 in labor and materials before installation. These costs depend on the quality of materials used as well as how experienced the mason is. By comparison, a fireplace made with brick costs slightly less, between $5500 to $11,000.

A stonemason can take 8 to 16 hours to install a masonry fireplace and they can charge between $70 to $90 per hour for their work. This can add up to be $560 to $1,440 for the cost of labor.

Prefabricated Fireplaces

Prefabricated fireplaces are more like appliances than the masonry fireplaces mentioned above. They are produced in a factory and are usually made out of metal as opposed to stone. The cost to add a prefabricated fireplace is less expensive than a masonry fireplace and there is a wide variety of styles to choose from.

Gas

Mendota-Design-Gallery-by-Susi-Builders-Supply-Inc. How much does it cost to build a fireplace and chimney? (Answered)Image source: Susi Builders Supply Inc.

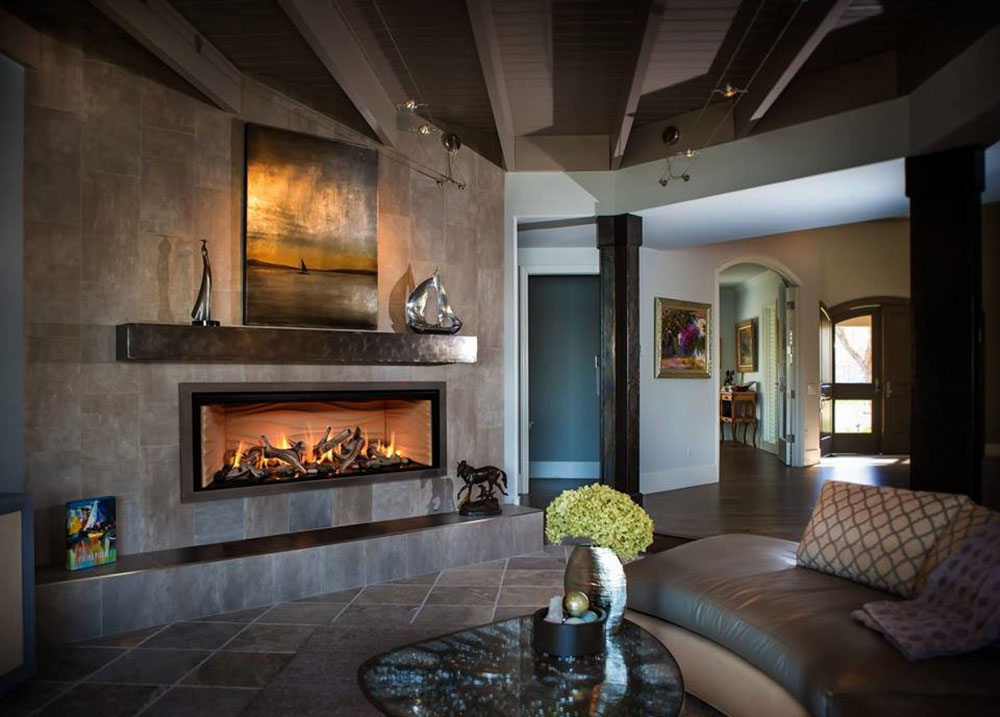
Gas burning fireplaces are a popular option because they are less expensive and are less work to operate. A simple flick of a switch turns on the fire, much like a gas stove, without all the extra effort to collect wood and bring it inside. Maintenance is also far less expensive because there is no ash or soot to clean up in the fireplace or the chimney flue.

A prefabricated gas fireplace costs an average of $2,000 but will also need to be installed by a professional with a gas license at a starting cost of $5,000. Installation can also include the chimney or exhaust pipe, building the surround and mantel, as well as the fireplace itself.

The added benefit of a gas fireplace is that it only requires a small exhaust pipe instead of a full chimney. The installation of an exhaust pipe can cost between $500 to $1,000, which is far less than the cost of a chimney.

Wood

Untitled-2-by-Pearson-Design-Group How much does it cost to build a fireplace and chimney? (Answered)Image source: Pearson Design Group

Homeowners looking to install a fireplace often desire the smell of a crackling wood fire like campfires or the holiday season. Wood-burning prefabricated fireplaces with an open face cost around $2,500 to install, including a 9” chimney from 9’ to 24’ tall.

This type of fireplace is also available in closed-face styles that is more like a traditional wood stove. They tend to produce more heat and are a more environmentally friendly heating option. This has earned many of them an EPA certification. The cost to install a wood-burning fireplace with a closed-face design can range from $3,500 to $7,500.

Electric

Electric-Fireplace-Meet-Your-Living-Room-by-Notochord-group-Inc How much does it cost to build a fireplace and chimney? (Answered)Image source: Notochord group Inc

The costs of an electric fireplace are among the lowest out of all the other options. Electric fireplaces do not burn anything or have a real flame, so they do not need a chimney installation or any other kind of ventilation system.

They range in price from $150 to $1,000 and plug into the wall. Since there is no need for a chimney, control panels are usually installed right on top of the fireplace. They also have remote control options to be able to operate at a distance.

Costs to install an electric fireplace will only occur if you need a new electrical outlet or if you choose to mount it to the wall. These costs are still quite minimal and range from $0 to $365.

Ventilation

Summit-at-Selkirk-by-Dilworth-Homes How much does it cost to build a fireplace and chimney? (Answered)Image source: Dilworth Homes

You may choose to install ventilation to carry the heat or exhaust from a fireplace elsewhere. The cost of installation will depend on local regulations in your area, the structure of your home, and the type of fireplace you have.

A simple ventilation system may only cost $200 whereas a ventilation system to accompany a wood-burning fireplace may cost as much as $3,000.

Installing a Chimney

Considerations

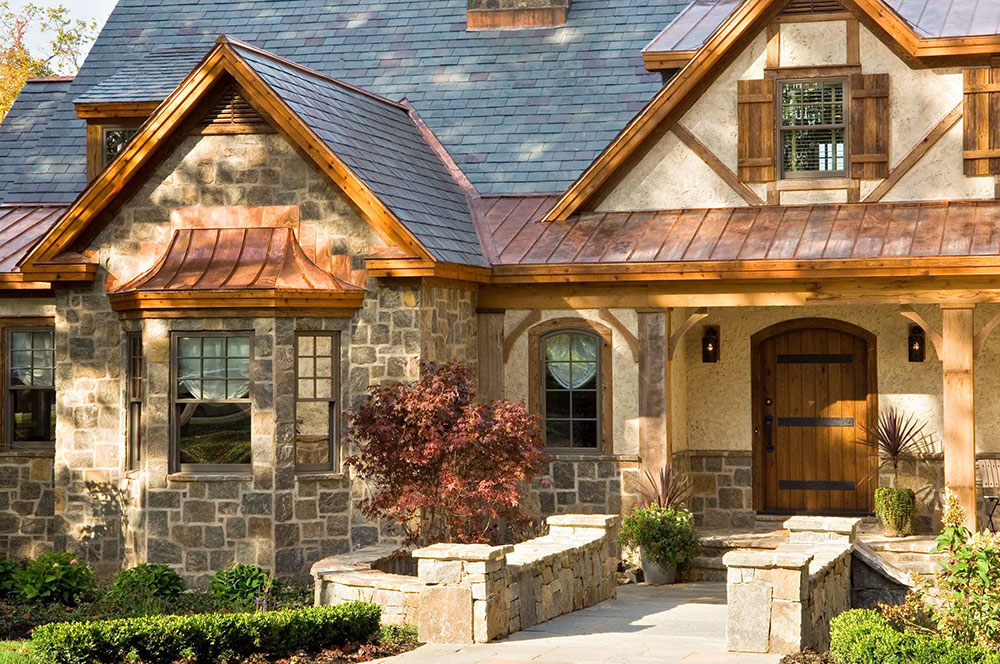
Tree-Haus-Renovation-by-WEST-ELEVATION-ARCHITECTS-INC How much does it cost to build a fireplace and chimney? (Answered)Image source: WEST ELEVATION ARCHITECTS INC

Depending upon the type of fireplace that you choose, chimney installation is a critical component for health and fire safety. Any fireplace that has a true flame will require some kind of exhaust pipe or chimney, making them the more expensive options.

Placement of the chimney in your home is determined by the structure of your home. In the most ideal situation, installing the chimney in the middle of your home will allow for efficient heating. However, it is often easier to install a chimney on the side of an existing home. It is common to see chimneys on the sides of houses, but they are exposed to the elements and this has a huge impact on the lifespan of the structure.

The materials being used to build the chimney need to fall within federal safety guidelines. For example, the lining of the chimney needs to protect the structure from fire as well as act as an insulator. Quality materials make a difference to a chimney’s efficacy as well as its lifespan.

Consult an experienced contractor or stonemason before undertaking this type of project. It is critical to follow local laws when installing a fireplace and chimney to ensure that it is up to code and to avoid legal repercussions.

Cost

Corbett-Lighting-by-1800Lighting How much does it cost to build a fireplace and chimney? (Answered)Image source: 1800Lighting

A traditional masonry chimney can cost between $100 and $200 per linear foot to install. Engineered chimneys are slightly more affordable at a cost of $60 to $100 per linear foot. That means that the average cost for a 10’ chimney can range from $1,000 to $2,000 or $600 to $1,000, respectively.

Maintenance costs for a chimney can vary depending on how often you use it. Homeowners who prefer to use their fireplace as a main source of heat will need to be more diligent about having it cleaned. For around $230 a chimney sweep will clean the flue of the chimney as well as the hearth. Preventing the buildup of ash, soot, and carbon is a key part of fire prevention.

A chimney liner is an important addition to maintain the structure of the chimney and they need repairs if there are any cracks or leaks. The cost of installing a liner can range from $600 to $7,000 and repairs can cost between $150 and $750.

Engineered Chimney

Venice-II-in-Tamarack-by-Parkwood-Master-Builder How much does it cost to build a fireplace and chimney? (Answered)Image source: Parkwood Master Builder

While a masonry chimney made of brick and mortar is a more traditional option for a fireplace, there are also engineered chimneys. Engineered chimneys are less expensive and tend to be a simpler undertaking. An engineered system costs an average of $95 per foot for shorter systems or $60 per foot for longer ones.

Ending thoughts on how much does it cost to build a fireplace and chimney

The cost to add a fireplace to your home can vary depending on what type of fireplace and chimney you are looking for. Demolition, maintenance, and repairs are considerations to keep in mind when evaluating how much it will cost to build a fireplace. However, adding a fireplace can add to the value of your home anywhere from $1,000 to $4,999.

A fireplace can easily be added to any home or existing fireplaces can be upgraded to better suit your needs. Stonemasons or experienced contractors can determine what finishes to use, such as brick, stone, metal, wood, or even plaster. The quality of materials will also have an impact on the total cost.

Understanding your options when it comes to fireplaces and chimneys before meeting with a contractor can help set budget expectations. This guide is a great first step to learn about all of your options.

If you enjoyed reading this article on how much does it cost to build a fireplace and chimney, you should read these as well:

The post How much does it cost to build a fireplace and chimney? (Answered) appeared first on Impressive Interior Design.


source https://www.impressiveinteriordesign.com/how-much-does-it-cost-to-build-a-fireplace-and-chimney/

Tuesday, June 23, 2020

The best home improvement channels you can find on YouTube

The Internet is humanity’s greatest source of knowledge nowadays. All your doubts can be solved with a simple search, which has diminished the importance of other media such as television or books. One of the main advantages is that you can find what you need with detailed explanations in videos and images. Before, you had to resort to little specific guides if, for example, you wanted to decorate your home; but now there are many home improvement channels on YouTube with which you can learn step-by-step.

Although resorting to magazines and blogs dedicated to home decoration is still an interesting option, the opinions and ideas you can get from them are limited, and often lack in-depth explanations.

Luckily, there are hundreds of home improvement shows on YouTube from which you can get inspiration or helpful advice. Although, if you do not know how to find them, do not worry, today we bring you a list with some of the channels that you should consult if you want to carry out a remodeling project.

The best home improvement channels

House Improvements – Learn step-by-step
House-Improvements-Learn-step-by-step The best home improvement channels you can find on YouTube

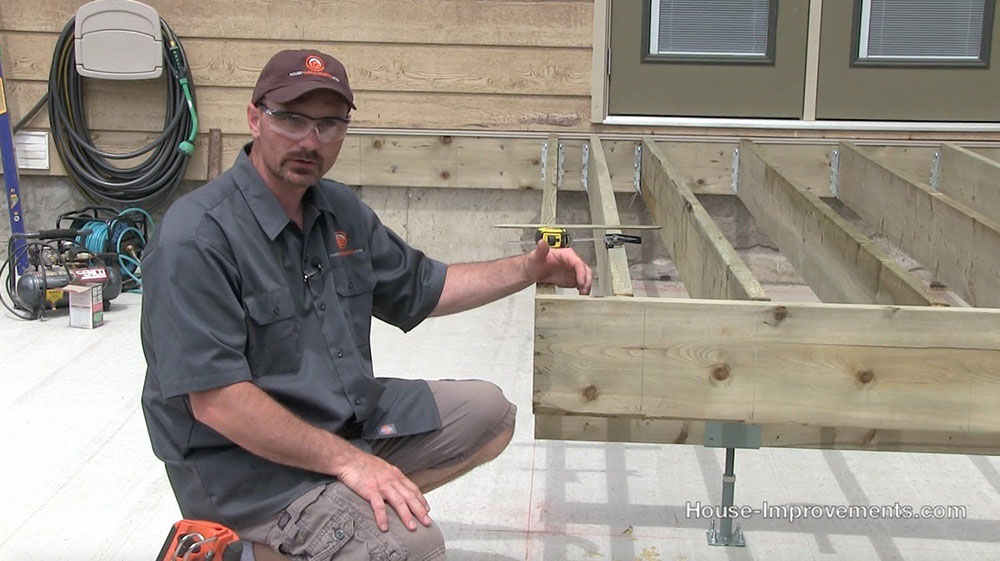
The first channel we recommend belongs to HomeImprovements.com, and they show you gradually everything you need to know about remodeling. The videos are sectioned so that you don’t get overwhelmed with long tutorials, explaining little basic concepts in each one.

This channel has a “How to” format, so you will get steps to carry out any installation up to the proper way to use the tools.

The best thing is that the experts will show you the results that you will get when carrying out each instruction.

FIX IT Home Improvement – Easy repairs
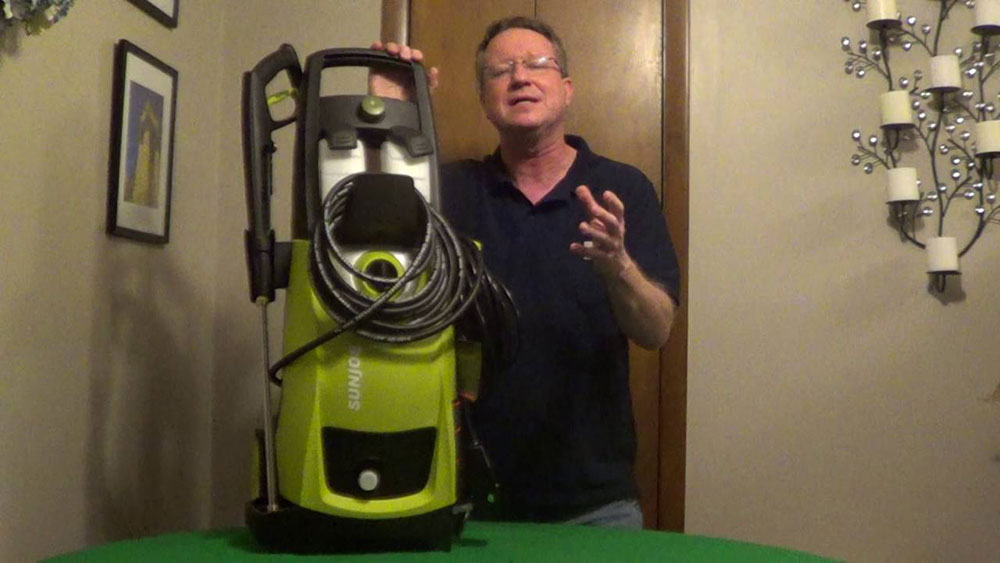
FIX-IT-Home-Improvement-Easy-repairs The best home improvement channels you can find on YouTube

Those who need help doing their home repairs will find the FIX IT Home Improvement videos especially helpful. This emerged as a personal project of a former owner of a hardware store, who decided to share his knowledge in the form of guides.

Their home repair shows specialize in the processes necessary to repair any plumbing problem but are not limited to this, so we recommend checking them if you want to repair something in your home.

Apartment Therapy – Tips to improve your life
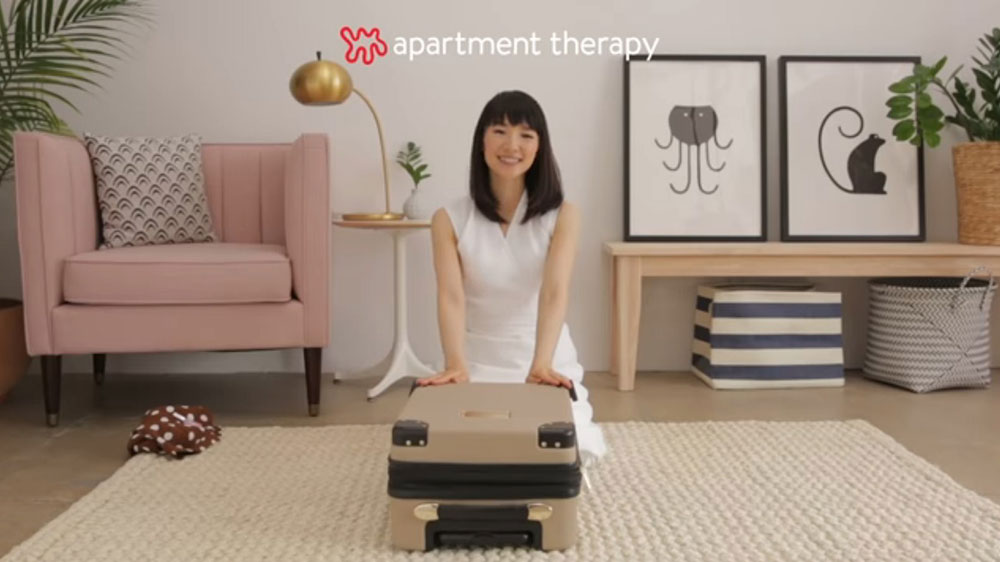
apartment-therapy The best home improvement channels you can find on YouTube

Another popular channel that has several DIY shows for your home, not just about remodeling. Here you will find tips for organizing your closet space, cleaning tips for household appliances, and other crafts that every homeowner should know.

Studio McGee – Personal experiences

Studio-McGee-Personal-experiences The best home improvement channels you can find on YouTube

Although they don’t have as much experience as other home improvement channels, Studio McGee has captivated its viewers due to the quality of its content.

Shea and Syd McGee created the channel, and they proudly display the home they have both built, as well as some tips for you to create yours.

Jimmy Diresta – The channel for professionals
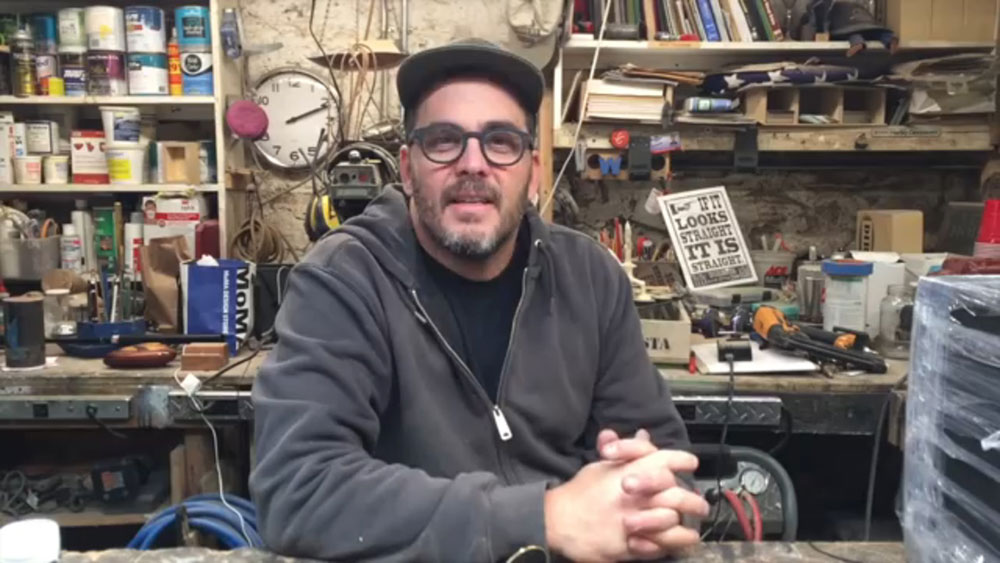
Jimmy-Diresta-The-channel-for-professionals The best home improvement channels you can find on YouTube

If you have the necessary knowledge and experience, you may want to do bolder projects in your home. If so, then you need to see what Jimmy Diresta has to offer. This remodeling professional has some of the most dangerous projects you can find.

You should know that he has 40 years of experience in this job, so he knows how to use heavy tools. We recommend that you use it as inspiration if you are a novice.

VideoJug – A little help

videounetworks The best home improvement channels you can find on YouTube

Hiring someone to do home maintenance tasks can be expensive, especially when you know you can do it yourself. Luckily, there are YouTube channels like Videojug that are there to teach you the basics of repairs.

What you find on the channel are just some of the guides they have available, the rest are on their website, offering more accurate and complete data for you to work on.

Home RenoVision DIY – Learn new skills
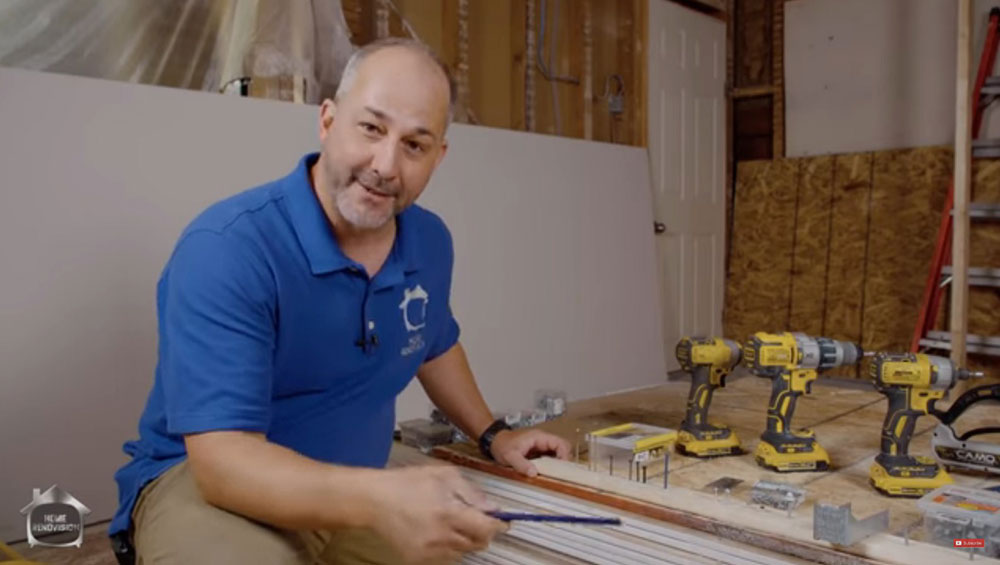
Home-RenoVision-DIY The best home improvement channels you can find on YouTube

Jeff, the man behind this home improvement channel, offers his experience through a series of videos that he hopes will help you make your home a more pleasant place.

His expertise is put to the test with a DIY series with which you can spend your free time, all explained step-by-step. You will also learn some useful tricks that you can apply on your own in other household chores.

This Old House – Let the legacy continue
this-old-house The best home improvement channels you can find on YouTube

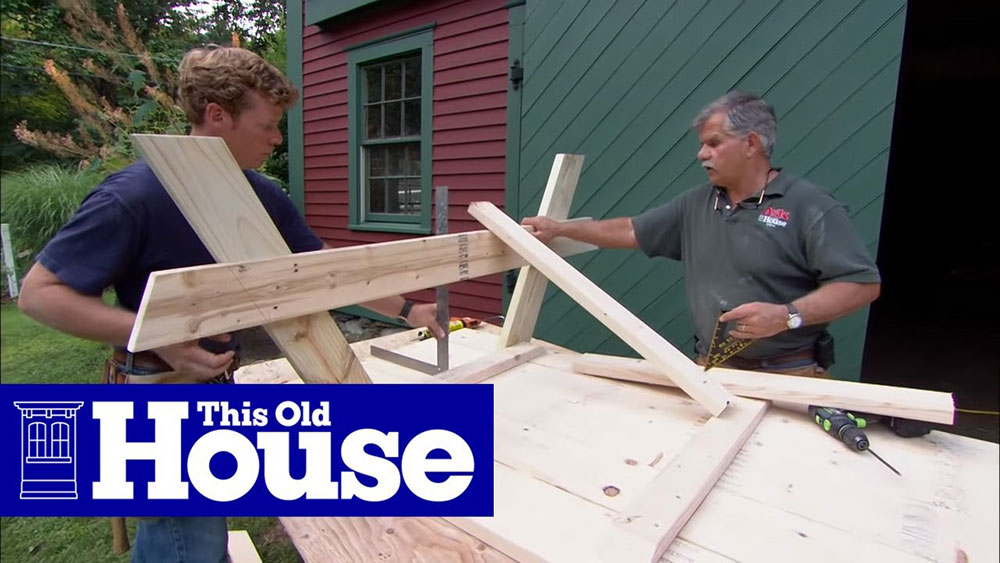
If you were or are a fan of This Old House, you should know that they are still producing the series. This is one of the best old home improvement shows available, which focuses on home maintenance.

Every week you can find new videos in different areas, such as gardening, ventilation systems, carpentry, and even smart homes.

Ron Hazleton – Let there be no doubts
Ron-Hazleton-Let-there-be-no-doubts The best home improvement channels you can find on YouTube

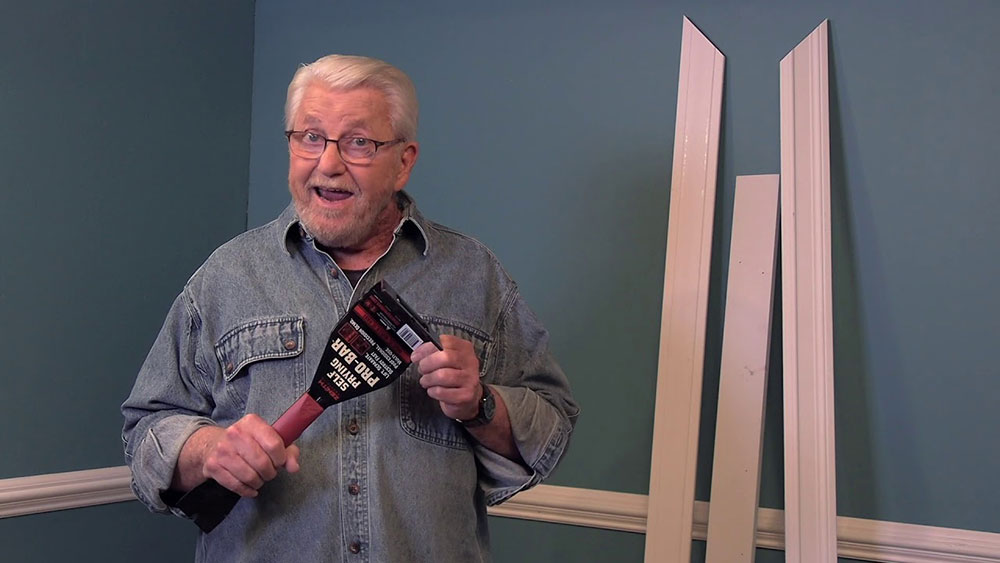
Sometimes what stops you from starting a remodeling project is uncertainty. If you have unresolved questions, Ron Hazleton has the answers. This builder is an encyclopedia of construction in which you can solve all your doubts.

Ron knows many ways to do different DIYs in your home, but he will also show you the most effective way to do them. It will even offer tips for advanced users.

You will also be able to see everything that happens during a remodel so that you have an idea of ​​what awaits you.

DIY Hip Chicks – Take the first step

DIY-Hip-Chicks-Take-the-first-step The best home improvement channels you can find on YouTube

Don’t be afraid to start a remodeling project, as you have specialist Beth Allen supporting you. Allen is a woman who shows that heavy remodeling jobs are for all genders, encouraging anyone afraid to start.

She has certified experience as a contractor and interior designer, so she knows what she’s doing. On her channel, she offers perfect videos for beginners and advanced people in the field, but it can be a bit short for very complex projects.

Home Made Modern – Being at the forefront

Home-Made-Modern-Being-at-the-forefront The best home improvement channels you can find on YouTube

Not all home improvement channels offer such accurate advice on modernizing your home like this one. Modernizing does not mean only high-tech as the experts of this channel teach you so that if you want to give a new look to your home without being so drastic, Home Made Modern can help.

House and Home – Find your inspiration

houseandhome The best home improvement channels you can find on YouTube

Fans of interior design will become addicted to the content featured on House and Home. You may already know the Canadian company from having seen one of their remodeling jobs or from their magazine, and you’ll be happy to know that they also make videos showing complete tours of their homes.

This channel is ideal for finding ideas inspired by northern designs, where the cold is constant.

Woodworking for Mere Mortals – The king of wood

Woodworking-for-Mere-Mortals-The-king-of-wood The best home improvement channels you can find on YouTube

Wood is one of the most versatile materials in the world. Using the right one, there is no project you cannot do with it. Steve Ramsey shows you how exciting it is to dedicate yourself to the world of carpentry.

Ramsey has spent at least 10 years of his career building a great portfolio on YouTube, making videos from multiple categories that teach you how to work with wood, how to use tools, indoor and outdoor projects, and much more.

The only downside to Ramsey channel is that they are not easy to follow tutorials, so you need prior knowledge if you want to try doing one of his projects. Although you always have the option to watch his videos for inspiration.

Paint Life TV – Refresh your home paint

Paint-Life-TV-Refresh-your-home-paint The best home improvement channels you can find on YouTube

Finding home improvement channels that specialize only in the secrets of painting is difficult, that’s why we leave you with this one that you should not miss.

Chris, the channel specialist, has years of experience in the field of home painting, so he is trained to advise you on the ins and outs of the job. Before you start painting a wall, or your entire home, it is best to review the guides he offers to achieve an excellent result.

DIY Network – A wide gallery
DIY-Network-A-wide-gallery The best home improvement channels you can find on YouTube

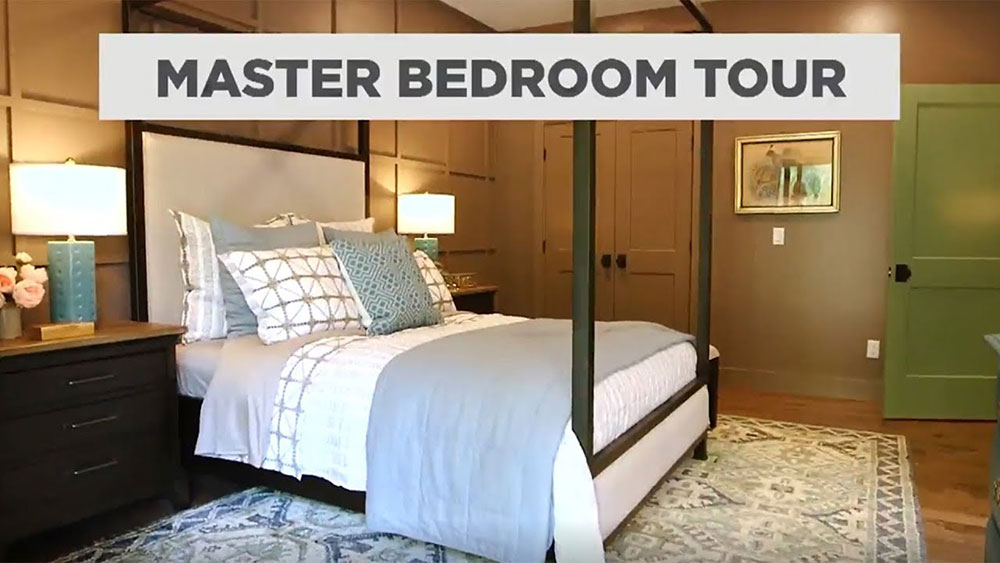
You don’t need to search for many home improvement shows on the internet when you have a huge gallery of 2,000 DIY Network videos. This channel offers you videos with basic, advanced, and professional advice for many works in your home.

Not only do they have videos to make crafts, but they also cover some aspects of home remodeling and repairs.

Home Repair Tutor – To sell your home
Home-Repair-Tutor-To-sell-your-home The best home improvement channels you can find on YouTube

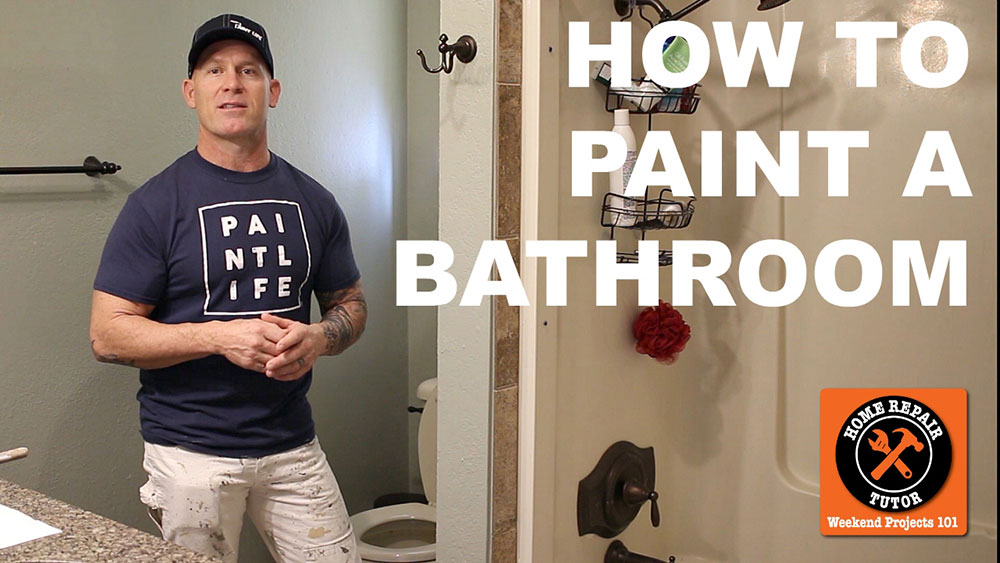
Are you thinking of selling your home soon? If so, Jeff Patterson is your guide to improving the value of your home. This expert handyman has a list of videos specially made for you to prepare your property before placing it for sale so that you increase its value in the market.

Additionally, it has other videos where it will teach you to carry out general repairs of plumbing and electrical systems, being an excellent reference among home repair shows.

I Like to Make Stuff – Advanced content

I-Like-to-Make-Stuff-Advanced-content The best home improvement channels you can find on YouTube

You will find advanced guides in this home improvement channel alternative. Bob specializes in carpentry work, but he also has other interesting videos where he teaches you how to make the most of your home’s storage space and other minor renovations.

Among his wooden projects are some interesting ones for the home such as cabinets, tables, and chairs, and on some occasions, he shows his artistic side by making curious and fun sculptures.

AskTheBuilder.com – Your starting point

AskTheBuilder.com-Your-starting-point The best home improvement channels you can find on YouTube

Those who are beginning to learn about the construction and DIY world will find Tim Carter’s videos educational and inspiring. There are many terminologies and processes that can be complicated at first, but Carter will take care of explaining them.

It will also offer recommendations to make remodeling and construction jobs easier. Some of the channel’s most informative videos include a guide to the different paintbrushes and when to use them.

Three Birds Renovations – Have fun building

three-birds The best home improvement channels you can find on YouTube

This is one of those home improvement channels that will make you smile when you see the hosts carry out the remodeling projects. Three moms are in charge of creating fun and dynamic crafts, which always have lovely results.

DIY Creators – Make your furniture

DIY-Creators-Make-your-furniture The best home improvement channels you can find on YouTube

We end this list with a channel that will be useful if you are a fan of furniture manufacturing. If you ever thought about renovating your living room or dining room by placing a new table, but you couldn’t find the design you wanted, here you will learn practical tips to build it. Become your own carpenter and blacksmith with these guides.

Start with something easy

If you’re new to construction and remodeling, the best advice out there is to start small. The advanced ones, in addition to being more dangerous, will end up frustrating you for not being able to do them.

YouTube and the internet in general is an infinite source of knowledge with which you can undertake any project, but you must first inform yourself how to do it. With a lot of practice, you can go from small works to complex repairs and remodeling.

If you enjoyed reading this article about home improvement channels, you should read these as well:

The post The best home improvement channels you can find on YouTube appeared first on Impressive Interior Design.


source https://www.impressiveinteriordesign.com/home-improvement-channels/
Monday, June 22, 2020

How to get insurance to pay for roof replacement

Changing your home’s roof is not an easy task. Not only for what it implies at a constructive level but also for the monetary expense that it entails. However, you should know that it is possible to get the help of an insurer to carry out this project. Don’t know how to get insurance to pay for roof replacement? Don’t worry, today we will tell you the tricks to get this help.

Although it may not seem like it, it is possible to get roof insurance, but for this, you need to know about it and hire the right people. If your roof has reached a certain age and begins to show signs of deterioration, it is best to start doing what we recommend below as soon as possible.

Accelerate the process by collecting damage information

2011-Showcase-Hillside-Retreat-by-Witt-Construction How to get insurance to pay for roof replacement
Image source: Witt Construction

As the owner of your property, you are the first to know what damage the roof is experiencing. Although a professional must verify the damages, this is not an excuse for you not to carry out your investigation.

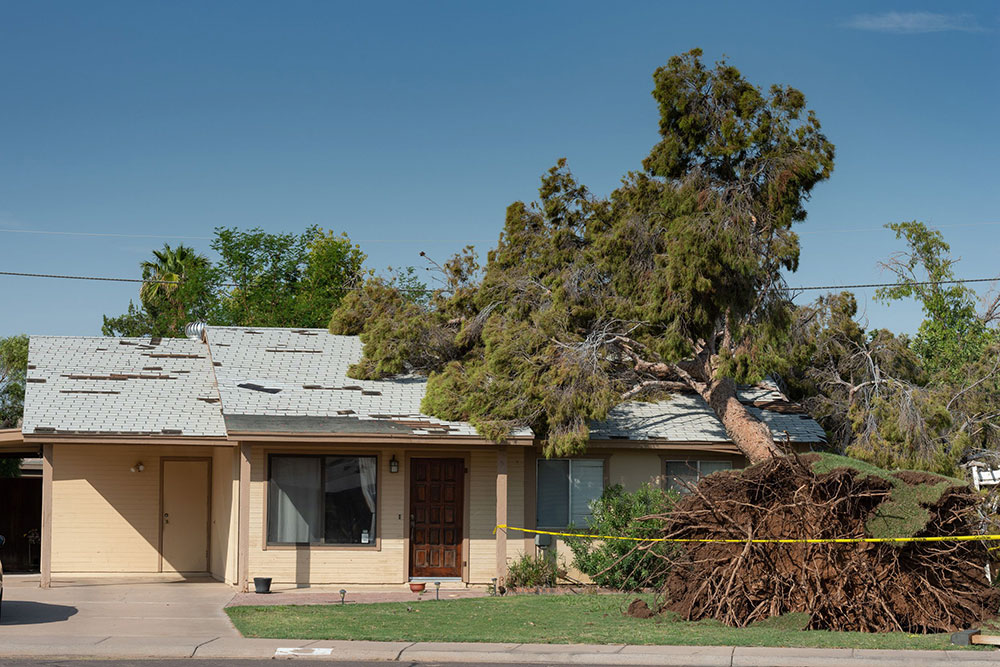
Before you can claim roof damage insurance, you need to document everything that has happened to your roof. This includes taking pictures of damaged areas, conducting an inspection for missing parts, collecting data about the conditions that caused the damage, and much more.

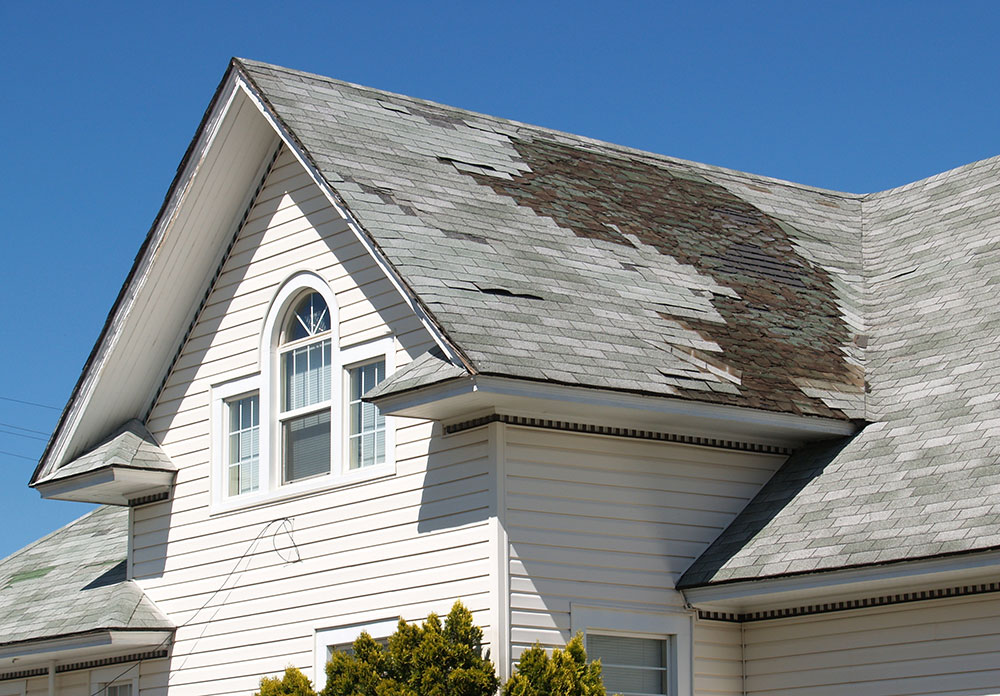
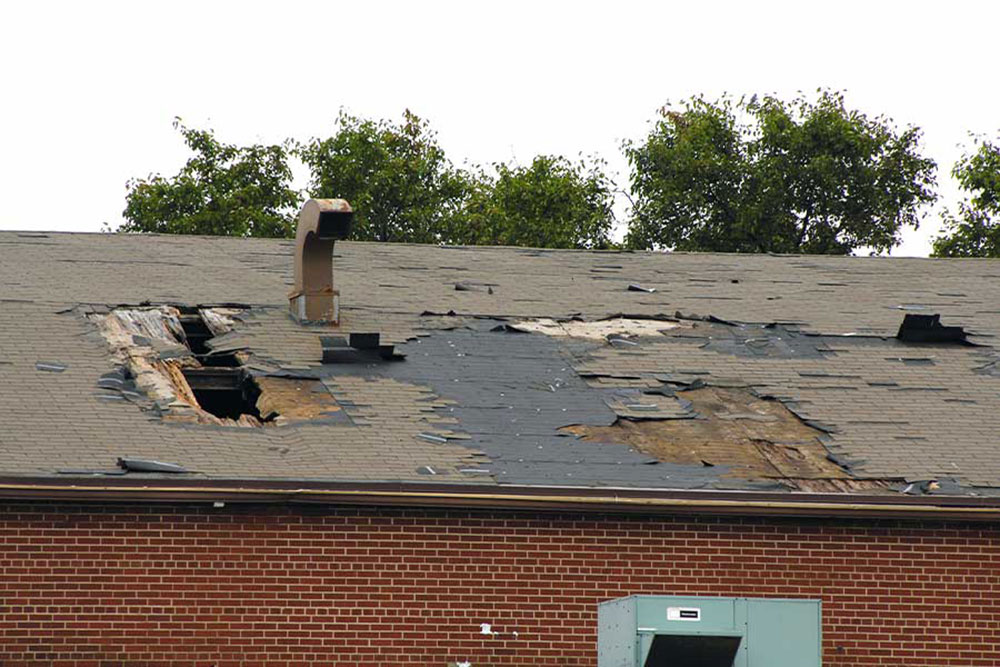
A visual inspection should be enough to identify missing or damaged tiles or even corroded flashes at vents or fireplaces. It is also necessary for roof insurance to determine if the roof has been damaged by water. Black spots on the mantle are moisture deposits, which weaken the roof structure.

damage How to get insurance to pay for roof replacement

In the case that your roof has been damaged by a natural event, such as a storm, you will need evidence to support your claim. Buy a local newspaper where the event is reported, or look for the news on multiple internet portals. The important thing is that you record the event’s date and time.

It’s also good that you get statements from your neighbors that support the news. Take photos of both the damage to your ceiling and the surrounding ceilings, and put together a portfolio with everything you collect. Remember to include photos of interior ceiling damage.

How to get insurance to pay for roof replacement – Does your policy cover the damages?

insurance2 How to get insurance to pay for roof replacement

Before proceeding with the claim, you must be sure that your policy covers damage to the ceiling. You can verify this yourself by reviewing your homeowner’s policy. If you cannot find this information, you can always call an insurer’s agent to inquire.

Most insurances allow roof replacement if it is not more than 10 years old. However, after 10 years it is understood that the roof has fulfilled a minimum function and becomes the full responsibility of the homeowner, so any damage after this age falls on the lack of proper maintenance.

There are some extreme cases where the ceiling’s age is not a determining factor in obtaining insurance money. These are usually related to natural disasters, that’s why you should document the exact date and time of these events.

insurance1 How to get insurance to pay for roof replacement

Please note that not all natural events are covered by the policy. Some, like hail and rain, are so common that many insurers don’t include them in their coverage. On the other hand, fires, hurricanes, and even vandalism are aspects that most insurance covers.

If your roof was damaged due to poor maintenance, the roof insurance claims will be in vain since these are the owner’s fault.

The last thing you should know about your policy is how much it will cover. Some agencies offer partial roof compensation, so you will have to pay the rest. Other agencies cover all expenses, but only if the damages are considerable and meet their conditions.

Hire the right specialist

meeting1 How to get insurance to pay for roof replacement

If you want to succeed in your claim, you need to be supported by a certified roofing repair specialist. This is the only one that can debate against the insurer.

If you don’t know where to start your search for a roofing contractor, ask a real estate agent for companies that specialize in roofing.

roof-checking How to get insurance to pay for roof replacement

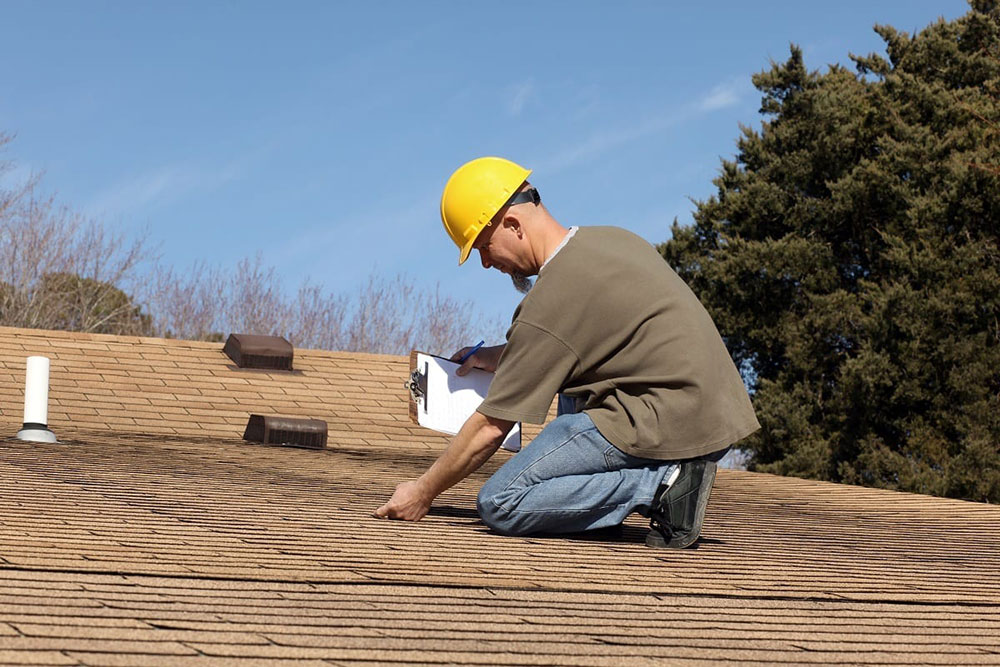
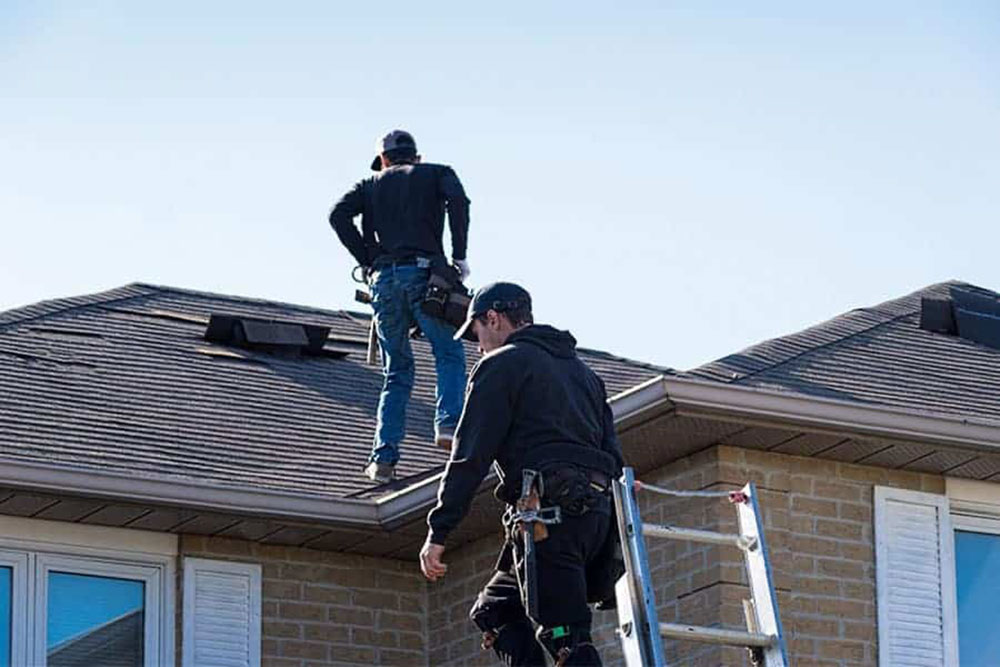
Some of these companies will be willing to make estimates of your roof damage. Do as many inspections as possible to get an idea of ​​how much the roof repair will cost and what flaws need to be corrected.

Within these companies, you may be able to find the specialist you need to be your representative. Make sure the contractor has a roofing certificate, has previously made other claims to insurers, has a good reputation in the area, and is willing to assist you in the rest of the process.

How to get insurance to pay for roof replacement – A world of trouble

insurance3 How to get insurance to pay for roof replacement

Backed by the contractor and all the data collected, you should have everything you need to be able to claim insurance money for your new roof.

To avoid having a bad time, remember to educate yourself as much as possible about your insurer and the plans they offer. Some insurances, for example, only accept claims if they are made before a period.

Remember, as previously mentioned, most insurers will not pay for roofs with more than 10 years of construction. Although there are exceptions, the insurer will generally simply reimburse the market value of the roof at the time it was installed in cash. Imagine if it is a roof from 30 years ago, the insurer will pay the amount that that roof cost 30 years ago.

Others simply choose not to insure houses with a certain construction time or with roofs made of expensive materials.

It’s time for the inspection

roof-inspection How to get insurance to pay for roof replacement

No matter what your case is, one thing you should know about how to get insurance to pay for roof replacement is that an inspector will always come to check the damage.

The insurer’s inspector will give his verdict, and you should be prepared to contest it if it seems unfair. Have photos of your roof before the damage to back up your case.

The faster you make the claim, the faster the inspector will come to verify the roof and you will have a better chance of getting a refund. You cannot wait too long or the company may refuse to pay.

The tedious paperwork

paper-works How to get insurance to pay for roof replacement

There is no way to get rid of the paperwork involved in filing a claim, especially when it comes to an insurer.

However, the documents are an important part of how to get insurance to pay for roof replacement. These are the proofs of everything that happened, and considering that the refund process can be long, it is the best way to keep everything on good terms.

This is the moment where you should present the portfolio you prepared with all the data you collected. The evidence will help expedite the corresponding procedures, in addition to that, the more high-quality evidence presented, the greater your chances of success.

Remember to take photos of your roof constantly, especially before and after performing any maintenance. These will be the photos that will serve as a point of comparison to determine the subsequent damages.

If you have bills for roof installation, maintenance cost, remodeling estimates, and any other documents, please include it on the claim.

A contractor prepared for these cases can guide you in how you should supply this data. Also, the contractor may know some tricks to improve your victory chances.

submission How to get insurance to pay for roof replacement

Since we know that there is a lot of information to process, we leave you a small list with the necessary documents that you must present at the insurer:

  • Damage reports.
  • High-quality photographs showing the before and after of the ceiling.
  • Maintenance and repairs bills.
  • An estimate of the roof repair carried out by a certified company.

Roof insurance claim process – A long odyssey

Don’t be discouraged if you think this process is too long. In general, working with an insurer will always be complex. You can avoid this process by keeping your roof in good condition, but sometimes this will not be possible.

Find out what your rights are so that you can claim them on time. Also, remember to be careful with the help you request. Some contractors offer their advisory services only if they are then responsible for the roof replacement. Clarify the terms with all parties involved before proceeding with the claim.

If you enjoyed reading this article about how to get insurance to pay for roof replacement, you should read these as well:

The post How to get insurance to pay for roof replacement appeared first on Impressive Interior Design.


source https://www.impressiveinteriordesign.com/how-to-get-insurance-to-pay-for-roof-replacement/
Sunday, June 21, 2020

How to fix a door that rubs at the top (Easy to follow guide)

There is nothing worse for human sanity than a squeaky door. This annoying sound becomes a problem that cannot be ignored, especially when you try to close a door at night and it sounds so loud that it is like an alarm clock. There are several common causes for these noises, such as the door rubbing against the frame or perhaps a hinge lacking lubrication. Today we will show you how to fix a door that rubs at the top.

After using a door many times, it is common for the door to begin to show wear on the frame, or even to have deviated slightly from its original location. The problem is that in addition to producing an annoying sound, a door that rubs will damage the paint and the integrity of its materials.

door How to fix a door that rubs at the top (Easy to follow guide)

As if the discomfort was not enough, a door that is bent will generally not close properly, failing in its most basic function. However, you should not worry, since you do not need a professional to do any kind of door repair.

Starting to repair the door is the difficult work, as this is one of the easiest household chores out there. Furthermore, completing this arrangement is one of the greatest possible satisfaction.

The first solution – tighten the door hinges

door-hinges5 How to fix a door that rubs at the top (Easy to follow guide)

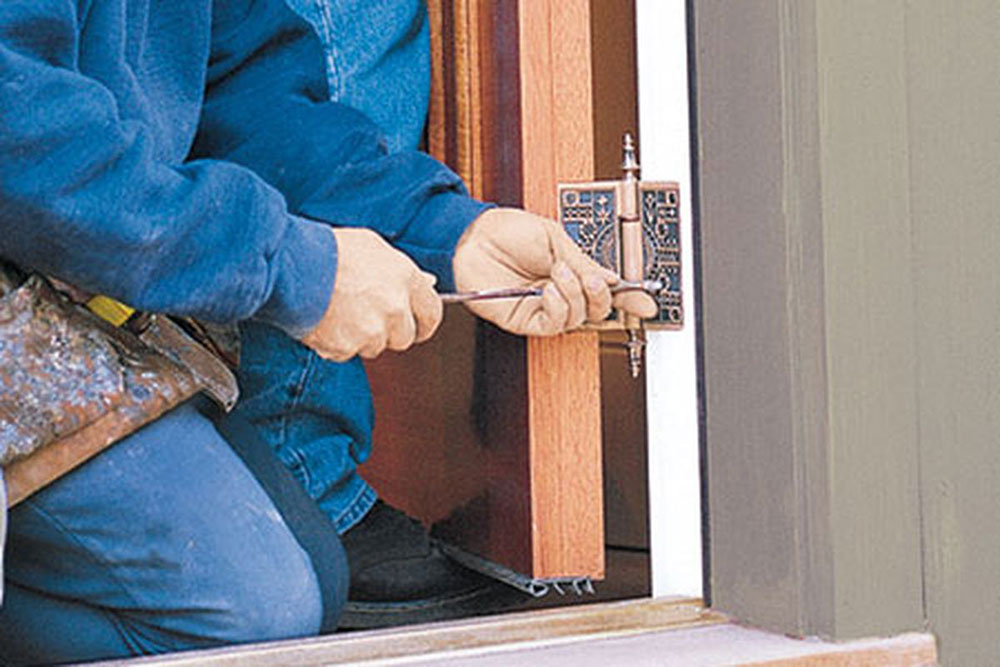
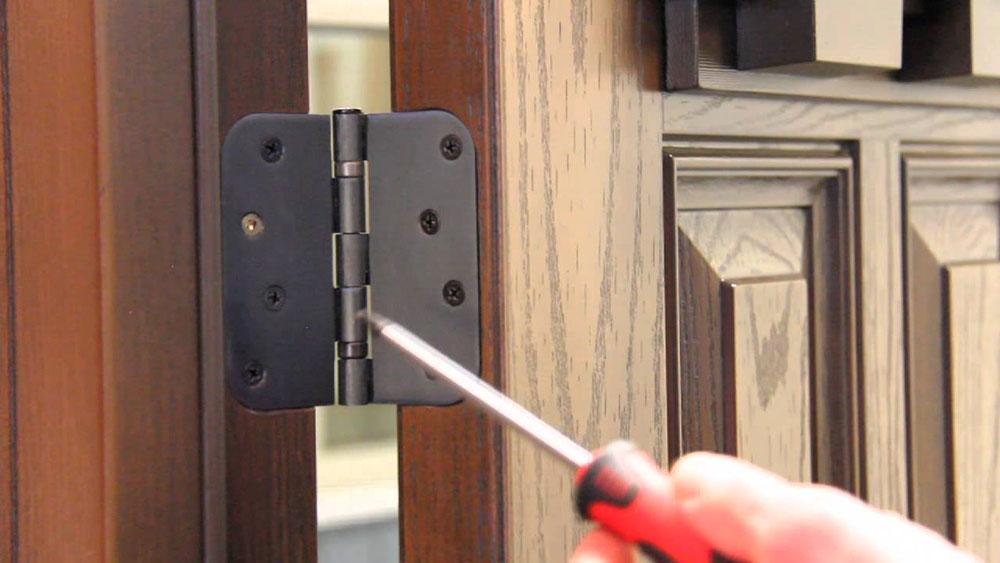
As a door or window is opened and closed, the hinges begin to loosen to the point where they do not hold firmly. These become unbalanced and begin to collide with the frames.

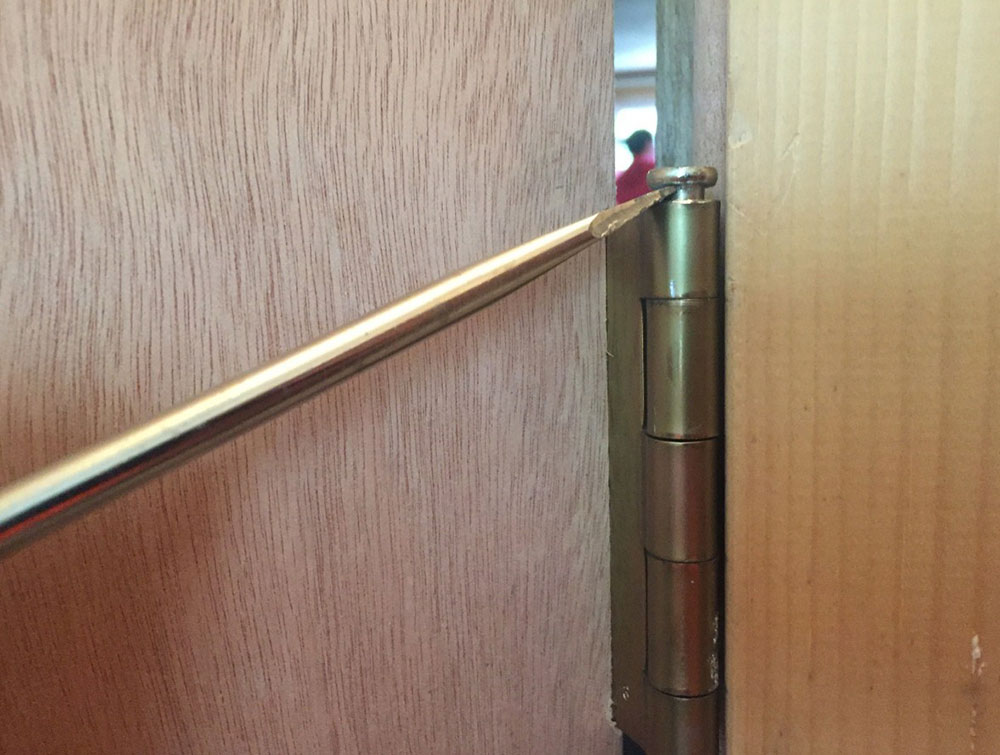
The good news is that repairing the hinges is simple, and you only need a screwdriver to tighten the screws.

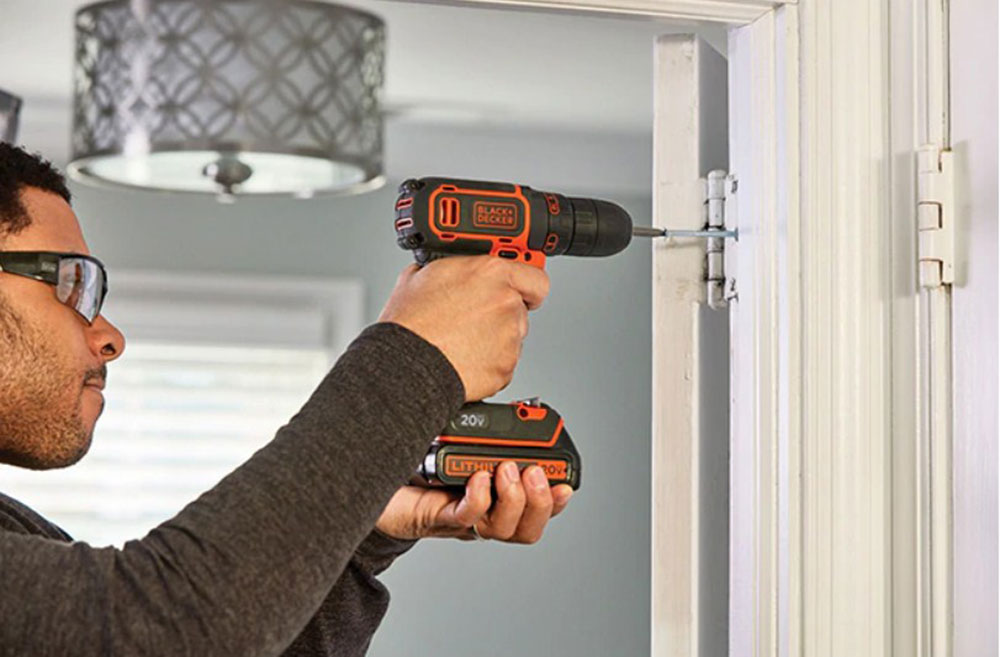
The use of power tools is not recommended, as they can be very powerful for the adjustment. A hinge is not a very sturdy item, and over-tightening them could break the screws.

If you still plan to use a power tool, such as a drill, use the minimum power, especially with the brass door screws.

If you find any stripped screws on the frame, replace it with a new 3-inch one. These screws are sized to fit through to the rear frame and hold the door steady.

hinges1 How to fix a door that rubs at the top (Easy to follow guide)

There are occasions that what is failing is not the screw but the hole where it is placed. Fixing a doorframe when the door is solid will require a drill to fix the hole. Use a 1/8-inch drill bit to drill a little through the gap, and then put in a screw that’s an inch longer than the old one so it can fit into the new hole.

Hollow-core doors will need another preparation process. For these cases, it is necessary to reinforce the screw holes with a bit of glue that solidifies the space. Do not insert the glue container nozzle into the hole, you should fill a toothpick with the glue and insert it. The screw should now have perfect space to hold on.

How to adjust a door using the hinges

hinges How to fix a door that rubs at the top (Easy to follow guide)

The hinges are not adjustable as such but can be moved depending on the pressure applied to the screws and jamb. In total, this technique is used to fix deviations no greater than 1/8 inch.

Always start adjusting from the top hinge. This will usually be screwed with two or three screws. The 3-inch screws are perfect for lifting a door slightly, as these will tighten the hinges to the point where they are parallel to the jamb and frame.

The best way to apply this technique is to remove the hinge screws and start adjusting from the center screw. Insert the 3-inch screw and tighten until it is snug, not tight. Give it an additional quarter turn and watch the door position when closed. From this point on, you will have to press gently to see if the door starts to deviate.

sticking How to fix a door that rubs at the top (Easy to follow guide)

Bear in mind that you don’t always need to adjust all the hinges. This will depend on where the jamb rub against the closed door. If the jamb rubs on the top then you will need to tighten the top hinge. If, on the other hand, it rubs against the lower side, you must adjust the lower hinge. The door may rub against the entire side frame; in these cases, you must adjust all the hinges.

If you notice that the hinges do not move, then the jamb does not allow further adjustments.

Finally, one thing you should know about how to fix a door that rubs at the top is that the problem could be the hinges in general. There is a possibility that you may need to replace them with better quality ones, preferably with hinges with washers, as these create more space between the door and the frame.

The second solution – Sand the door and remove material

measure-door How to fix a door that rubs at the top (Easy to follow guide)

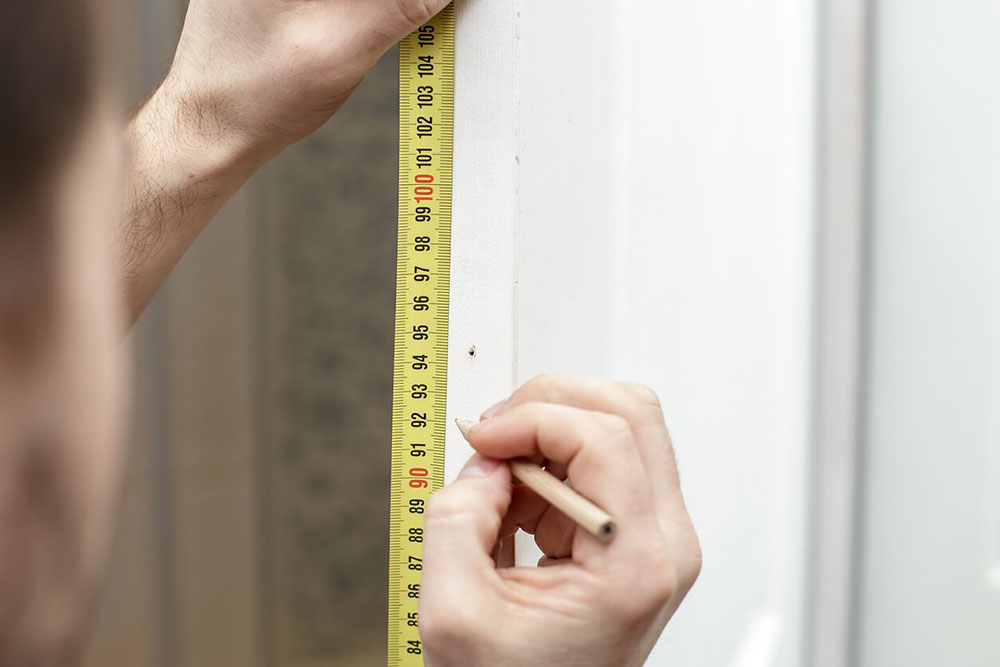
This is a drastic measure, but it will not be applied in such a way that it damages the entire door. This door gap fix is recommended for deviations less than 1/8 of an inch or for cases where the door does not show marks or scratches greater than two feet from the jamb.

The first thing is to assess how serious the damage is. Using a ladder, check how far the stripes from the top of the door go. The rubbing of the jamb with the door has generated these stripes.

sanding1 How to fix a door that rubs at the top (Easy to follow guide)

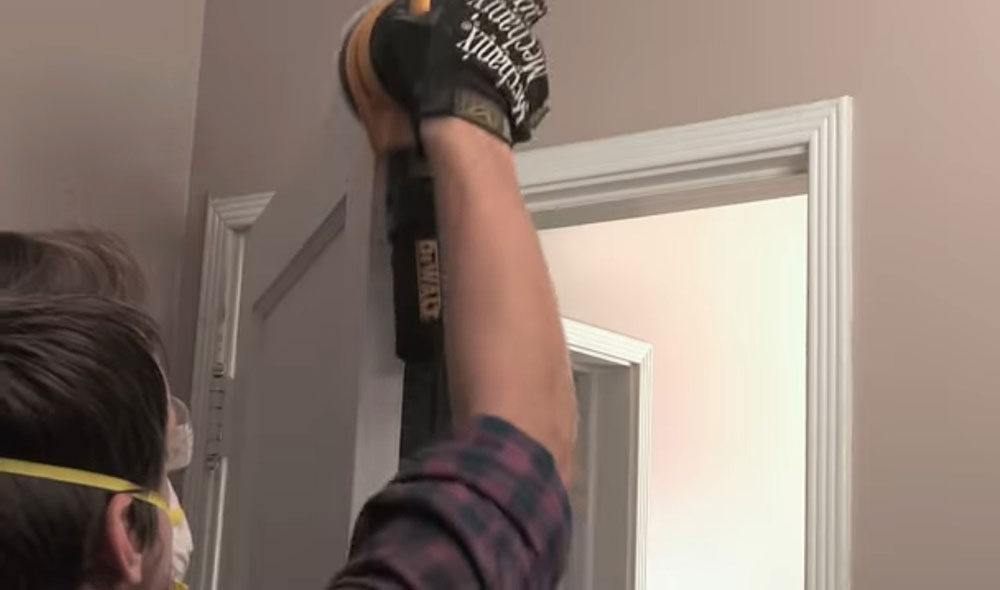
With a pencil or marker draw lines on all the stripes you find. You will now need an orbital sander to be able to remove the door material. Using a disc with an 80-grit paper, start sanding from the top corner with the most scratches. The idea is to sand until the stripes are no longer visible. If when you close the door you see that it is still bent, then go back up to draw new lines and repeat the sanding process.

Do not worry if the door is deformed a bit on the sides, as long as it stops rubbing with the frame the process will have been successful.

Finally, you must return the professional finish to your door. For this, you will use 100-grit sandpaper with which you can remove imperfections. The application of a couple of varnish coats is recommended before repainting the door.

The third solution – Move the frame and not the door

door-frame1 How to fix a door that rubs at the top (Easy to follow guide)

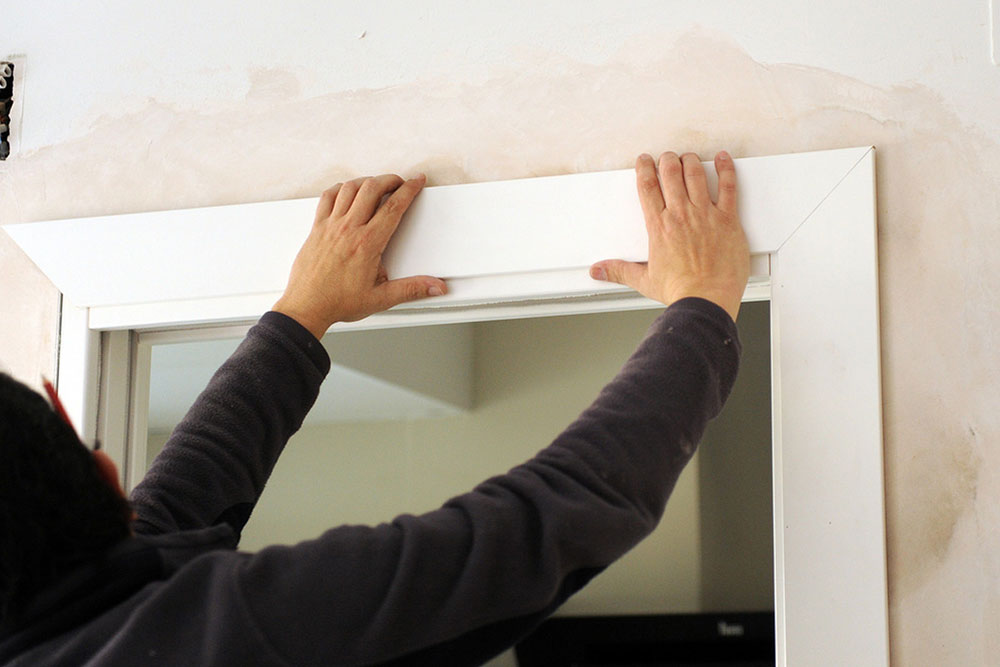
How to fix a door that rubs at the top without moving it? Just adjust the top frame. Fixing a doorframe is an option to consider if you want to maintain your door’s integrity. Especially when it comes to old doors, adjusting them again can be difficult and requires a professional. If you don’t want to expose your door or your wallet to this abuse, then it is better to adjust the frame.

You can fix the doorframe using a pry bar. Simply lever the frame until it fits the door’s deformity.

The fourth solution – Trim the door with a saw

remove-door How to fix a door that rubs at the top (Easy to follow guide)

If planning a door was already a complex and drastic job, trimming it with a saw is much more extreme. However, this method is much more accurate and prevents chips from forming on all types of doors.

The first thing you need is, in addition to the circular saw, masking tape. This tape does not adhere strongly to the material, making it perfect for delimiting and protecting spaces momentarily.

With the door removed from the frame, apply strips of tape to the parts where the chainsaw will rest to avoid scratching it. You can use adhesive tape as a replacement, but it can remove pieces of the door.

trim How to fix a door that rubs at the top (Easy to follow guide)

Another place where you should put the tape is where you will cut. It is not that this is going to be the guide for the saw, but that the tape will prevent the door from splintering when it is cut.

You can’t cut much of the door, especially if it is hollow in the center. The most you should cut is ½ of an inch. Hollow doors only have an inch of extra material around their edges to create a stiff frame, and it is not recommended to remove more than half of this inch or it will lose stability.

How to fix a door that rubs at the top – Tips for removing the door

In all solutions, it is recommended to remove the door from the frame to be able to work on it (especially if you are going to cut it). To make this easier, there are a couple of things you can do.

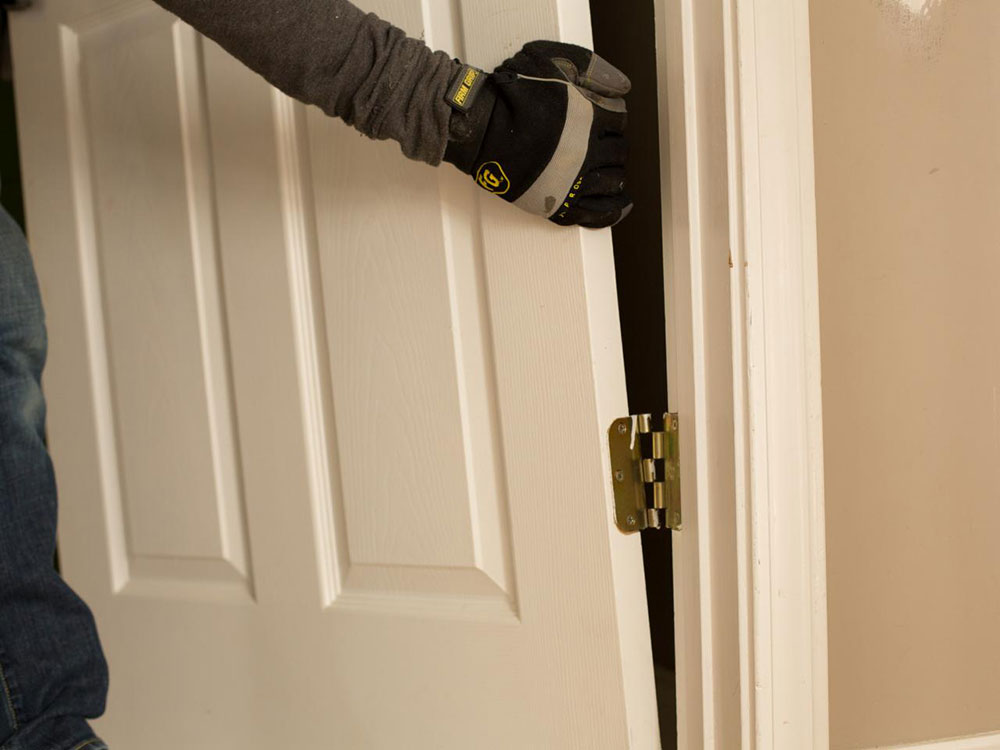
The first thing is to never do these jobs alone. Having an assistant always reduces the work you have to do, especially when you remove a solid door, which is very heavy. Start by removing the bottom hinge and end with the top hinge, otherwise, the door’s weight will break the bottom hinge.

Place a wedge under the door at the opposite end where the hinges are located. This will help you to keep the door leveled while it is mounted on the frame, and will even help you balance the weight if you are removing the hinges.

Always remove accessories from the door while it is mounted on the hinges. Once you have disassembled the door it will be much more difficult to remove a knob.

If you don’t know how to fix a door that rubs at the top, never try using brute force. Especially against door hinges, as these are not they are not shock resistant.

If you enjoyed reading this article about how to fix a door that rubs at the top, you should read these as well:

The post How to fix a door that rubs at the top (Easy to follow guide) appeared first on Impressive Interior Design.


source https://www.impressiveinteriordesign.com/how-to-fix-a-door-that-rubs-at-the-top/